
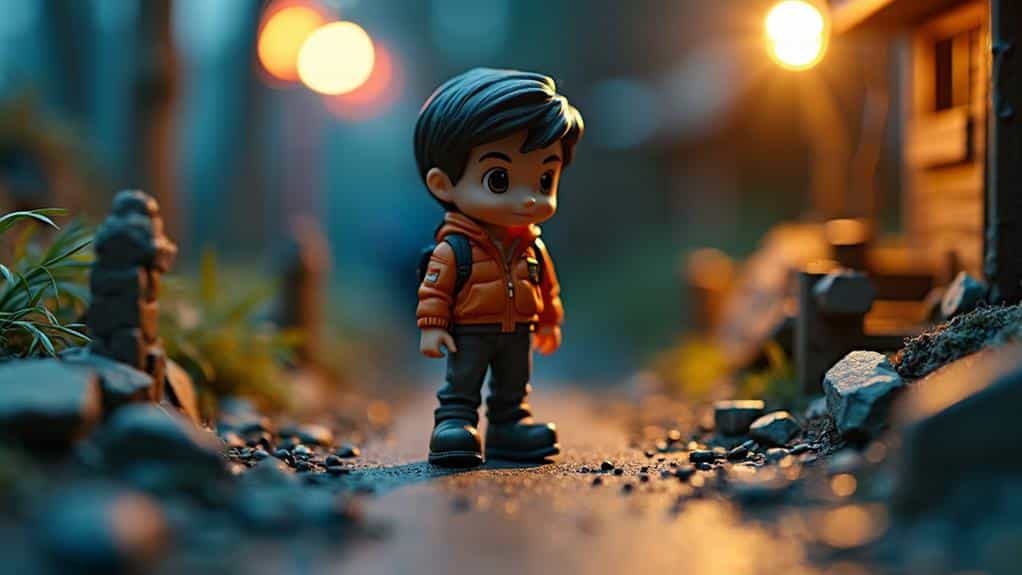
When you're working on miniature photography, mastering the use of reflectors can substantially enhance your images. You'll find that balancing light and shadows with a well-placed reflector opposite your main light source can create a natural, soft illumination. But that's just the beginning. How you position your reflectors can also bring out the contours of your miniature, giving it a more three-dimensional look. And don't overlook the impact of small reflectors; they can emphasize intricate details and make your colors truly stand out. So, how do you get started with these techniques? If you’re looking to enhance your miniature photography with the use of reflectors, consider experimenting with different sizes, shapes, and materials to see which ones work best for your specific subjects. Additionally, using Fujifilm mirrorless cameras can provide you with the flexibility and precision needed to capture the effects of reflectors in your images. With their advanced autofocus and high-resolution sensors, you can truly bring out the full potential of your miniature photography.
Key Takeaways
- Position the reflector opposite the main light source to fill in shadows and add soft illumination.
- Use smaller reflectors to target specific areas, emphasizing intricate details and creating a sense of depth.
- Experiment with reflector angles to highlight specific parts of the miniature for precise light control.
- Choose gold reflectors for warmth and richness, or silver reflectors for a cooler, neutral tone to enhance colors.
- Utilize background reflectors to illuminate the background, enhancing depth perception and separating the subject.
Balancing Light and Shadows
Balancing light and shadows is crucial in miniature photography. You want to make sure each tiny detail stands out without harsh contrasts or overexposure. Start by using a reflector to bounce light onto your subject. This helps even out shadows and highlights, giving your miniature a more natural and balanced look. Place the reflector opposite your main light source to fill in shadows and add soft illumination.
Adjusting the angle and distance of the reflector can dramatically affect the outcome. A closer reflector softens shadows more effectively, while different angles can highlight specific parts of your miniature. You control how much light bounces back, so experiment with positioning until you achieve the desired effect. For enhanced stability while adjusting reflectors, consider using a lightweight camera mount tripod that allows for easy height adjustment and positioning.
Using different reflector colors—white, silver, or gold—can alter the light's warmth and intensity. White reflectors offer a neutral, soft fill light. Silver ones provide a brighter, cooler light, enhancing details without adding warmth. Gold reflectors add a warmer tone, ideal for creating a cozy atmosphere
Creating Depth and Dimension
To bring your miniatures to life, creating depth and dimension is essential. Start by positioning your reflectors strategically to highlight your miniature's contours. A well-placed reflector can bounce light onto shadows, giving your figures a three-dimensional appearance. Use smaller reflectors to target specific areas, like the face or hands, to emphasize intricate details and create a sense of depth. For an even more professional setup, consider using Neewer's lighting equipment, which provides soft, even light and adjustable brightness.
You can also experiment with angles. Place a reflector at a low angle to mimic natural light coming from below, adding a dramatic look. Alternatively, positioning it at a higher angle can create softer, more diffused lighting, reducing harsh shadows and making your miniature appear more lifelike.
Don't forget about background reflectors. Positioning a reflector behind your miniature can reflect light back onto the scene, illuminating the background and separating the subject from it. This technique enhances the perception of depth, making your miniature stand out.
Lastly, vary the distance of your reflectors. Moving them closer or further away will change the light intensity and shadow softness, allowing you to sculpt the light around your miniature precisely. By manipulating these elements, you'll create mesmerizing, three-dimensional scenes in your miniature photography.
Enhancing Colors and Details
Building on the depth and dimension you've created, enhancing colors and details will make your miniatures even more mesmerizing. Reflectors can help you achieve this by manipulating light to highlight specific areas and bring out vibrant hues. Here's how you can do it effectively:
First, position your reflector to bounce light onto your miniature from an angle that emphasizes its colors. This technique will make the colors pop without washing them out. Use a gold reflector to add warmth and richness, or a silver one for a cooler, more neutral tone. Consider using LED lights for energy efficiency and minimal heat production to enhance your reflector setup further.
Second, focus on the finer details of your miniature. Directing light with a small reflector can highlight textures and intricate designs, making them more prominent. This not only brings out the craftsmanship but also adds a sense of realism to your photos.
Third, experiment with different reflector materials and colors to see which combinations work best with your subjects. Each miniature is unique, and varying your approach can lead to stunning results.
- Use a gold reflector for warm tones
- Highlight textures with small reflectors
- Experiment with different reflector materials
At a Glance
By using reflectors in miniature photography, you'll elevate your images to a whole new level. Balance light and shadows to achieve a natural look, create depth and dimension by highlighting contours, and enhance colors and details with targeted reflections. These techniques will transform your miniature scenes, making them more vibrant and lifelike. So grab your reflectors and start experimenting—you'll be amazed at the difference it makes!


