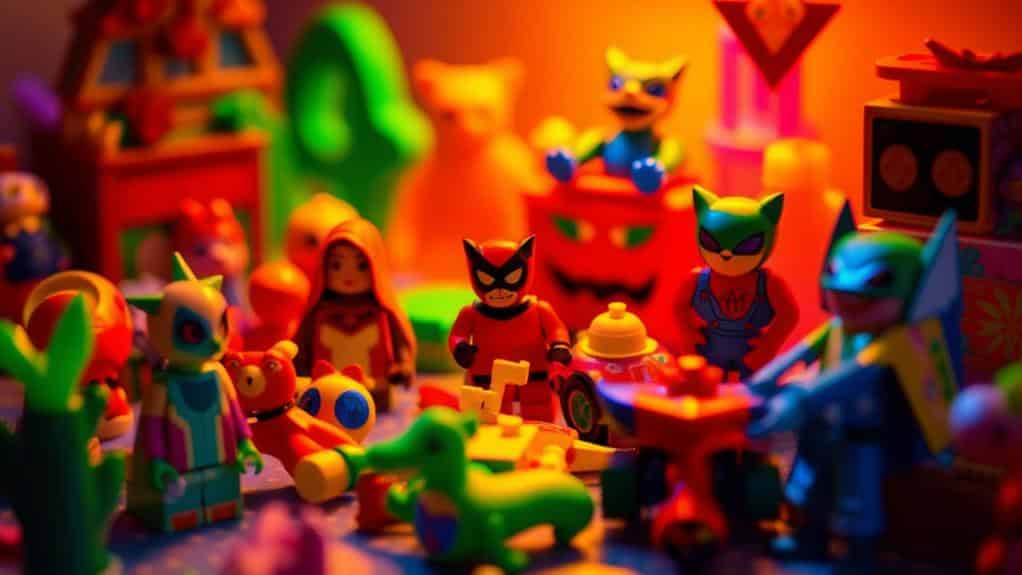
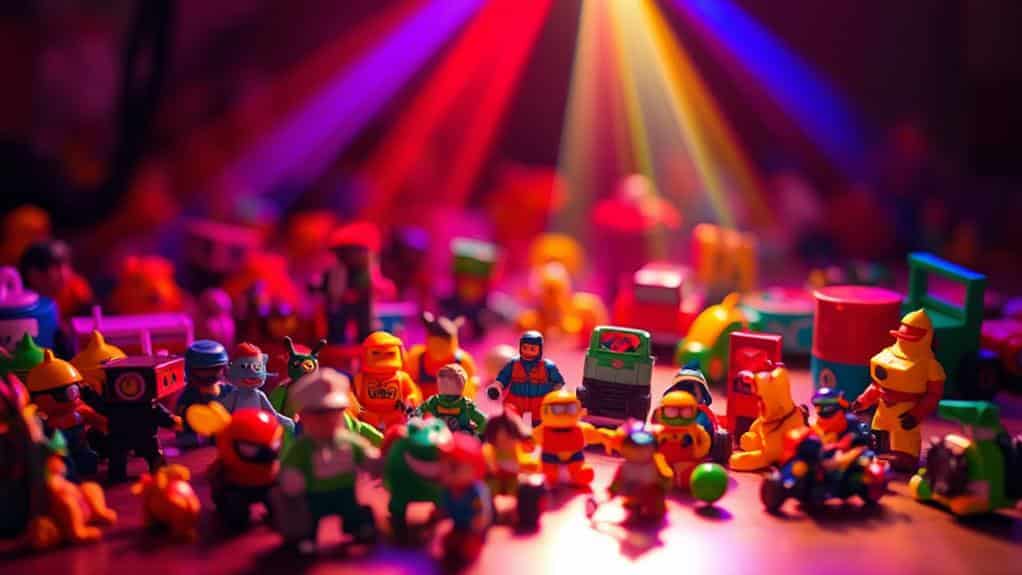
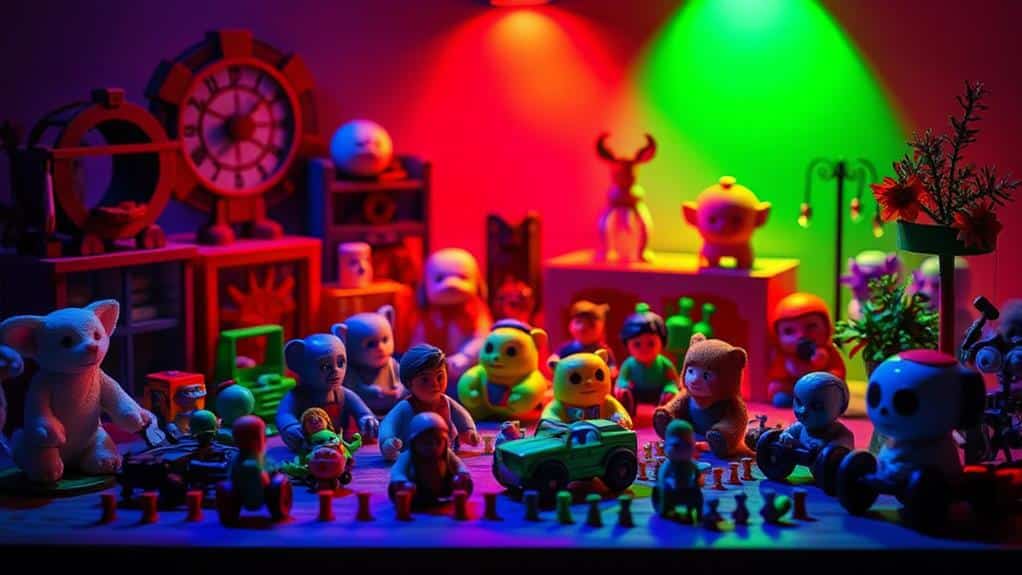
Elevate your toy photography with these colored light tips. First, choose warm colors for excitement and cool tones for calmness to reflect the desired emotion. Second, incorporate complementary or analogous colors to make subjects pop or harmonize. Third, experiment with colored gels to transform ordinary lighting into magical effects and highlight details. Fourth, balance natural light for authenticity with artificial light for control, adjusting the temperature for dynamic interactions. Finally, play with light angles to create depth, drama, and mood. With these techniques, you'll reveal enchanting storytelling possibilities in every shot. Explore further to master these creative tricks.
Choosing the Right Colors
Selecting the right colors is fundamental for enhancing the mood and atmosphere in your toy photography. When you choose colors, reflect on the emotions you want to evoke. Warm colors like reds, yellows, and oranges can create a sense of excitement and energy, perfect for action figures or dynamic scenes. On the other hand, cool colors such as blues and greens can convey calmness or mystery, which might suit more tranquil or mystical toys.
Contemplate the story or theme you want to tell with your toys. For example, if you're photographing a battle scene, bold colors can emphasize intensity and drama. If it's a fairy tale setting, softer pastels might work better to highlight the whimsical nature. It's also vital to assess color harmony. Complementary colors, like blue and orange, can make your subjects pop, while analogous colors, like green and blue, offer a more cohesive look.
Don't forget to factor in the background and props. These should complement your primary colors rather than clash. Experimenting with color gels or filters on your lights can also help you achieve the perfect balance, enhancing the overall composition and bringing your toy photography to life.
Creating Mood With Lights
When it comes to creating mood with lights in toy photography, playing around with different lighting techniques can transform your scene into something truly enchanting. Start by considering the story you want to tell. Do you want to evoke a sense of mystery, excitement, or calmness? Adjusting light intensity is a simple yet effective way to set the mood. Soft, diffused lighting can create a gentle, serene atmosphere, perfect for whimsical or peaceful scenes. In contrast, sharp, direct lighting can add drama and tension, highlighting specific details and creating bold shadows.
Experiment with light direction to further enhance mood. Lighting from below can give your toy an eerie, otherworldly look, while side lighting adds depth and drama by casting intriguing shadows. Backlighting, on the other hand, can create a silhouette effect, emphasizing the toy's shape and adding a sense of mystery or awe.
Using Colored Gels

With colored gels at your disposal, you can dramatically alter the mood and feel of your toy photography. These thin sheets of colored plastic are placed over your light sources to transform ordinary lighting into something magical. By experimenting with different hues, you can evoke emotions, create depth, and add a unique personality to your shots.
Start by choosing colors that complement the scene you're shooting. For example, use warm reds and oranges to create a cozy, inviting atmosphere, or opt for blues and purples to evoke mystery or tension. You can layer different gels to produce custom colors, allowing you to tailor the lighting to your specific vision.
Position the light source with the gel at different angles to see how it affects shadows and highlights. Gels can be used to highlight specific features of your toys, drawing attention to details that might otherwise be overlooked.
Balancing Natural and Artificial Light
Incorporating both natural and artificial light into your toy photography can elevate your images to a whole new level. Natural light offers a soft, authentic touch, while artificial light gives you control over intensity and color. To achieve a balanced look, start by observing how natural light interacts with your scene. Use it as your base, letting it highlight the toys’ details and create gentle shadows. Morning or late afternoon light often works best, offering a warm, flattering hue. To enhance the impact of your composition, consider integrating artificial light sources to fill in shadows or add emphasis to specific areas of your scene. Experimenting with different angles and positions can lead to fascinating effects, thereby boosting toy photos with sunlight without overpowering the natural ambiance. By skillfully blending these lighting techniques, you’ll create vibrant, mesmerizing images that truly bring your toys to life.
Next, introduce artificial light to enhance and complement the natural light. Use tools like LED panels or desk lamps to fill in shadows or add dramatic effects. Adjust the color temperature of your artificial lights to match or contrast with the natural light. For instance, a cool LED can balance the warmth of sunlight, creating a dynamic interplay.
Experimenting With Light Angles

Play around with different light angles to add depth and drama to your toy photography. By adjusting the position of your light source, you can create various effects that highlight the unique features of your subjects. Try placing the light low to the ground for a dramatic, upward cast shadow that gives toys an imposing look. Alternatively, a high angle can create soft, sprawling shadows that add a gentle touch.
Experiment with side lighting to emphasize textures and intricate details. This technique can bring out the rough surfaces of a toy's clothing or the glossy finish of a car model, making them stand out. Backlighting, on the other hand, can create striking silhouettes, perfect for scenes where you want to evoke mystery or highlight a toy's shape.
Don't forget to reflect on the color of your light. Colored lights can drastically alter the mood of your photo and enhance the story you're telling. A warm light can give your scene a cozy, inviting feel, while cooler tones might suggest a more futuristic or somber atmosphere. Always be ready to adjust as you go, observing how each change affects your composition's overall impact.
Frequently Asked Questions
How Do Different Colored Lights Affect the Perceived Size of a Toy?
Color impacts perception. Warm lights can make toys appear larger, enhancing shadows and giving a sense of depth. Cooler lights might shrink them, flattening features. Experiment with both to see how your toy's dimensions change.
What Equipment Is Needed to Start Using Colored Lights in Toy Photography?
You'll need a set of colored gels or LED lights, a light stand, and a diffuser. Don't forget a reliable camera and tripod. Experimenting with angles and intensity helps you create stunning effects in your toy photography.
Can Colored Lights Be Used Effectively in Outdoor Toy Photography?
Yes, you can use colored lights effectively outdoors. They add drama and enhance your toy's features. Just make sure you balance natural and artificial light, considering the time of day for ideal results. Experiment with angles for creativity.
How Do I Prevent Colored Lights From Casting Harsh Shadows on Toys?
Imagine using a softbox with colored gels for a toy photo shoot. You can prevent harsh shadows by diffusing the light source. Position another light at a lower intensity to fill in any shadows.
What Are the Best Post-Processing Tips for Enhancing Colored Light Effects in Toy Photos?
To enhance colored light effects, adjust the saturation and hue in editing software. Use layer masks to selectively brighten areas. Don't overdo it; subtlety's key. Apply color grading techniques for a cohesive look. Experiment with contrast.
At a Glance
In toy photography, mastering colored light is like painting with a vibrant palette, bringing your creations to life. By choosing the right colors, you set the foundation. Creating mood with lights adds depth, and using colored gels gives you flexibility. Balancing natural and artificial light guarantees harmony, while experimenting with light angles uncovers hidden dimensions. Immerse yourself, play around, and watch your toy scenes transform into enthralling tales that enchant the eye and spark the imagination.


