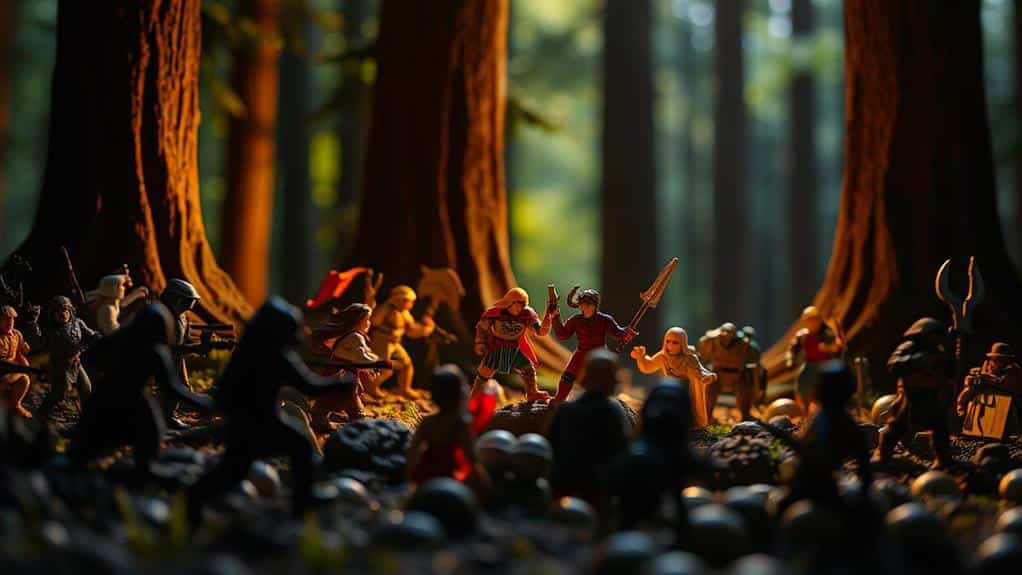
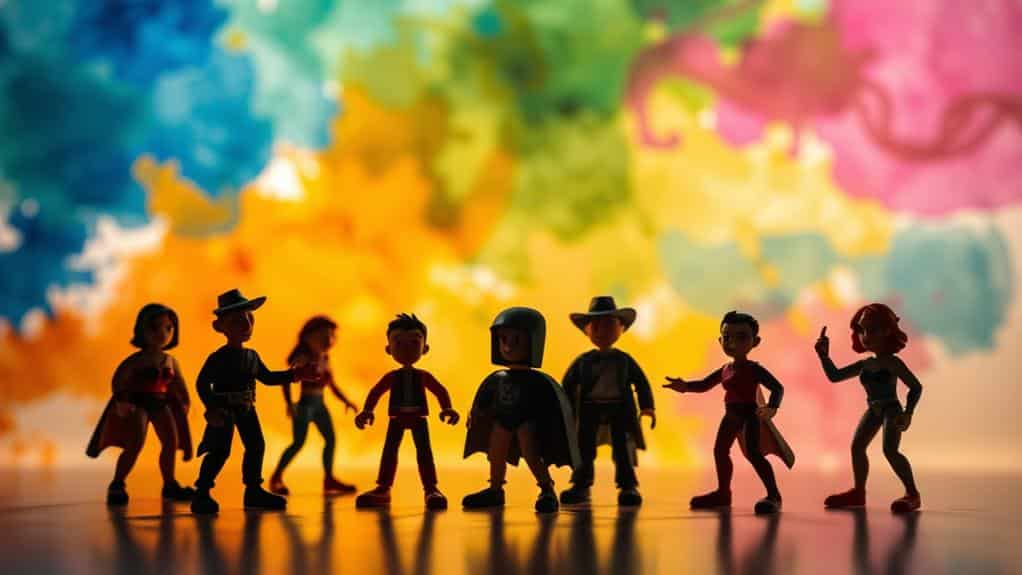
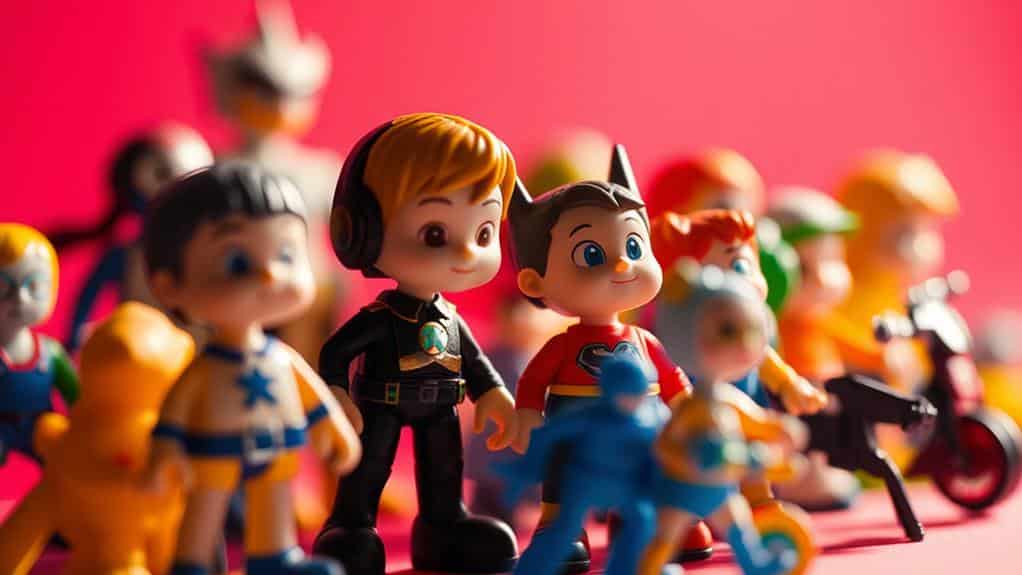
Exploring fresh angles in toy figurine photography lets you transform your images into enchanting scenes. Start by adjusting your camera angle to match your figurine's eye level, immersing viewers in the scene. Experiment with lighting; backlighting can create dramatic silhouettes, while side lighting adds depth. Consider your background choices carefully—a natural setting or an urban backdrop can enhance the story you're telling. Use macro lenses for close-ups that capture every detail and manipulate scale for added impact. These techniques help your photos stand out from the ordinary. Discover even more ways to elevate your toy photography game.
Mastering Scale and Proportion
Understanding scale and proportion is essential in toy figurine photography because it brings your miniature subjects to life. By manipulating these elements, you can create the illusion that your tiny figures are part of a much larger world. Start by choosing a background that complements the size of your figurine. This could be a diorama, natural setting, or everyday objects that appear oversized next to your subject. Position your camera at the figurine's eye level to make them feel more life-sized and immersive.
Use the right lens to enhance scale and proportion. A macro lens lets you get up close, capturing intricate details that can exaggerate size. Experiment with focal length to see how it affects your subject's relationship to the background. Wide-angle lenses can make nearby objects appear larger, while telephoto lenses compress space, allowing you to play with depth.
Don't forget about perspective. Altering your shooting angle can drastically change how your figurine interacts with its surroundings. Crouch low, tilt your camera, or even shoot from above to find the most effective viewpoint. Keeping an eye on these elements lets you craft compelling and realistic scenes that captivate viewers.
Playing With Light and Shadow
When photographing toy figurines, mastering light and shadow transforms your images from mundane to mesmerizing. You can create drama, highlight details, or set a mood by simply adjusting your light sources. Experiment with different types of lighting, such as natural light, lamps, or LEDs, to see how each affects your subject. Shadows can add depth and intrigue, making your figurines appear more lifelike.
Consider using backlighting to create silhouettes or side lighting for dramatic shadows. You can easily manipulate shadows by changing the angle of your light source or using reflectors and diffusers to soften harsh lines. Play around with the following lighting techniques to enhance your photos:
| Lighting Technique | Effect Achieved | Tips for Best Results |
|---|---|---|
| Backlighting | Creates silhouettes | Place light behind the toy |
| Side Lighting | Adds depth and drama | Position light at 90 degrees |
| Top Lighting | Flattens features | Use for a subtle highlight |
| Diffused Lighting | Softens shadows | Use a translucent material |
| Colored Lighting | Adds mood | Experiment with gels |
Storytelling Through Composition

While light and shadow shape the mood of your toy figurine photos, the composition tells the story. It's about creating a scene that draws viewers in and lets them imagine a narrative. Consider the rule of thirds to position your figurine in a way that feels intentional yet engaging. This technique guides the viewer's eye, making the story clear without overwhelming.
Think about the background and surroundings. Each element should complement your figurine, adding context or enhancing the narrative. A cluttered scene can distract, while a thoughtfully chosen backdrop can highlight the figure's role or setting. Are they adventurers scaling a rocky terrain or characters in a bustling city? Use props sparingly but purposefully to build the world around them.
Angles and perspectives play an essential role. A low angle can make your figurine appear heroic or dominant, while a high angle might suggest vulnerability. Experiment to see how different compositions change the story being told. Don't forget to leave space for imagination. Sometimes, less is more, letting viewers fill in gaps with their own interpretations. Through composition, you craft tales that are as vivid as your imagination.
Capturing Dynamic Movement
How can you breathe life into your toy figurines through photography? Capturing dynamic movement makes them leap off the screen. Start by creating a sense of action. Consider the pose: an outstretched arm or a mid-air jump can convey energy. Use your camera's settings—like shutter speed—to freeze motion or create a blur effect, adding drama to the scene. Lighting plays a vital role too. Position lights to highlight movement and cast shadows that suggest speed or direction.
Visualize your scene with a simple setup:
| Pose | Lighting Technique | Camera Setting |
|---|---|---|
| Running | Backlighting | High shutter speed |
| Jumping | Side lighting | Medium aperture |
| Flying | Overhead lighting | Slow shutter speed |
| Fighting | Low angle lighting | Fast shutter speed |
| Falling | Diffused lighting | Wide aperture |
Implement props or natural elements like cotton for smoke or water for splashes. These additions enhance the illusion of movement and make the scene more believable. Experiment with angles; get low, or shoot from above to add depth. Your figurines aren't just toys—they're characters bursting with life, ready to tell a story through your lens.
Experimenting With Backgrounds

Exploring diverse backgrounds can dramatically transform your toy figurine photography. By choosing different settings, you can highlight your figurine's character and create a story that captivates viewers. Begin with natural backgrounds like gardens or beaches to add an organic feel. These environments can enrich your scene with textures and colors that naturally complement your figurine.
Consider using urban settings as well. Brick walls, sidewalks, or graffiti-laden areas can give your figurines an edgy, modern vibe. Urban spaces often add a sense of scale and depth, making your figurine appear part of a larger world. If you prefer more control, create your own backdrops. Use colorful papers, fabric, or even digital screens to craft the perfect background.
Experiment with lighting to further enhance these backgrounds. Soft, diffused light creates gentle shadows, while harsher light can make the scene more dramatic. Don't shy away from using props that harmonize with your background. A tiny bench or a miniature tree can add another layer of realism. Remember, the background sets the stage for your figurine, so let it complement and enhance the story you're telling.
Utilizing Unique Camera Angles
Capturing your toy figurine from unique camera angles can elevate your photography from ordinary to extraordinary. By experimenting with different perspectives, you bring a fresh and dynamic feel to your photos. Try getting low, shooting up from the ground to give your subject a larger-than-life appearance. Alternatively, shoot from above for a bird's-eye view, which can add a sense of mystery and intrigue.
Choosing the right angle isn't just about creativity; it's about storytelling. A side angle can highlight the figurine's profile, while a close-up can capture the intricate details that might otherwise go unnoticed. Here's a handy table to help you decide:
| Angle Type | Effect | Best For |
|---|---|---|
| Low Angle | Dramatic, powerful look | Superhero figures, action shots |
| High Angle | Vulnerable, diminutive feel | Small figurines, group shots |
| Side Angle | Dynamic, motion-oriented | Vehicles, action scenes |
| Close-Up | Detailed, intimate view | Intricate designs, facial features |
Frequently Asked Questions
What Equipment Is Essential for Starting in Toy Figurine Photography?
You'll need a good camera, tripod, and lighting setup for toy figurine photography. A macro lens helps capture details. Don't forget a backdrop to set the scene and props to add creativity. Start simple, expand gradually.
How Can I Find Inspiration for Unique Toy Figurine Photo Themes?
Finding inspiration is like mining for gold. Plunge into movies, comics, or nature for fresh ideas. Join online communities, explore social media, or revisit childhood memories to spark creativity. Let your imagination guide your photographic journey.
What Are Some Tips for Post-Processing Toy Figurine Photos?
Enhance your toy figurine photos by adjusting contrast and saturation. Use cropping to create focus and remove distractions. Apply subtle filters for mood. Don't overdo edits; maintain the figurines' integrity while letting their charm shine through. Experiment with lighting angles to highlight textures and bring out fine details, as this can make your figurines appear more lifelike. Research the best camera settings for figurines, such as a low ISO to reduce noise and a smaller aperture for greater depth of field, ensuring every detail stays sharp. Take your time framing the shot to capture the unique personality and craftsmanship of each piece.
How Do I Maintain the Condition of My Toy Figurines During Shoots?
Keep your figurines in top shape by wiping them gently with a microfiber cloth. Avoid direct sunlight and extreme temperatures. Use stands or props to prevent falls. Handle with clean hands and store them in protective cases after shoots.
Are There Any Communities or Forums for Toy Figurine Photography Enthusiasts?
You can find several online communities for toy figurine photography enthusiasts. Check out Reddit's r/toyphotography or Facebook groups like "Toy Photographers." Engage with others, share your work, and learn new techniques to enhance your skills.
At a Glance
You've commenced on a creative journey, painting with light and shadow, and weaving stories through the lens. By mastering scale and proportion, you breathe life into these tiny worlds. Let your compositions dance with dynamic movement, and let backgrounds whisper tales untold. Explore unique camera angles that turn ordinary into extraordinary. With every click, you're not just capturing images—you're crafting magic. Keep experimenting, and watch your toy figurine photography soar to new heights.


