Elevate your toy photography by integrating unique DIY props that tell enchanting stories. Craft miniature furniture from balsa wood and fabric scraps to transform your scenes with charming details. Create personalized backgrounds using materials like cardboard or fabric for a tailored fit that enhances your narrative. Bring realism with handcrafted nature elements like wire trees or resin water features. Use personalized lighting effects from LED strips or colored gels to set the right mood. Finally, repurpose everyday items, like plastic wrap or aluminum foil, for interesting textures and reflections. With these elements, you're not far from discovering more transformative photography tips.
Miniature Furniture Creations
Creating miniature furniture can add a charming touch to your toy photography, transforming ordinary scenes into enchanting stories. Imagine your favorite action figures lounging on a tiny sofa or a doll enjoying tea at a petite table. These small pieces bring life and realism to your photos, setting the stage for mesmerizing narratives. You have the creative freedom to craft chairs, tables, and even beds that reflect the personality of the toys you're photographing.
Start by gathering materials like balsa wood, fabric scraps, and glue. You'll find that crafting these miniatures is both enjoyable and rewarding. Measure and cut the wood to create frames for chairs or tables, using glue to hold them together. Add fabric for cushions or tablecloths to enhance the realism. Don't forget to pay attention to scale. The furniture should complement your toys without overshadowing them.
Experiment with different styles—modern, rustic, or vintage—to match the theme of your shoot. These pieces not only serve as props but also add depth to your compositions. Through miniature furniture, you're adding layers of storytelling, drawing viewers into the tiny worlds you've created.
Custom Background Designs
While miniature furniture sets the stage for your toy photography, custom backgrounds can elevate your scenes to a whole new level. Imagine having a backdrop that perfectly complements the narrative you're trying to tell. Instead of relying on store-bought options that might not fit your vision, you can create a personalized background that enhances the theme and mood of your photos.
Start by considering the story you want to convey. Whether it's an urban landscape, a futuristic city, or a cozy living room, tailor your backdrop to match. Use materials like cardboard, foam boards, or fabric to construct the base. Paint or print textures and patterns that suit your theme, ensuring they don't distract from your subject. You could also add details like graffiti for an urban setting or wallpaper patterns for indoor scenes.
Lighting plays a significant role, so think about how shadows and highlights will interact with your background. Position your lights to create depth and realism. Don't hesitate to experiment with different materials and techniques to discover what works best for you. By crafting custom backgrounds, you add a personal touch that makes your toy photography truly stand out.
Handcrafted Nature Elements

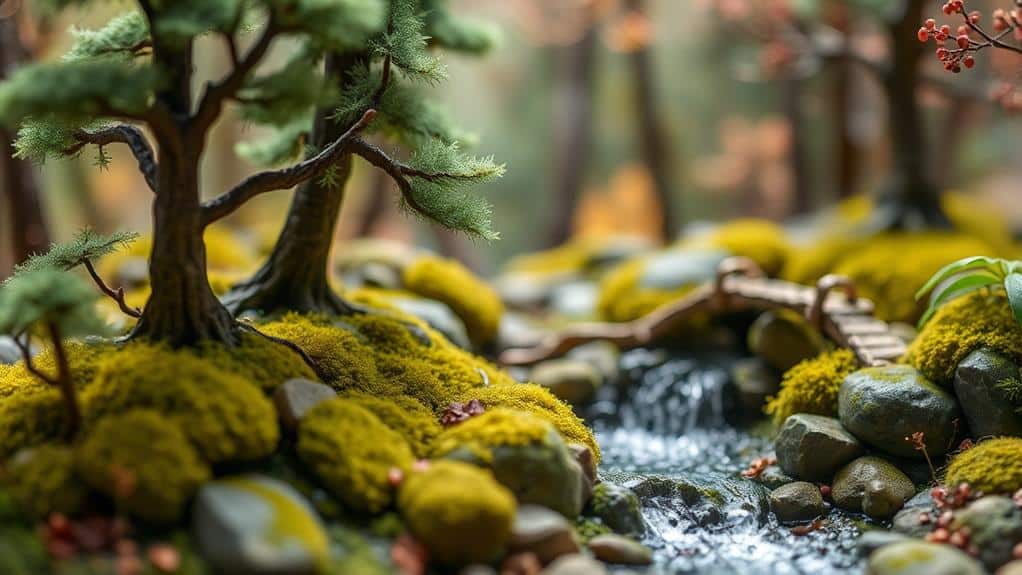
Immerse yourself in the world of handcrafted nature elements to bring your toy photography to life. By crafting miniature landscapes, you'll create a backdrop that adds depth and realism to every shot. Not only do these elements enhance the aesthetic, but they also tell a story, drawing viewers into the tiny universe you've meticulously built. You can start with simple materials like clay, wire, and foam to mimic natural settings.
Consider incorporating these elements:
- Miniature Trees: Craft tiny trees using wire for trunks and sponge or dried moss for foliage. They add an authentic touch to forest scenes.
- Rocks and Boulders: Mold foam or use clay to create realistic rock formations. Paint them to match the desired terrain.
- Water Features: Simulate water with resin or clear epoxy to craft ponds, rivers, or even small waterfalls.
- Grass and Ground Cover: Use green flocking or static grass to mimic meadows or fields, adding texture to your photos.
- Flowers and Plants: Create small plants or flowers with paper or fabric for vibrant pops of color.
These handcrafted elements not only enhance your photos but also give you complete creative control over your miniature world.
Personalized Lighting Effects
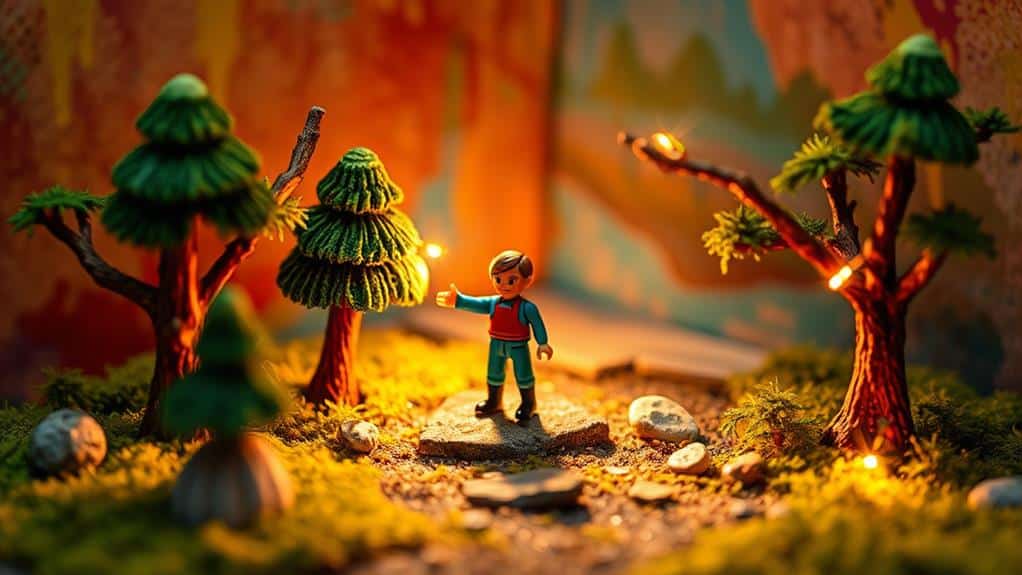
After crafting a detailed miniature landscape, it's time to shine a spotlight on your scene with personalized lighting effects. Lighting can dramatically change the mood and tone of your toy photography, so don't just rely on natural light. Think about how you can use DIY solutions to create unique lighting conditions. Start by experimenting with different light sources, like LED strips or fairy lights, that you can shape and position to highlight specific elements of your scene.
Consider using colored gels or transparent colored materials to change the hue of your lights. This can add an emotional layer to your photography, making it more dynamic and engaging. You might also use small, adjustable desk lamps to create spotlights or soft shadows, enhancing the depth and realism of your setup.
Reflective surfaces can bounce light into areas that need a bit more brightness or create interesting reflections. Try using household items like aluminum foil or mirrors to achieve these effects. Remember, the key is to experiment and see what works best for your particular scene. With a bit of creativity, you'll find that personalized lighting can transform your toy photography into a mesmerizing visual story.
Repurposed Everyday Items

Incorporating repurposed everyday items into your toy photography setup can add both creativity and resourcefulness to your scenes. You'd be amazed at how common household objects can transform your toy photography, giving it a unique touch without breaking the bank. Look around your home, and you'll find a treasure trove of potential props that can help tell a story or create a specific atmosphere.
Consider these items for your next shoot:
- Kitchen Sponges: Use them to mimic rocks or terrain for your toy figures to interact with.
- Plastic Wrap: Create water effects or simulate a reflective surface with this versatile material.
- Aluminum Foil: Perfect for creating futuristic or metallic backgrounds that add depth to your photos.
- Old CDs: Use them to reflect light or add colorful patterns to your composition.
- Cotton Balls: Craft clouds or smoke effects for dynamic scenes.
Frequently Asked Questions
How Can I Make My Toy Photos Appear More Dynamic and Engaging?
To make your toy photos more dynamic and engaging, play with lighting, angles, and backgrounds. Use household items creatively for props. Experiment with perspective and depth, and add motion by capturing toys in action or mid-air. To enhance your shots further, consider using vibrant or textured surfaces as backdrops to add visual interest. Don’t overlook the value of simple setups—cardboard tips for toy photography, like cutting out shapes or creating miniature environments, can bring your scenes to life. With a little imagination, even basic tools can transform your toy photography into stunning compositions.
What Are Some Budget-Friendly Prop Ideas for Toy Photography Beginners?
You've heard props can transform your toy photography, right? Try everyday items like paper, cardboard, or string to create affordable backgrounds and scenes. These simple props can make your photos enchanting, adding depth and personality without breaking the bank.
How Do I Choose the Right Scale for Props in Toy Photography?
Choose the right scale by matching props to your toy's size. Measure the toy and compare it to the prop's dimensions. Confirm proportions look natural to maintain realism and avoid distractions in your composition.
Are There Any Safety Tips for Using DIY Props With Toys?
Better safe than sorry, right? Guarantee your DIY props are non-toxic and free from sharp edges. Always supervise kids during play. Test the stability of structures to prevent accidents and keep tiny parts away from small children.
How Can I Incorporate Storytelling Into My Toy Photography Using Props?
To incorporate storytelling into your toy photography, use props to create dynamic scenes. Think about the narrative you want to convey and select items that enhance the story. Experiment with angles and lighting to bring your tale to life.
At a Glance
When you immerse yourself in toy photography, the magic lies in the tiny details you craft. Miniature furniture, custom backgrounds, and handcrafted nature elements whisper stories that larger worlds can't tell. Personalized lighting and repurposed items transform the ordinary into the extraordinary, making your scenes come alive. Your creativity, with a touch of ingenuity, turns these small wonders into enchanting tales, ensuring your toy photography possesses that elusive sparkle only a true artist can conjure.


