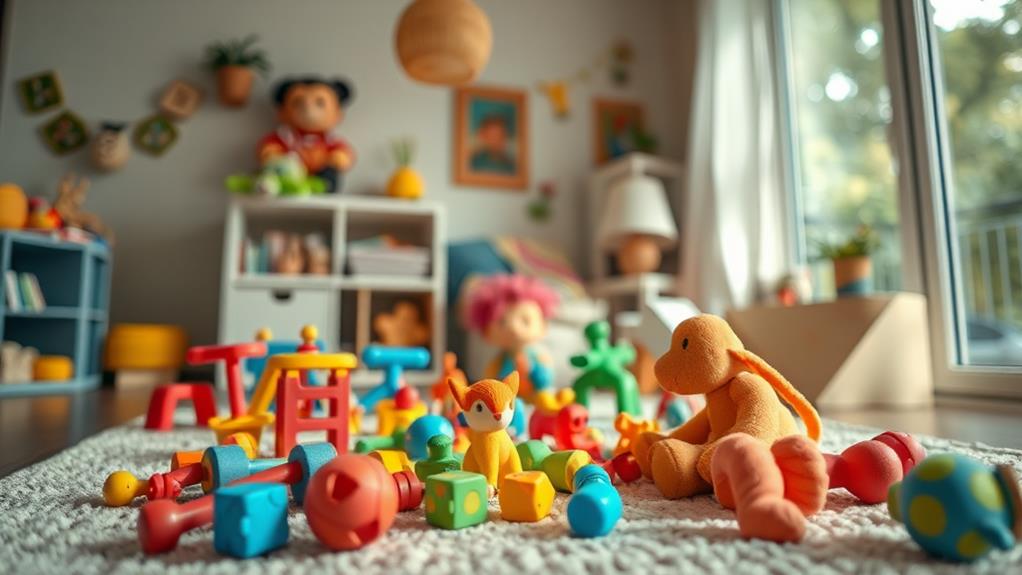
To elevate your indoor toy photography, experiment with these ten angles: embrace low angle drama and the worm's eye view for towering perspectives; use eye-level focus and side profile view for authenticity and intrigue. Capture the intricate details with close-up shots and highlight spatial relationships using overhead and bird's eye angles. Add dynamism through diagonal composition, and introduce depth with reflections and mirrors. Finally, play with forced perspective to create intriguing illusions. These angles not only enhance your toy scenes but also enrich storytelling with creativity and breathtaking compositions. There's even more possible when you explore these techniques further.
Low Angle Drama
Something magical happens when you capture your toys from a low angle. It transforms them into towering giants, adding drama and intensity to your photos. You're not just photographing toys; you're creating stories where your favorite action figures or dolls become larger-than-life characters. When you crouch down to their level, it's like entering their world, seeing things from their perspective.
To effectively use this angle, focus on emphasizing the toy's features and expressions. Get close and let the details pop against the background. You'll notice how this angle naturally adds depth and dimension, making the toy stand out more prominently in the frame. Use natural light streaming through a window to create intriguing shadows and highlights, giving your toys a dramatic flair.
Experiment with different backgrounds to see how they affect the mood of your shot. A plain surface can make the toy look more heroic, while a cluttered background might tell a different story. Additionally, try using props to enhance the scene and add more context. Remember, the key is to let your creativity flow and make your toys the stars of their miniature universes.
Overhead Perspective
From above, a new world unfolds, and the overhead perspective in toy photography offers a unique vantage point. This angle allows you to capture scenes that are rich in detail and composition, often revealing patterns and relationships between toys that might be missed from other angles. By looking down, you can create a sense of order or chaos, depending on how you arrange your subjects.
To make the most of this perspective, make certain your lighting is even and soft. Overhead shots can cast harsh shadows if the light’s too direct, so diffuse it with a softbox or a simple white sheet. Arrange your toys in a way that tells a story; perhaps a bustling cityscape or a neatly organized collection. Don’t be afraid to experiment with different heights and distances to find the most engaging shot. To further enhance your compositions, consider adding props that complement your scene, as they can significantly elevate the narrative quality of your shots. Researching the top locations for toy photography can also provide you with unique backdrops that add depth and interest, whether it’s a vibrant urban setting or a serene natural landscape. Ultimately, the key is to create a visually compelling environment that captivates your audience and showcases your toys in their best light.
Use a tripod to stabilize your camera, allowing for crisp, clear images. Adjust your camera settings to make certain everything's in focus, particularly if you're shooting a large scene. The overhead shot can transform ordinary toys into an enthralling tableau, providing an intriguing, all-encompassing view of your miniature world.
Eye-Level Focus
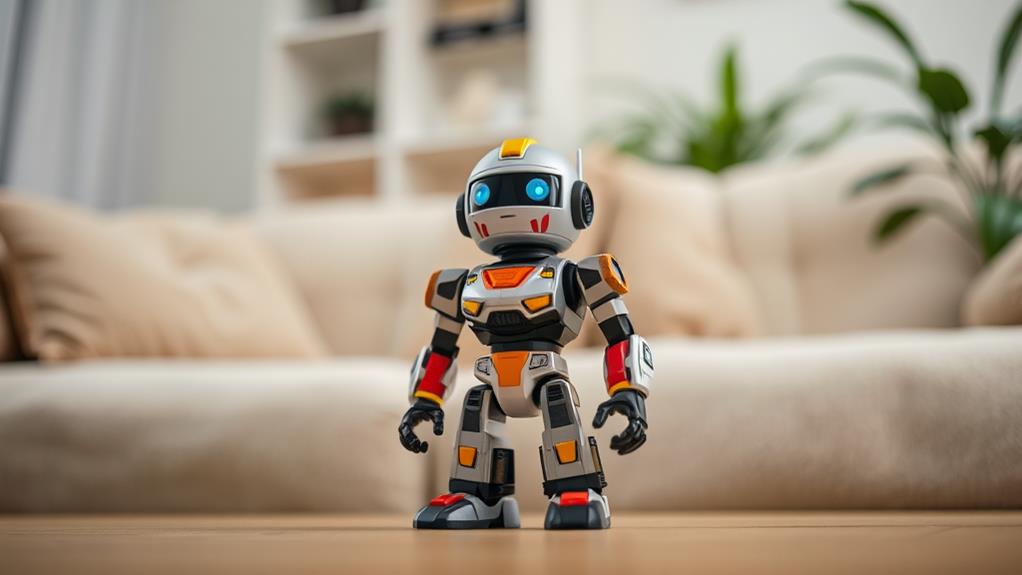
How do you capture the world from a toy's perspective? Start by getting down to eye level with the toy. This approach allows you to see the world as the toy would, giving your photos a sense of authenticity and relatability. By positioning your camera at the same height as the toy, you create a connection between the viewer and the subject, making the toy appear more life-like and engaging.
To achieve the perfect eye-level focus, you'll need to adjust your camera settings carefully. Use a wide aperture to blur the background and emphasize the toy. This technique draws the viewer's attention directly to the toy, highlighting its details and features. Pay attention to lighting, as well. Natural light works best, but if you're using artificial lighting, make sure it's soft and evenly distributed to avoid harsh shadows.
Experiment with different angles at eye level. Move around the toy to discover the most compelling perspectives. Remember, your goal is to tell a story through the toy's eyes. By capturing the world from its viewpoint, you invite viewers to step into that miniature world, sparking imagination and wonder.
Side Profile View
In toy photography, capturing a side profile view can add depth and intrigue to your images. This angle allows you to highlight the unique features of your subject, emphasizing contours and shapes that might go unnoticed from other perspectives. By focusing on the side profile, you can create a sense of mystery, making viewers curious about the unseen parts of the toy. This technique also offers the opportunity to play with shadows and lighting, which can dramatically affect the mood of your photograph.
To make the most of a side profile view, consider the following:
- Evoke Curiosity: Let the viewer wonder about the toy's expression or what's beyond the frame.
- Showcase Details: Highlight specific features, like a character's distinct profile or an intricate design.
- Create Depth: Use the background creatively to add layers and context to your shot.
- Manipulate Light and Shadow: Experiment with light sources to cast interesting shadows that enhance the profile.
- Tell a Story: Position the toy in a way that suggests movement or interaction with its surroundings.
Close-Up Details
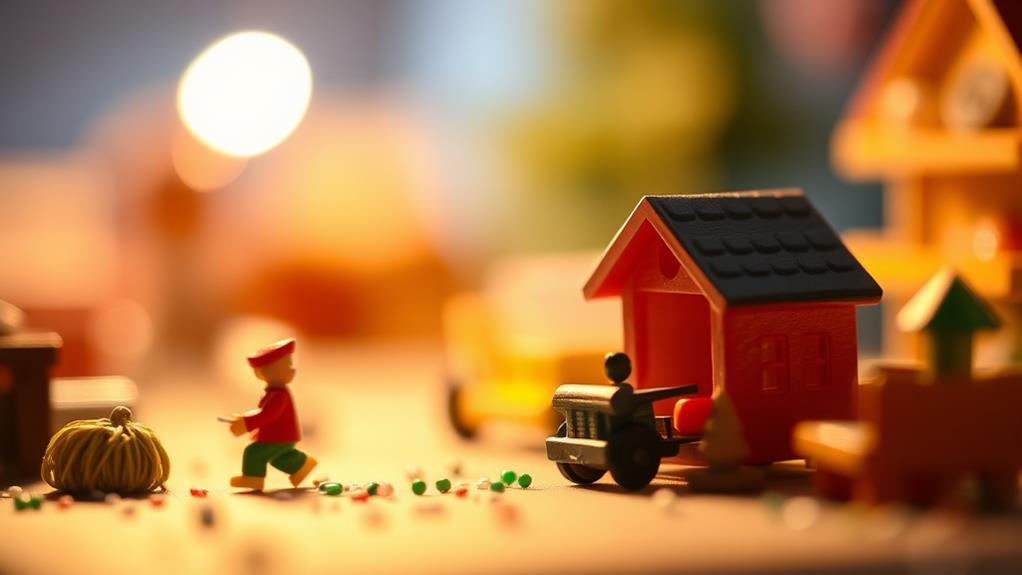
Focusing on close-up details in toy photography brings the intricate craftsmanship and design of your subject to life. By capturing the minutiae, you can highlight textures, expressions, and vibrant colors that might go unnoticed in wider shots. Start by selecting a toy with interesting features, then bring your camera closer to focus on these elements. Use a macro lens if possible; it allows you to capture fine details with sharp precision.
Lighting plays an essential role in close-up photography. Make sure your subject is well-lit to avoid unwanted shadows and bring out the intricacies of the toy's surface. Natural light from a window can be ideal, but a softbox or ring light can also work wonders indoors. Experiment with angles to find the most flattering perspective that emphasizes the toy's unique characteristics.
Pay attention to the background. A clutter-free backdrop guarantees the toy remains the focal point. A neutral or contrasting color can make the details pop even more. Keep your camera steady, using a tripod if necessary, to avoid blur and maintain focus. With these techniques, you'll create enchanting images that reveal the art and detail of your toy collection.
Bird's Eye Angle
A bird's eye angle offers a unique perspective in toy photography, transforming even simple scenes into intriguing compositions. By capturing your toys from above, you can create images that feel dynamic and fresh. This angle emphasizes the layout and spatial relationships between different elements, giving life to your miniature worlds. It's perfect for showcasing scenes that include multiple figures or intricate setups. Plus, it allows you to highlight details that might otherwise go unnoticed.
When using a bird's eye angle, consider these emotional aspects:
- Nostalgia: Remind yourself of childhood playtime, looking down at your toys scattered across the floor.
- Wonder: Experience the awe of seeing a familiar scene from an unexpected viewpoint.
- Creativity: Inspire new storylines as you design imaginative landscapes from the top down.
- Joy: Capture the playful essence of toys, making them feel larger than life.
- Control: Feel empowered by arranging every element precisely as you envision it.
To achieve this angle, position your camera directly above the scene, keeping your composition balanced. Experiment with lighting and background to enhance the mood. The bird's eye angle invites you to explore your creativity and tell stories in a way that feels both familiar and exciting.
Worm's Eye View
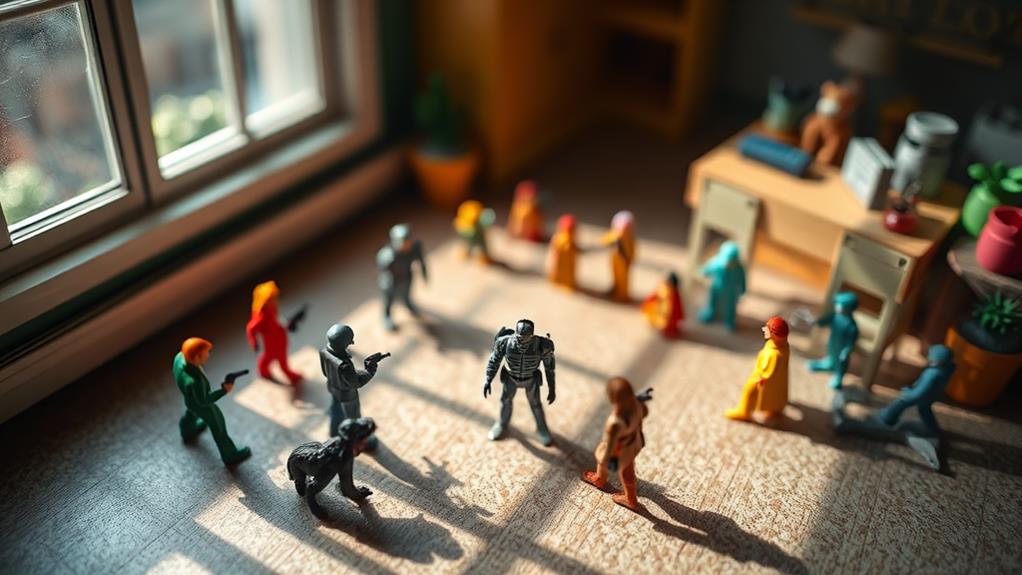
While a bird's eye angle gives you a wide perspective from above, the worm's eye view flips the script and places you at ground level. This angle can make your toy subjects appear larger-than-life, adding drama and presence to your photos. By positioning your camera low, you create a sense of scale that can make even the smallest figurines seem towering and grand.
To achieve this effect, place your camera directly on the surface where your toys are set. Experiment with different positions, tilting the camera slightly upward to capture the toy from its base to its top. This not only emphasizes height but can also bring attention to details that might go unnoticed from a higher perspective. Use this angle to create a dynamic and immersive environment, drawing viewers into the miniature world you've crafted.
Lighting plays a vital role in worm's eye view shots. Make sure your light source is positioned to cast soft shadows, enhancing the three-dimensionality of your subject. Avoid harsh overhead lighting, as it can flatten the scene. Instead, use side lighting to add depth and texture, making your toys truly stand out.
Diagonal Composition
Switching up your angles with a diagonal composition can instantly add dynamism and energy to your toy photography. By tilting your camera or positioning your toy at an angle, you create a sense of movement and excitement that's hard to achieve with traditional straight-on shots. Diagonal lines naturally draw the viewer's eye through the frame, giving your photos a more engaging and lively feel.
When you use diagonal composition, consider how the lines interact with the background and other elements in your scene. This technique can also help convey a sense of action or tension, which works wonderfully with toys depicting motion or adventure. Remember to experiment with different degrees of tilt to find what best complements your subject.
Here's why diagonal composition can ignite your creativity and connect with your audience:
- Excitement: Diagonals can make static scenes feel dynamic and alive.
- Tension: Add a sense of drama or suspense to your shots.
- Depth: Create a more immersive experience by leading the viewer's gaze.
- Balance: Play with asymmetry to achieve visually appealing results.
- Emotion: Capture the essence of playfulness and adventure in your photos.
Explore this angle and watch your toy photography transform!
Reflections and Mirrors
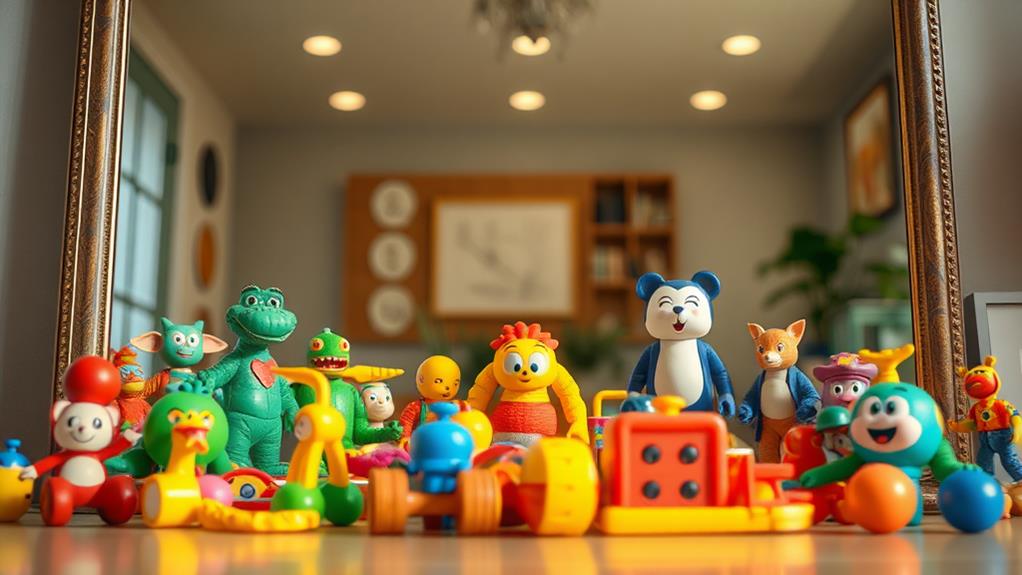
Incorporating reflections and mirrors into your toy photography can add depth and intrigue to your shots. By strategically placing a mirror behind or beside your toys, you create the illusion of a larger scene. This technique not only doubles the visual space but also introduces interesting symmetry, making your composition more dynamic. Consider using a small hand mirror or a larger wall mirror, depending on the effect you want.
When working with reflections, pay attention to the angle. Tilt the mirror slightly to catch just the right amount of light, ensuring your toys are well-lit without overwhelming glare. You can also experiment with different surfaces, like a shiny table or a glass sheet, to produce softer, more subtle reflections. These can highlight details and textures that might otherwise go unnoticed.
Mirrors also allow you to play with angles that are impossible in traditional shots. Capture a toy's face through its reflection while its back is turned towards the camera, creating a mysterious, contemplative feel. Remember, reflections can also show things outside your intended frame, so be mindful of what's behind the camera. With practice, you'll master the art of reflective photography.
Forced Perspective Fun
Although it might seem like an illusion, forced perspective is a clever technique that adds a playful twist to your toy photography. By manipulating distance and angles, you can create whimsical scenes where toys appear larger than life or interact with their surroundings in unexpected ways. To get started, place your toy closer to the camera while positioning the background elements further away. This creates the illusion that the toy is much bigger than it actually is.
Experiment with angles by crouching down or shooting from above. Remember, the key is to maintain a believable perspective. Here are some creative ideas to stir your imagination and evoke emotion:
- Gigantic Adventure: Make your toy look like a giant exploring the room.
- Tiny Heroics: Capture a toy saving a life-sized object.
- Fantasy World: Have your toy interact with plants or household items as if they're in a magical domain.
- Playful Pranks: Position a toy to appear like it's pushing or pulling something heavy.
- Miniature Mischief: Show your toy sneaking up on unsuspecting household pets.
With a bit of creativity and a keen eye for detail, you can transform ordinary toys into extraordinary subjects, offering endless storytelling possibilities.
Frequently Asked Questions
How Can Lighting Affect Toy Photography Indoors?
Lighting dramatically influences your toy photos. It defines mood, highlights details, and eliminates unwanted shadows. Use soft, diffused light for even illumination. Experiment with angles to create depth and dimension, making your toys appear more lifelike and dynamic.
What Type of Camera Is Best for Toy Photography Indoors?
You'll want a DSLR or mirrorless camera for toy photography indoors. They offer interchangeable lenses and manual controls. A macro lens can capture details, while a tripod guarantees stability. Consider good low-light performance for indoor settings.
How Do I Create a Miniature Set for Toy Photography?
Start by choosing a theme, then gather materials like cardboard, fabric, and paint. Construct walls and floors, adding detailed props for realism. Use lighting creatively to highlight features. Remember, experimentation leads to unique, enchanting miniature sets.
What Props Can Enhance Indoor Toy Photography?
You can enhance your indoor toy photography by using everyday objects as props. Items like fabric for backgrounds, small furniture, string lights, or even household plants add depth and interest, making your scenes more dynamic and engaging.
How Can I Prevent Shadows in Indoor Toy Photography?
You can prevent shadows in indoor toy photography by using diffused lighting. Place lights on both sides, and use white reflectors to bounce light. Avoid direct overhead lights, and try adjusting the toy's position for even illumination.
At a Glance
You've journeyed through the art of toy photography, each angle a brushstroke on the canvas of imagination. Embrace the low angle's drama, let overhead perspectives soar, and capture eye-level authenticity. Side profiles whisper stories, while close-ups reveal hidden worlds. With a worm's eye view, toys tower majestically, and diagonal compositions dance with energy. Reflections and mirrors double the magic, and forced perspectives play with reality. Now, you're ready to create miniature masterpieces that speak volumes.

