
To enhance your toy photography, understanding color psychology is key. Use red to inject energy, making action shots pop, while blue creates serene backgrounds for calm scenes. Yellow brings warmth and happiness, perfect for playful toys, and green is ideal for natural, outdoor shoots. Pair complementary colors like red and green or blue and orange for vibrant contrast and festive themes. Bold primary colors capture attention and convey nostalgia, while pastels create dreamy atmospheres. Experiment with monochromatic schemes to highlight textures. Combine warm and cool tones strategically to elevate visual storytelling. Discover more about enhancing your photos with color.
Understanding Color Psychology
Exploring color psychology in toy photography reveals how different hues can evoke specific emotions and set the mood of your images. When you understand how colors work, you can purposefully choose the ones that enhance the story or feeling you want to convey. For instance, red can inject energy and excitement into your photos, making them appear dynamic and lively. It's a great choice for action figures or scenes that need a burst of intensity.
On the other hand, if you're aiming for a calm and peaceful vibe, blue is your go-to. It's soothing and works well with toys that are meant to be serene or imaginative. Yellow, with its cheerful and bright nature, can add warmth and happiness, perfect for playful subjects or scenes that need a touch of optimism.
Green often symbolizes growth or nature, making it ideal for outdoor scenes or toys associated with the environment. Meanwhile, purple can infuse a sense of mystery or creativity, ideal for whimsical or fantasy-related toys. By understanding these color associations, you can manipulate your toy photography to evoke the desired emotions and create a more compelling visual story.
Choosing Complementary Colors
Harmony is key when choosing complementary colors for toy photography, as it can dramatically enhance the visual appeal of your images. Complementary colors, opposite each other on the color wheel, create vibrant contrast. When you use them effectively, they make your toys pop against the background, drawing the viewer's eye right to the subject. Consider the mood you want to convey and match your complementary pairs accordingly.
Here's a quick reference table for selecting complementary colors:
| Primary Color | Complementary Color | Example Use Case |
|---|---|---|
| Red | Green | Christmas-themed toys |
| Blue | Orange | Beach or ocean scenes |
| Yellow | Purple | Fantasy or mystical toys |
Try using red and green for festive scenes or blue and orange for a dynamic, beach vibe. Yellow and purple can give your shots a mystical aura. Don't be afraid to experiment with these combinations to find what works best for your specific toys and themes.
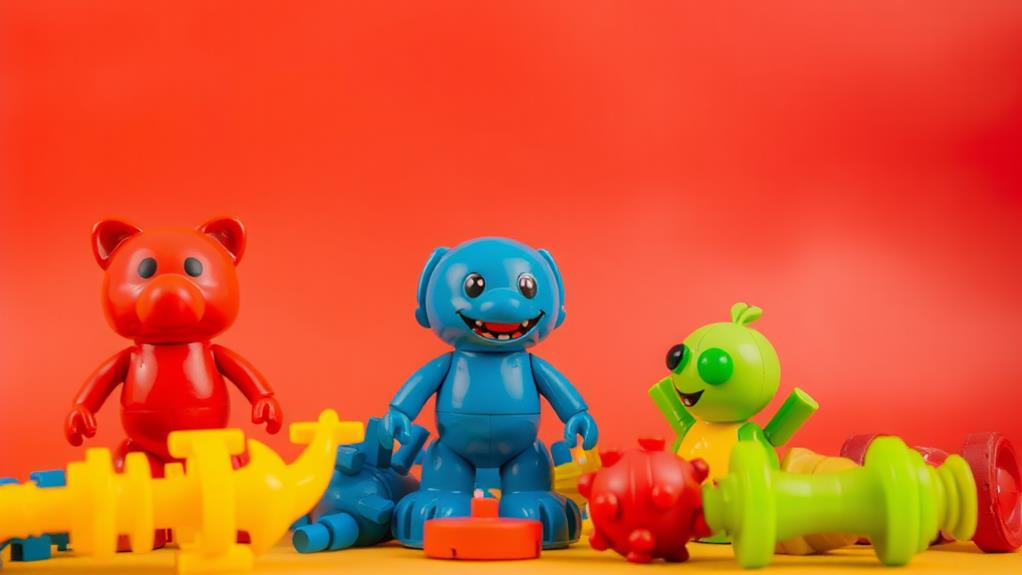
Using Bold Primary Colors

Bold primary colors can transform your toy photography by adding a striking and dynamic element to your images. When you incorporate vibrant reds, blues, and yellows, your photos immediately capture attention and convey energy. These colors have a universal appeal and can evoke a sense of nostalgia, often associated with classic toys and childhood memories. By using bold primary colors, you amplify the visual impact of your subjects, making them pop against any background.
To get started, think about the color wheel. Use these bold colors to create contrast and draw focus to your toys. For instance, placing a bright red toy against a blue sky or a yellow backdrop creates a visually arresting image. It's all about making your subject stand out, and primary colors do this effortlessly.
Lighting also plays an important role. Make certain your lighting highlights these colors without washing them out. Natural light works wonders, but soft artificial lighting can also help maintain the vibrancy of primary colors. Experiment with angles and shadows to add depth and dimension to your shots. With these techniques, bold primary colors will elevate your toy photography to a new level, making each image memorable and engaging.
Creating Mood With Pastels
Pastels can transform the mood of your toy photography by introducing a softer, more whimsical aesthetic. When you incorporate pastel colors, you create a dreamy, gentle atmosphere that invites viewers to explore the world you've crafted. These hues encourage a sense of nostalgia and innocence, making them perfect for capturing the essence of playful childhood memories.
Start by selecting pastel backgrounds or props to complement your toys. Soft blues, pinks, and yellows can work wonders in creating a serene and inviting scene. By using pastels, you can highlight the delicate features of your toys without overpowering them. This color palette often pairs well with natural light, which enhances the gentle glow of your composition.
Experiment with pastel-colored filters or editing tools to soften the overall image further. Don't be afraid to mix and match pastel shades to find combinations that evoke specific emotions or moods. Consider how pastel elements can guide the viewer's eye through the photo, creating a visual journey that feels both cohesive and enchanting. Play with contrasts, too, by introducing small pops of brighter colors to maintain visual interest and balance.
Exploring Monochromatic Schemes

Monochromatic schemes in toy photography can create striking and sophisticated images. By focusing on a single color and its variations, you can emphasize textures and details that might otherwise be overlooked. This approach can add depth and drama, transforming a simple toy into a piece of art. When you choose a monochromatic palette, you're not just limiting your color options—you're enhancing the subject's narrative and emotion.
To get started, consider these elements:
| Element | Explanation | Example |
|---|---|---|
| Primary Color | The base color for your scheme | Blue |
| Shades | Darker versions of the primary color | Navy, Midnight Blue |
| Tints | Lighter versions of the primary color | Sky Blue, Baby Blue |
Selecting the right primary color is vital. Imagine a toy robot in varying shades of metallic blue, from deep navy shadows to bright sky highlights. This approach can make the robot seem futuristic and sleek. Pay attention to lighting; it can enhance the monochromatic effect by casting shadows and highlights that accentuate different shades and tints. With practice, you'll find that monochromatic schemes not only simplify your process but also give your toy photography a timeless and elegant feel.
Utilizing Warm and Cool Tones
When it comes to toy photography, using warm and cool tones can greatly impact the mood and storytelling of your images. Warm tones like reds, oranges, and yellows evoke feelings of warmth, excitement, and nostalgia. They’re perfect for creating lively scenes or highlighting a toy’s playful nature. Imagine capturing a toy in a sunny, vibrant setting—warm tones can make the scene feel inviting and energetic. On the other hand, cool tones such as blues, greens, and purples can introduce a sense of calmness and serenity, often evoking feelings of mystery or tranquility. When choosing colors in toy photography, these cooler hues can be particularly effective for creating moody or atmospheric images, adding depth to the storytelling. By thoughtfully balancing warm and cool tones, photographers can enhance the emotional impact of their compositions and draw viewers into the imagined worlds of their toys.
On the other hand, cool tones such as blues, greens, and purples offer a sense of calm, mystery, and depth. These tones work well for creating a serene or dramatic atmosphere. Picture a toy in a mysterious forest or underwater adventure; cool tones can enhance the sense of wonder and intrigue.
To utilize these tones effectively, consider the story you want to tell. Are you aiming for a cozy, cheerful vibe? Lean into warm tones. Want to convey an epic journey or a tranquil moment? Cool tones are your allies. Experiment with lighting and backgrounds to emphasize these colors. Using natural light during different times of the day can help achieve the desired effect. Ultimately, combining warm and cool tones strategically will elevate your toy photography to new heights.
Incorporating Neutral Backgrounds

Balancing the vibrant interplay of warm and cool tones, neutral backgrounds offer a powerful tool to make your toy subjects stand out. When you use a neutral backdrop, you create a canvas that doesn't compete with your toys, but rather highlights their colors, details, and textures. A neutral background can be anything from soft grays to earthy browns or even gentle whites. By incorporating these colors, you allow your toy's vibrant hues to truly pop, grabbing the viewer's attention and directing their focus where you want it.
Here's why neutral backgrounds work wonders in toy photography:
- Minimize Distractions: A neutral backdrop keeps the focus on the toy, not on the background noise.
- Color Contrast: It enhances the contrast between the background and your toy, emphasizing its colors.
- Versatility: Neutral tones work well with any toy color scheme, making them highly adaptable.
- Professional Look: They offer a clean, polished appearance to your photos, elevating them visually.
- Timeless Appeal: Neutral backgrounds guarantee your photos remain stylish and relevant over time.
Frequently Asked Questions
What Lighting Techniques Best Highlight Toy Colors in Photography?
Use soft, diffused lighting to minimize harsh shadows and enhance toy colors. Play with backlighting to create depth and highlight details. Don't forget to experiment with colored gels to add mood and vibrancy to your shots.
How Do Camera Settings Affect the Vibrancy of Toy Colors?
Adjusting your camera settings can greatly boost toy color vibrancy. Increase saturation for bolder hues, tweak white balance for true colors, and use a low ISO to reduce noise. Experiment until you capture those vivid, eye-catching shots.
Can Props Influence the Perceived Color of Toys in Photos?
When you employ props, they subtly alter toy colors by creating a harmonious or contrasting backdrop. Props can cast unique shadows or reflect light, giving toys a fresh perspective and enhancing their visual allure in photographs.
How Does the Time of Day Impact Toy Photograph Color Tones?
The time of day dramatically affects your toy photography. Morning light offers soft, warm tones, while midday gives bright, neutral colors. Evening light introduces rich, golden hues. Choose the right time to capture the desired mood in your photos.
What Editing Tools Enhance Toy Colors Post-Photography?
Think of editing tools as your magic wand. Use contrast to make colors pop, saturation to enrich hues, and sharpening for clarity. Adjust highlights and shadows to craft depth, making those toy photos burst with life and vibrancy.
At a Glance
In the magical world of toy photography, colors become your enchanted palette, painting stories that leap from the frame. Just like a wizard wields spells, you wield vibrant hues and subtle shades to cast emotions and captivate the viewer's imagination. Choose wisely, for each color is a brushstroke on the canvas of imagination, guiding the eye and heart on fantastical journeys. Embrace your role as the storyteller, and let colors be your magical ink.


