When choosing background colors for toy photography, think about how colors affect perception and mood. Use warm colors like red and orange for excitement, or cool tones like blue for calmness. Complementary colors can make your toys pop by creating vibrant contrasts. Neutral backgrounds, such as white or gray, offer a clean canvas and help toys stand out. Consider the story or theme you're capturing; seasonal colors add thematic nuances, while experimentation can lead to unique results. It's all about balance and enhancing toy features without overwhelming them. Explore further to discover nuanced tips for crafting perfect toy photos.
Understanding Color Psychology
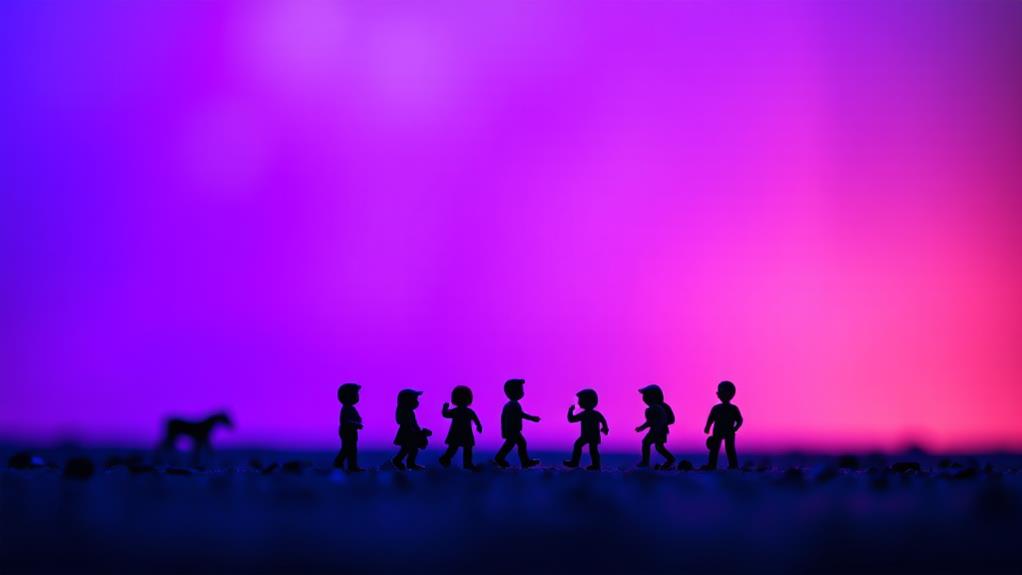
When you're diving into toy photography, understanding color psychology can give your images an edge. Color psychology is the study of how colors affect perception and emotions. By choosing the right background colors, you can evoke specific feelings and enhance the storytelling aspect of your photos. For instance, warm colors like red, orange, and yellow can create excitement and warmth. They draw attention and can make toys appear more vibrant. On the other hand, cool colors like blue, green, and purple can evoke calmness, serenity, or even mystery, which might complement toys that are more subdued or mysterious in nature.
You should consider the toy's characteristics when selecting a background color. If you're photographing a superhero action figure, using contrasting colors like a bold red or blue can convey power and action. For a gentle, plush toy, softer pastels or light shades might enhance its coziness and appeal. It's crucial to strike a balance, ensuring the background color doesn't overpower the toy but rather complements it. By leveraging color psychology, you can create more impactful images that resonate with viewers, making your toy photography stand out in a crowded field.
Enhancing Toy Features
Selecting the right background colors sets the stage for enhancing toy features, making them pop in your photographs. When you choose complementary colors, the details of your toys stand out more. For instance, if your toy has vibrant red accents, a green or neutral background can highlight these red features without overwhelming the viewer. This contrast draws attention directly to the toy, ensuring every unique detail is noticed.
Consider the main colors of the toy. If your toy is mainly blue, a warm-toned backdrop like orange or yellow can make it more striking. Alternatively, for pastel-colored toys, soft, muted backgrounds work best to maintain the delicate look while still drawing the eye to intricate features.
Think about the textures and shapes of the toy as well. A busy background might overshadow these elements, while a simple one allows them to shine. Use solid colors or subtle patterns to avoid distraction. Additionally, lighting plays an essential role in enhancing features. Natural light can bring out the true colors and textures of the toy, while artificial lighting allows you to experiment with shadows and highlights. By carefully selecting background colors, you can effectively showcase the essence of your toys.
Creating Mood and Atmosphere

Creating a mood and atmosphere in your toy photography adds depth and emotion to the scene. The background color plays an essential role in evoking specific feelings and setting the tone of the image. For instance, a dark, moody background can convey mystery or intensity, perfect for action figures or scenes depicting drama. On the other hand, soft pastels might suggest innocence or nostalgia, complementing toys like dolls or whimsical characters.
Consider the story you want to tell. A stormy blue background might create tension or anticipation, while a warm orange or red background can suggest passion, energy, or excitement. If you're aiming for tranquility or calmness, soothing greens or gentle blues work well. Neutral colors, like grays or beiges, can provide a balanced backdrop that doesn't distract from the main subject but still supports an overall theme.
Experimenting with different colors and observing their effects is key. You can use colored paper, fabric, or even digital editing tools to achieve the mood you're after. Remember, the background color should enhance your narrative, not overpower it. By thoughtfully choosing your colors, you'll craft images that resonate emotionally with your audience.
Complementary Color Pairings
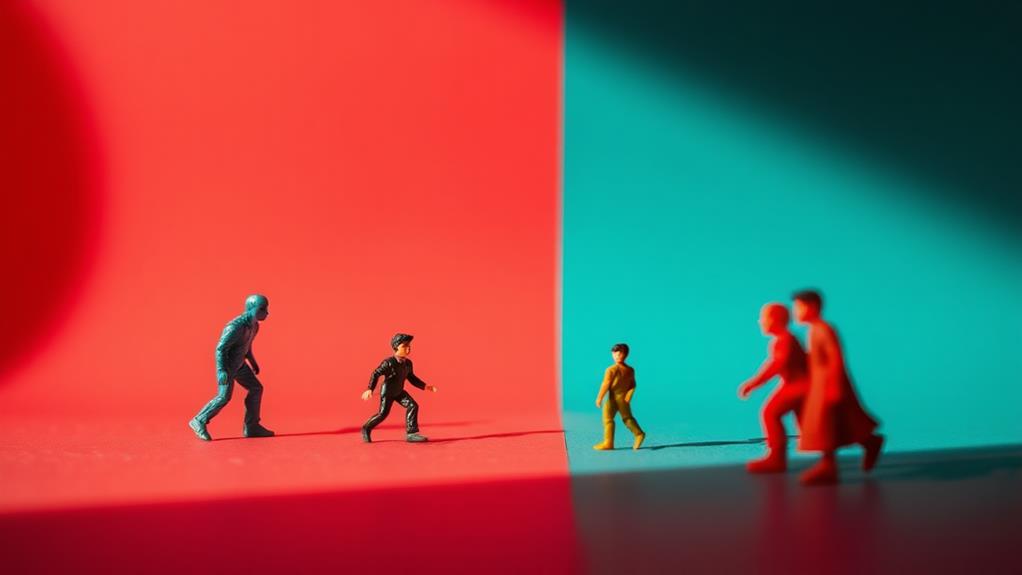
In toy photography, using complementary color pairings can make your images pop and draw the viewer's eye to the subject. Complementary colors are those located opposite each other on the color wheel, like blue and orange, red and green, or purple and yellow. When used effectively, these combinations create a vibrant contrast that enhances the details and shapes of your toys. You can use this technique to highlight specific features or simply make your toy the focal point of the image.
To get started, select a color present in your toy and choose its complementary color for the background. For instance, if your toy is mainly blue, consider an orange-hued backdrop. This approach guarantees that the colors accentuate rather than overwhelm each other. You can experiment with different shades and tones to find the perfect balance between the toy and its setting.
While shooting, pay attention to lighting as it influences how colors appear. Natural light often provides the most accurate color representation, but don't hesitate to experiment with artificial light sources to achieve the desired effect. By thoughtfully using complementary colors, you enhance your toy photography and engage your audience effectively.
Achieving Contrast and Balance

To achieve contrast and balance in toy photography, focus on the interplay between light and shadow. Start by identifying the main light source and how it interacts with your toy and background. Use this to your advantage by positioning your toy in a way that enhances its features and creates depth. Shadows can add drama and emphasize textures, making your toys pop against their background.
Choose background colors that highlight your toy's details without overpowering them. If your toy is brightly colored, opt for a background that's more subdued. This contrast draws attention to the toy itself. Conversely, if your toy has muted tones, a vibrant background can add interest and energy to the scene. It's all about finding that sweet spot where the toy stands out without clashing with its surroundings.
Remember to keep balance in mind. Too much contrast can overwhelm the viewer, while too little can make the image look flat. Experiment with different angles and distances to see how they affect the overall composition. Small adjustments can create a harmonious balance that enhances the storytelling in your toy photography.
Using Neutral Backgrounds
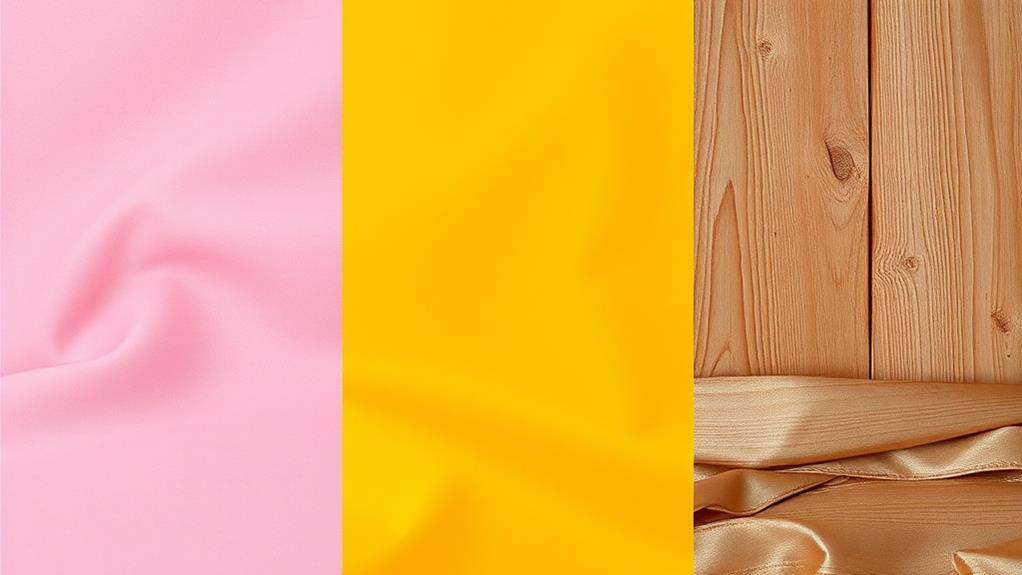
Neutral backgrounds play a pivotal role in toy photography by allowing your subjects to take center stage. When you use colors like white, gray, or beige, it creates a clean canvas that highlights the toy's details and colors without distraction. This approach guarantees that viewers focus on the subject rather than what's happening in the background. When you want to emphasize the intricate features of a toy, neutral tones offer the perfect backdrop.
Opt for a white background if you're aiming for a bright, airy feel. It reflects light well, making your toys appear vibrant and full of life. Gray backgrounds, on the other hand, are excellent for creating a sophisticated, balanced look. They can add depth without overwhelming your subject. Beige or other earth tones provide warmth, making them ideal for a cozy, inviting atmosphere.
Seasonal and Thematic Colors

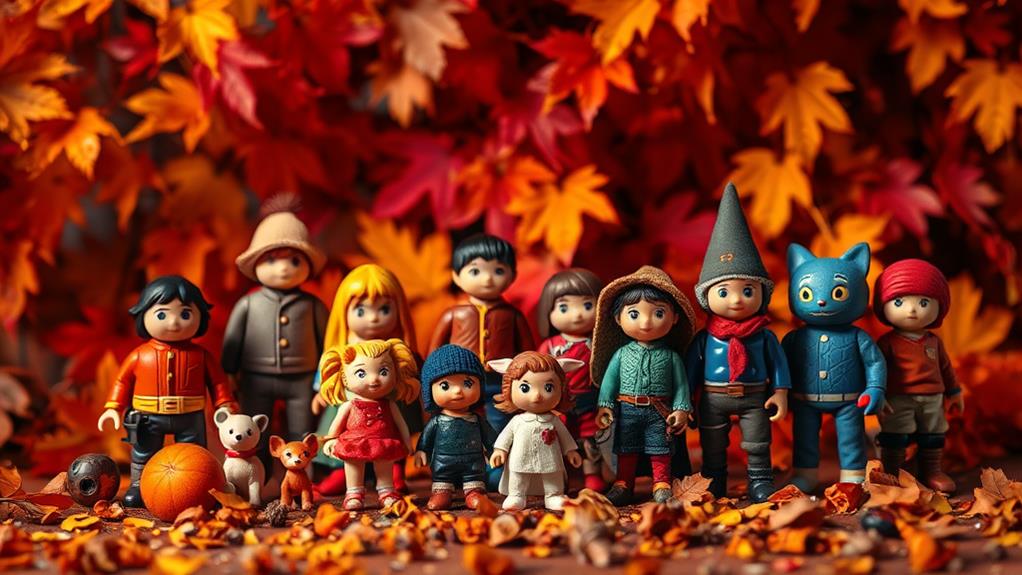
When you're looking to capture the essence of a particular season or theme in your toy photography, incorporating seasonal and thematic colors can make a world of difference. Imagine a vibrant red and gold backdrop for a festive holiday scene, or soft pastels for a springtime setting. These colors immediately convey the mood and setting, drawing viewers into the world you've created with your toys.
Start by considering the season or theme you want to represent. For example, autumn might call for rich oranges, deep reds, and earthy browns, while a beach theme could benefit from bright blues and sandy yellows. Aligning your background colors with the season or theme enhances the storytelling aspect of your photography, making the image more immersive.
Don't shy away from experimenting. If you're shooting a winter scene, try using cool blues or whites with a hint of silver to evoke a chilly atmosphere. For a Halloween theme, a contrasting mix of black, purple, and orange can heighten the eerie vibe. Remember, your background sets the tone, so choose colors that complement the toys and enhance the overall narrative you're aiming to convey.
Frequently Asked Questions
How Do I Prevent Glare and Reflections in Toy Photography Backgrounds?
You should use diffused lighting to minimize glare and reflections. Avoid direct light sources, and position your lights at angles. Matte backgrounds can also help. Experiment with light placement until you achieve the desired effect.
What Background Materials Work Best for Outdoor Toy Photography?
When shooting toys outdoors, you can't go wrong with nature's canvas. Try using textured surfaces like rocks or grass. They add depth and interest without stealing the spotlight. Remember, simplicity often speaks louder than chaos.
How Can I Create a DIY Background for Toy Photography on a Budget?
You've got options! Use poster boards, fabric remnants, or even painted cardboard for a DIY background. Get creative with textures and colors. Repurpose materials around your home to keep costs low while achieving a unique look.
Are There Specific Background Textures Ideal for Photographing Action Figures?
When push comes to shove, textured backgrounds like brick walls or grassy fields work wonders for action figures. You should consider the character's theme and setting, ensuring textures enhance the scene and don't outshine the main subject.
How Can I Light Backgrounds Effectively for Toy Photography?
To light backgrounds effectively, position your light source to create depth and dimension. Use diffusers to soften shadows. Experiment with angles and intensity. Backlighting can add drama, while side lighting emphasizes texture. Adjust until you've achieved the desired effect.
At a Glance
In toy photography, you choose colors that tell a story, create moods that captivate, and highlight features that stand out. You pair colors to complement, balance hues to contrast, and select neutrals to simplify. You embrace seasonal tones to stay relevant and thematic shades to evoke emotion. With each choice, you enhance the visual narrative, elevate the toy’s charm, and engage the viewer’s imagination. Your colors don’t just decorate—they communicate, resonate, and elevate. By experimenting with various color techniques for toy photography, you can further amplify the storytelling aspect of your compositions. Utilizing techniques like color blocking or monochromatic schemes can create striking visuals that draw the viewer’s eye and create a cohesive aesthetic. Moreover, incorporating contrasting colors can highlight the toy’s unique features, transforming a simple shot into an unforgettable image that lingers in the imagination.


