For stunning toy figurine photography, choose a macro lens with a focal length between 60mm and 105mm to capture life-size detail. Opt for a wide aperture like f/2.8 for flexibility in lighting. Use manual focus for precision and try focus stacking to enhance depth. Don't forget your tripod—stability is key for sharp photos. Set lights at a 45-degree angle and experiment with backgrounds for a more dynamic look. Control depth of field to perfect mood and detail. This setup will let your creativity flow and you'll find these insights just scratch the surface of what you can create.
Choosing the Right Macro Lens
When it comes to choosing the right macro lens for toy figurine photography, understanding your specific needs and budget is key. You'll want to start by identifying the type of camera you have, as this will determine the compatible lenses available to you. If you're using a DSLR or mirrorless camera, you have a wide range of macro lens options ranging from third-party brands to those made by your camera's manufacturer.
Consider the focal length of the macro lens. For toy figurines, a lens with a focal length between 60mm and 105mm is often ideal. This range allows you to capture intricate details without needing to be excessively close to your subject, which can cause shadows or distortion.
Next, assess the lens's magnification ratio. A 1:1 magnification is generally recommended, as it reproduces your toy figurines at life-size on the camera's sensor, capturing every minute detail vividly. Ultimately, don't overlook the importance of aperture. A lens with a wider maximum aperture (like f/2.8) provides more flexibility in various lighting conditions, helping you get those sharp, breathtaking shots. Balancing these factors will guide you to the perfect macro lens.
Understanding Depth of Field
Having chosen the right macro lens, it's important to grasp how depth of field (DoF) affects your toy figurine photography. DoF determines how much of your image is in focus, which can dramatically impact the mood and detail of your shots. A shallow DoF can isolate your subject, while a deeper DoF can capture more of the scene's details. Here's how you can control and understand DoF in your photography:
- Aperture settings: Lower f-stop numbers (like f/2.8) create a shallow DoF, blurring the background and foreground, while higher f-stop numbers (like f/16) increase DoF, keeping more of the scene in focus.
- Distance from subject: The closer you are to your toy figurine, the shallower the DoF. Moving back slightly can add more elements into focus, giving you creative control over the composition.
- Focal length: Longer lenses (e.g., 100mm) naturally produce a shallower DoF compared to shorter lenses (e.g., 50mm), influencing how you frame your shots.
- Camera sensor size: Full-frame sensors often create a shallower DoF compared to crop sensors, affecting how you adjust other settings for desired effects.
Setting Up Proper Lighting

To truly elevate your toy figurine photography, proper lighting setup is essential. It brings out the intricate details and textures that make your figurines enchanting. Start by choosing a well-lit space with controllable lighting. Natural light can be your best friend, but it's often unpredictable. Instead, consider using softboxes or LED panels for consistent illumination.
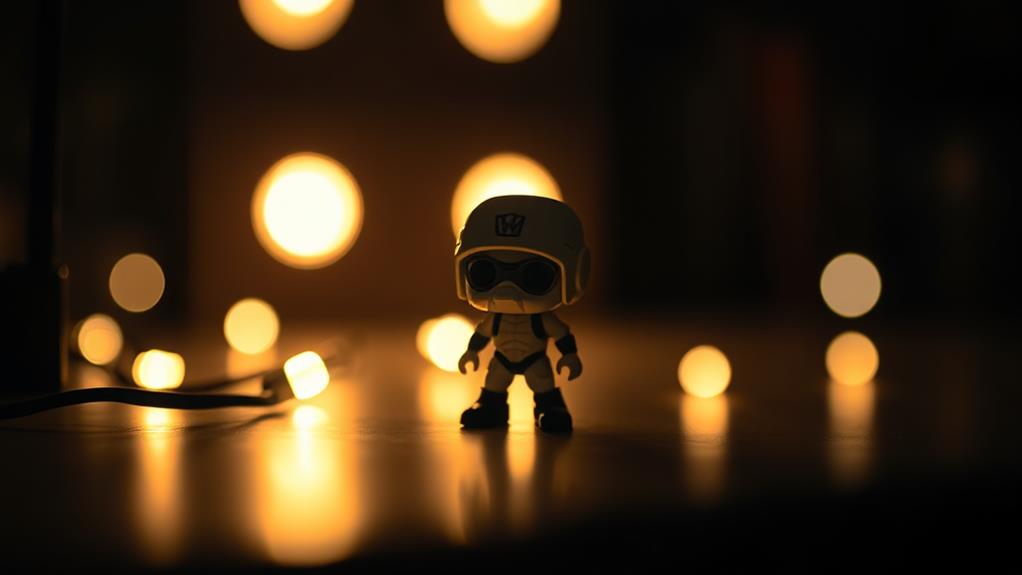
Position your lights to avoid unwanted shadows that can obscure your figurine's features. Placing lights at a 45-degree angle from the subject often works well, providing even coverage and highlighting details. Don't forget about backlighting; it adds depth and can make your figurine pop against the background.
Experiment with different light intensities and directions. Use diffusers to soften harsh light, preventing overexposed spots. Reflectors can bounce light onto shadowy areas, ensuring every part of your figurine is visible. Keep a close eye on color balance, too, as different light sources can alter colors. Adjust your white balance settings accordingly to maintain true colors in your photos.
Exploring Background Options
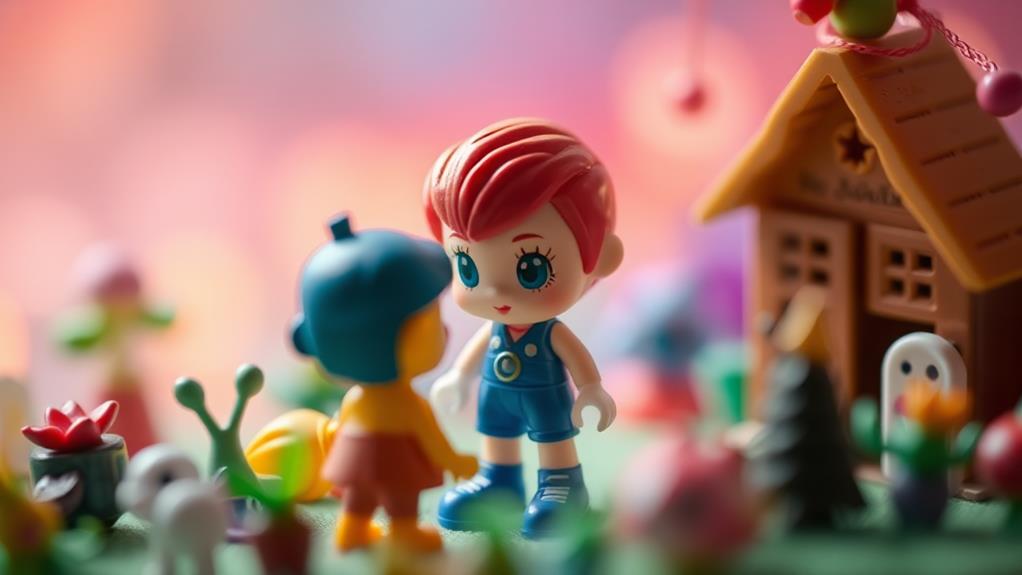
A fascinating background can transform your toy figurine photos from ordinary to extraordinary. The right setting can add depth and context, enhancing the overall appeal. When choosing backgrounds, let your creativity run wild, but consider these four ideas to inspire you:
- Nature Elements: Use natural textures like leaves, grass, or stones to create a realistic environment. These elements can make your figurine appear as though it's part of a larger world.
- Colorful Fabrics: Drape vibrant fabrics behind your figurine for a burst of color. Rich hues can make your subject pop and add a sense of drama or whimsy to your shot.
- Printed Backdrops: Purchase or print custom backgrounds that match the theme of your figurine. Whether it's a cityscape for superheroes or a forest for fantasy characters, these can set the perfect scene.
- DIY Scenes: Craft miniature scenes using everyday items. Think cardboard cutouts, paper, or small props to build a unique setting that tells a story.
Experiment with these options to discover which background complements your figurine best. The right choice will elevate your photography, making each shot a mesmerizing narrative.
Composing the Perfect Shot

Once you've set the perfect backdrop for your toy figurine, the next step is composing the shot to capture its full potential. Start by considering the rule of thirds; divide your frame into nine equal sections with two horizontal and two vertical lines. Position your figurine along these lines or at their intersections to create a balanced and engaging composition. This technique naturally draws the viewer's eye to the focal point of your image.
Next, think about your angle. Shooting from a low angle can make your toy figurine appear larger and more imposing, while a high angle might convey vulnerability or a different perspective. Experiment with various angles to see which best complements your figurine's character and story.
Lighting plays a vital role in composition. Use natural light, if possible, and avoid casting harsh shadows on your subject. Soft, diffused light can enhance details and colors, adding depth to your shot. Consider the direction of the light source; side lighting can create interesting shadows and texture.
Mastering Focus Techniques
When you're capturing the intricate details of toy figurines, nailing the focus is crucial. Without sharp focus, even the most skillful composition can fall flat. Here are some techniques to guarantee your images are crisp and engaging:
- Manual Focus: Embrace the precision of manual focus when shooting close-ups. Autofocus may struggle with small subjects, so take control and adjust the focus ring while observing the details through your viewfinder or on your camera's screen.
- Focus Stacking: If your figurine has intriguing details at various depths, consider focus stacking. Take multiple shots with different focus points and blend them together using software. This technique allows every intricate element to be in perfect clarity.
- Depth of Field: Control your depth of field by adjusting the aperture. A wider aperture (lower f-number) results in a shallow depth of field, isolating the subject from the background. For more detail, opt for a narrower aperture (higher f-number).
- Focus Peaking: If your camera supports it, use focus peaking. This feature highlights the in-focus areas on your screen, making it easier to identify precisely where the sharpness lies, guaranteeing you don't miss any crucial details.
Master these techniques, and your toy figurine photos will truly shine.
Using Tripods for Stability

Achieving stability in your toy figurine photography is vital, and using a tripod is an excellent way to confirm your images are sharp and blur-free. When you use a tripod, you eliminate the risk of camera shake, which is essential when shooting tiny subjects with a macro lens. This stability allows you to concentrate on composing the perfect shot without worrying about unwanted motion.
Choose a tripod that suits your specific needs. Compact and lightweight tripods are easy to transport, making them ideal for photographing on-the-go. For studio setups, a sturdy, full-size tripod provides solid support and versatility. Look for one with adjustable legs and a rotating head, so you can position your camera precisely.
Setting up your tripod correctly is key. Make certain the legs are fully extended and positioned on stable ground. Use a bubble level, if your tripod has one, to make sure your camera is perfectly horizontal. Attach your camera securely, and consider using a remote shutter release or your camera's self-timer to minimize movement during exposure.
Experimenting With Angles
Exploring various angles can dramatically enhance your toy figurine photography. By changing your perspective, you can showcase the intricate details and personality of your figures. Here's how you can experiment with angles to create enchanting images:
- Low Angle: Get down to the toy's level. This perspective can make the figurine appear larger than life, emphasizing its features and adding a sense of grandeur. It's perfect for hero figures or any character you want to portray as powerful.
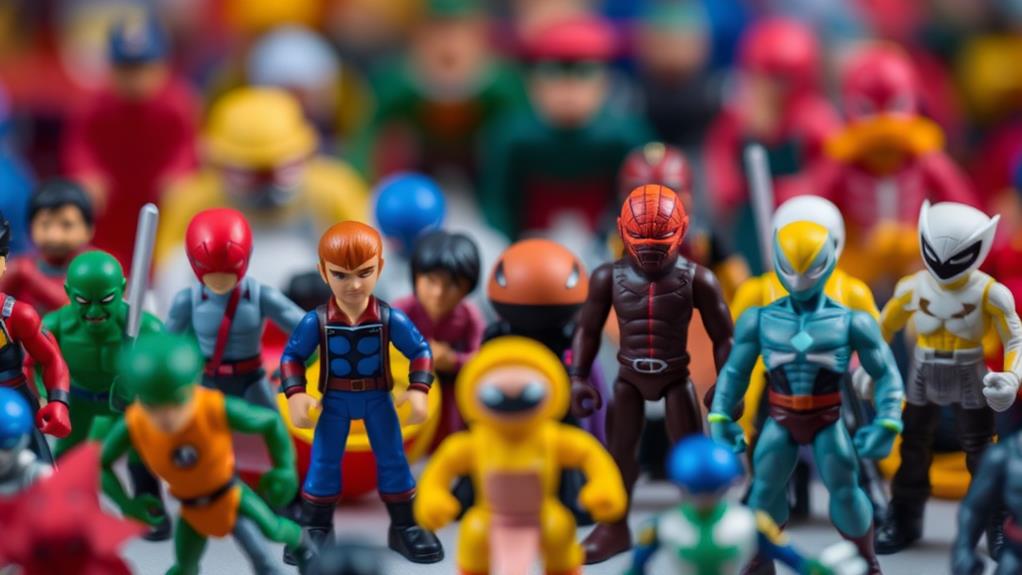
- High Angle: Shoot from above to create a bird's-eye view. This angle can make the scene feel dynamic and provides a unique vantage point. It's great for group shots or capturing a diorama setup.
- Side Angle: Position yourself laterally to highlight the toy's profile. This can bring out the details in the toy's shape and posture, offering a fresh look compared to standard head-on shots.
- Tilted Angle: Slightly tilt your camera to inject some drama and movement into your photo. This angle can create a sense of action or tension, ideal for scenes with motion or storytelling.
Experiment with these angles to discover new depths in your toy figurine photography.
Post-Processing for Enhancement

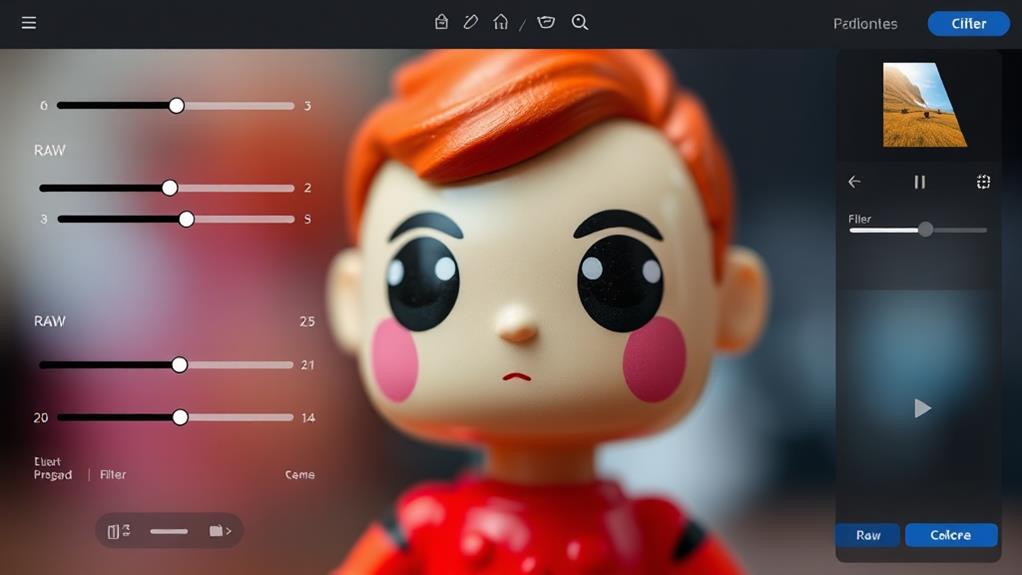
Post-processing is an essential step in elevating your toy figurine photography from good to great. It's where you can correct minor issues and enhance your images to make them pop. Start by adjusting the exposure and contrast to bring out the details in your figurines. This helps in highlighting textures that might be missed otherwise. Use color correction tools to guarantee the hues are vibrant and true to life, which will make your figurines look more appealing.
When you're editing, remember to sharpen the image to emphasize details, especially if your photo features intricate designs or textures. Cropping can also play a significant role in improving composition, allowing you to focus on the figurine and eliminate distractions. Consider using software like Adobe Lightroom or Photoshop for these tasks, as they offer powerful tools for image enhancement.
Here's a quick comparison of common post-processing tools:
| Tool | Usage | Benefit |
|---|---|---|
| Exposure | Adjust brightness | Highlights details |
| Color Correction | Modify color balance | Enhances vibrancy |
| Sharpening | Increase detail clarity | Emphasizes textures |
With these tips, your toy figurine photos will surely stand out and captivate any viewer.
Frequently Asked Questions
How Do I Prevent Dust on Toy Figurines From Showing up in Photos?
To prevent dust from showing up in photos, gently clean your toy figurines with a microfiber cloth before shooting. Use compressed air to blow away remaining particles. Keep your shooting area dust-free for the best results.
What Are Some Creative Props to Use in Toy Figurine Photography?
You can use miniature trees, tiny furniture, or homemade dioramas as props. Experiment with colored lights or reflective surfaces to add depth. Transform ordinary materials like cotton for clouds or sand for landscapes to enhance your figurine photography.
How Can I Achieve Realistic Reflections in My Toy Photographs?
To achieve realistic reflections, place your toy on a shiny surface like glass or a mirror. Adjust lighting to enhance the reflection's clarity. Experiment with angles and distances to capture the perfect reflective shot.
What Are Effective Ways to Transport Toy Figurines Safely for Outdoor Shoots?
Did you know 30% of toy damage happens during transport? Use padded cases or bubble wrap, and separate each figurine. Keep them in a sturdy box. This guarantees your collection arrives intact, ready for that perfect outdoor shot.
How Do I Minimize the Appearance of Scratches on Toy Figurines in Photos?
To minimize scratches in photos, use a soft cloth to gently clean the figurines. Adjust lighting to reduce harsh shadows. Experiment with camera angles and focus to blur imperfections. Post-processing software can also help remove visible scratches.
At a Glance
In the world of toy figurine photography, practice makes perfect. With the right macro lens, a keen understanding of depth of field, and effective lighting, you're well on your way to capturing stunning shots. Don't forget to experiment with backgrounds and angles to add personality, and always compose thoughtfully. Stability is key, so use a tripod, and enhance your work through post-processing. Remember, "the devil is in the details," so focus on every small element for perfection.


