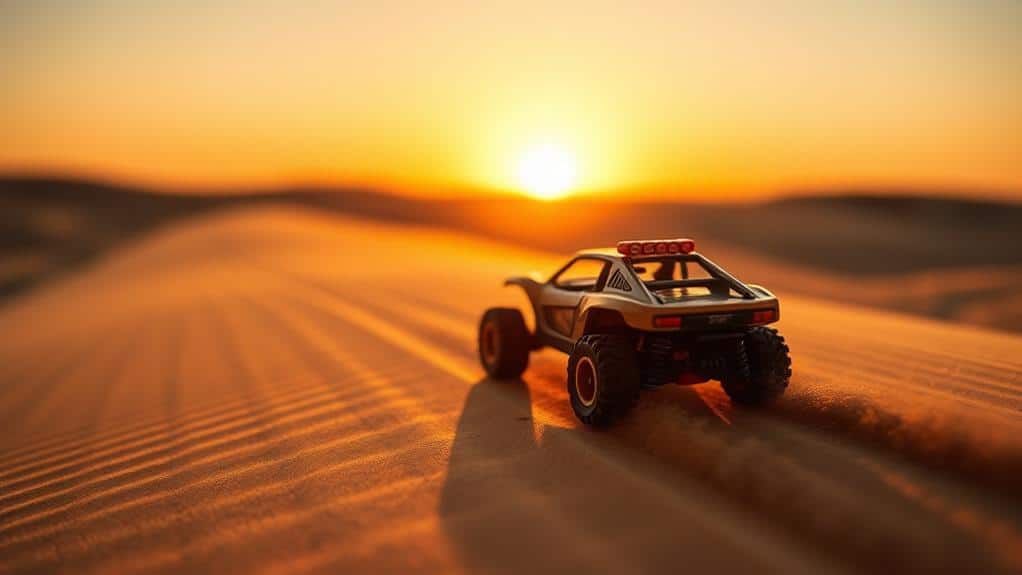
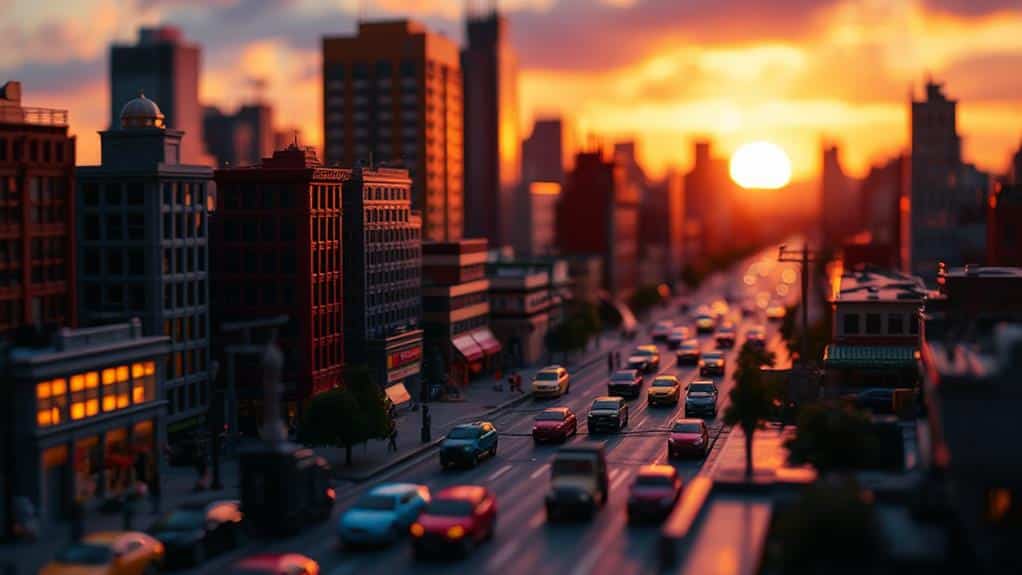
To achieve striking scale in toy photography, use low-angle shots to give toys a monumental feel or high-angle shots for a whimsical touch. Positioning toys with real-world objects and manipulating depth of field enhances realism. A wide aperture blurs the background, keeping the subject sharp, while natural light and clever use of shadows add depth. Experiment with lenses, like macro for details or wide-angle for dramatic backdrops. Edit with contrast and color grading for mood. Compose shots using leading lines and foreground elements to create depth. With these techniques, your toy photography will make miniature worlds come alive. Discover more exciting methods next.
Understanding Scale and Perspective
When it comes to toy photography, mastering scale and perspective is vital for creating realistic and compelling images. You need to make your tiny subjects appear larger than life or seamlessly blend them into the real world. Start by considering the angle you shoot from. Shooting from a low angle can make toys look monumental, as if they're towering over the scene. Alternatively, a high angle might emphasize their smallness, which could be perfect for a whimsical or playful effect.
Pay attention to the background and foreground elements. By incorporating real-world objects like plants or furniture, you create a believable environment for your toys. Position these elements strategically to enhance the illusion of scale. You can place objects closer to the camera to make them appear larger, while toys sit further away to maintain their petite appearance.
Lighting also plays a significant role in manipulating scale. Use shadows and highlights to add depth and dimension, making your toys look like they belong in the scene. Experiment with different light sources and positions to see how they affect the overall perception. With practice, you'll create images where viewers get lost in the world you've crafted.
Utilizing Depth of Field
Capturing the perfect depth of field in toy photography can transform your images from ordinary to extraordinary. By mastering this technique, you can create a sense of realism that makes your tiny subjects appear life-sized. Depth of field (DoF) refers to the area in focus in your photo. A shallow DoF isolates your subject, blurring the background and emphasizing the toy, while a deep DoF keeps everything sharp, useful for scenes where every detail matters.
Start by adjusting your camera's aperture. A wide aperture (small f-number) gives you a shallow DoF, ideal for drawing attention to your toy against a softened backdrop. Conversely, a narrow aperture (large f-number) increases DoF, keeping more elements in focus. Experiment with different settings to see how each affects your composition.
Consider your distance from the subject. Moving closer to the toy naturally reduces DoF, which can help in creating a dramatic effect. Don't forget the importance of your lens choice; a macro lens is excellent for capturing intricate details and achieving that shallow DoF effortlessly. Practice these techniques, and you'll notice your toy photography evolving, with each shot telling a more compelling story.
Playing With Angles

Plunge into the world of angles to add a dynamic dimension to your toy photography. Angles give life to your toys, transforming ordinary shots into extraordinary scenes. Don't just stick to eye-level perspectives. Instead, explore low-angle shots to make your toys appear larger and more imposing. This technique can give small figures a towering presence, tricking the viewer's eye into perceiving them as life-sized.
Experiment with high-angle shots to create a sense of vulnerability or smallness. Looking down on your toys can highlight their diminutive size, contrasting them against their surroundings. This approach adds a narrative layer to your images, suggesting a story or emotion.
Tilt your camera to introduce Dutch angles, which inject energy and tension into your photos. This technique is perfect for action scenes, where a slight tilt can convey movement or chaos. Keep in mind the rule of thirds when aligning your shot; it helps maintain visual balance even with unconventional angles.
Lastly, don't shy away from extreme close-ups. They focus the viewer's attention on intricate details, allowing them to appreciate the craftsmanship of the toys. Combining various angles can enrich your storytelling and elevate your toy photography to new creative heights.
Incorporating Background Elements
Angles have the power to transform your toy photography, but the background plays an equally essential role in crafting a compelling scene. It sets the context and supports the story you're telling. Start by choosing a background that complements your toy's theme. A cityscape might work wonders for an action figure, while a park or garden could be perfect for a whimsical character.
Consider the texture and color of your background. A simple, solid-colored backdrop can make your subject pop, while a more detailed background adds depth and complexity. Make sure the background isn't too busy or distracting. You want it to enhance the toy, not overshadow it.
Lighting also greatly impacts how the background interacts with your subject. Use natural light to create soft shadows or artificial lighting to highlight specific features. Experiment with different times of day or angles of light to find what works best for your scene.
Using Forced Perspective

Forced perspective is a powerful technique that can make your toy photography truly stand out. By cleverly manipulating the distance between your camera, toys, and background elements, you create illusions of scale that captivate viewers. This method involves placing your toy either closer to the camera or further away, making it appear larger or smaller than it actually is. For example, positioning a toy dinosaur closer to the lens can make it seem like it's towering over a distant landscape, creating a dramatic and exciting scene.
To master forced perspective, you'll need to experiment with angles and distances. Start by placing your toy on a stable surface, and then adjust its position relative to the background. Move your camera around to find the perfect angle that sells the illusion. You might have to crouch low or find a higher vantage point depending on your desired effect. Consistency and patience are key, so don't hesitate to try multiple shots until you achieve the desired result.
Lighting for Realism
Capturing realistic lighting in your toy photography can elevate your images from simple snapshots to compelling works of art. To start, focus on natural light. Position your toys near windows or shoot outdoors during the golden hour, when sunlight is soft and diffused. This time of day helps mimic the natural shadows and highlights seen in life-sized scenes. Experimenting with artificial light sources can also open up a world of possibilities for more dramatic effects. Use desk lamps, string lights, or even your phone’s flashlight to create unique highlights and shadows that bring your toys to life. Incorporating creative lighting ideas for toys, such as colored gels or reflective surfaces, can add depth and a cinematic quality to your scenes, making them truly stand out.
Don't underestimate the power of artificial lighting. Desk lamps or LED panels can be adjusted to create specific moods. Use a softbox or diffuser to soften harsh lights, preventing unnatural shadows that can ruin the illusion of scale. Experiment with angles and distances to see how shadows transform your scene.
Reflectors are your best friend for bouncing light into darker areas, maintaining a balanced exposure. A simple piece of white cardboard or foil can do wonders. Pay attention to the direction and color of your light source; warmer tones can make scenes feel inviting, while cooler tones can add drama.
Lastly, be mindful of the light's intensity. Overexposure can wash out details, making toys look flat and unrealistic. Adjust your camera's settings or move the light source until you achieve a harmonious balance, bringing your miniature world to life.
Choosing the Right Lens

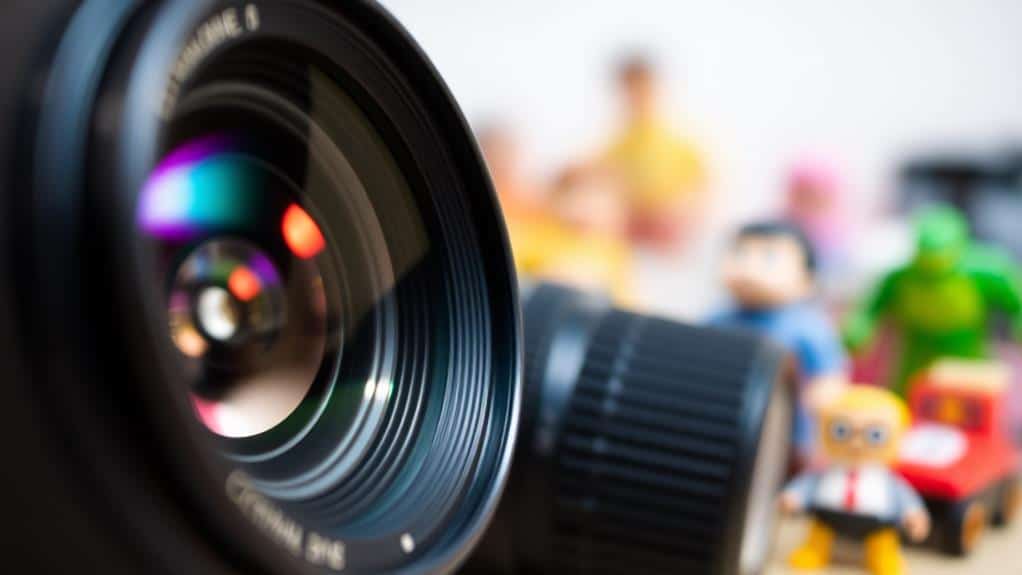
While mastering lighting is fundamental for realistic toy photography, selecting the right lens can further enhance your images, offering unique perspectives and depth. When choosing a lens, consider how each option affects scale and focus. A macro lens, for example, allows you to capture intricate details, making your subject appear larger-than-life. On the other hand, a wide-angle lens can create dramatic effects by emphasizing the background and providing a sense of scale.
To make the most out of your lens selection, keep these key points in mind:
- Focal Length: Longer focal lengths can compress the background, giving the illusion of a larger scene. A 50mm or 100mm lens could be ideal for isolating your toy from its surroundings.
- Aperture: A wide aperture (like f/1.8 or f/2.8) helps you achieve a shallow depth of field, blurring the background and focusing attention on your subject.
- Macro Capability: If you're aiming to showcase tiny details, a macro lens is essential for capturing close-ups with precision.
- Perspective: Experiment with different lenses to see how they change perspective. A fisheye lens, for instance, can introduce playful distortion, adding character to your shots.
Editing for Enhanced Scale
In the world of toy photography, editing plays an essential role in creating a sense of scale and enhancing the overall impact of your images. By refining your edits, you can transform ordinary shots into enchanting scenes. Start by adjusting the contrast to emphasize the depth and separation between your toy subject and the background. This helps in making the toy appear larger than life.
Next, focus on the color grading. Use cooler tones to simulate the vastness of an outdoor environment or warmer tones to mimic the coziness of an indoor setting. Additionally, adding a subtle vignette can draw the viewer's eye to the center, further enhancing the scale illusion.
Here's a table to evoke emotion and guide your editing choices:
| Emotion | Color Tone | Suggested Edit |
|---|---|---|
| Adventure | Cool blues | Enhance contrast |
| Nostalgia | Warm sepias | Add vignette |
| Fantasy | Vibrant purples | Increase saturation |
Frequently Asked Questions
How Can I Create a Sense of Movement in Toy Photography?
To create movement in toy photography, position toys in dynamic poses. Use motion blur by adjusting shutter speed or adding elements like dust or water splashes. Experiment with angles and lighting to enhance the action's intensity.
What Materials Can Enhance the Illusion of Scale in Toys?
Imagine toys as actors on a grand stage. Use materials like sand, rocks, or water to set the scene. These elements, like costumes, transform miniatures, enhancing their presence and making the illusion of scale believable.
How Do I Select the Right Toys for Scale Photography?
You've got to contemplate the toy's details, proportions, and context. Choose toys with realistic features that fit your scene. Match their size to your background elements for better realism. Experiment with different toys until you find the perfect fit.
Are There Specific Times of Day Better for Toy Photography?
Morning or magic hour maximizes magic. You'll find soft sunlight subtly shapes shadows, enhancing emotion. Experiment in evenings too, capturing creative contrasts. Consistent conditions cultivate enchanting captures. Try taking your shots when the light is naturally nuanced.
How Can Props Be Used to Enhance the Scale of Toys?
You can cleverly use props to enhance toy scale by selecting everyday objects that contrast with the toy's size. Position these props strategically to create perspective, making the toy appear larger or more life-like in your photos.
At a Glance
In the world of toy photography, you've got the power to transform the miniature into the majestic. By deftly playing with angles, light, and perspective, you weave a tapestry that blurs the lines between fantasy and reality. With each click of the shutter, you're not just capturing a scene; you're painting a vivid picture that tells a story. So embrace these techniques, and let your creativity soar, turning tiny toys into towering tales of wonder.


