To master studio lighting for toy photography, start by choosing your light sources. Natural light works well for soft effects, while LED lights are versatile indoors. Position your key light at a 45-degree angle to create natural shadows, then add a fill light opposite to reduce harshness. A backlight can add depth and highlight contours. Use diffusers to soften light and reflectors to fill shadows, adjusting power and angles for the desired mood. Experiment with light gels for vibrant atmospheres and color shifts. Capturing your toy’s world with precise lighting opens a world of creative possibilities you’ll want to uncover. Additionally, consider using practical lights within the scene, like mini lamps or fairy lights, to create a more immersive environment that complements your subjects. By combining various effective lighting techniques for toy models, you can achieve stunning and dynamic compositions that bring your vision to life. Remember, practice is key—experimenting with different setups will help refine your skills and enhance your overall aesthetic.
Understanding Light Sources
Understanding light sources is essential for capturing enchanting toy photographs. When you grasp the different types of light, you can create mood, depth, and interest in your images. Start by familiarizing yourself with natural light, which is the most accessible and can give your toys a soft and realistic look. Morning and late afternoon provide the best natural light, known as the golden hour, perfect for adding warmth and subtle shadows.
Artificial light sources offer greater control over your photography. LED lights are a popular choice due to their versatility and affordability. They produce minimal heat, allowing you to work closely with your toys without risk. You might also consider using incandescent or fluorescent lights, though they can be trickier to manage. Each type has its unique color temperature, impacting the overall tone of your photos.
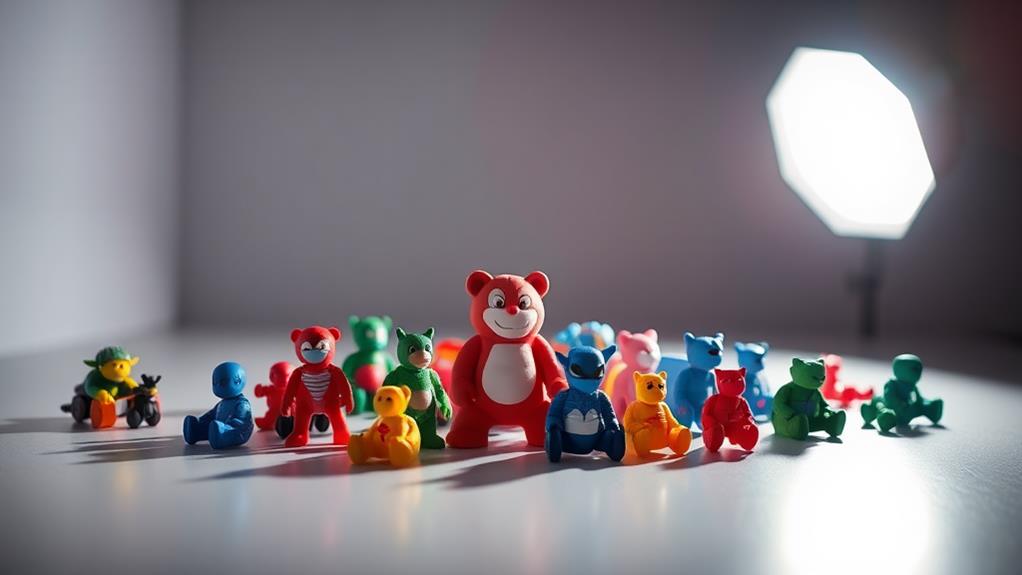
Experiment with diffused light to soften harsh shadows and highlight details. You can achieve this by placing a diffuser, like a softbox or even a simple sheet of white paper, between the light source and your toy. Understanding these light sources empowers you to create dynamic and enthralling toy photographs.
Positioning Your Lights
When setting up your studio for toy photography, the positioning of your lights plays a crucial role in defining the image's mood and detail. Start by identifying your primary light source, often called the key light. Position it to highlight the toy's main features, creating depth and dimension. A 45-degree angle from the subject is a popular choice, as it adds natural-looking shadows.
Next, consider your fill light. It reduces harsh shadows cast by the key light. Place it opposite the key light, but keep it softer to maintain a balanced look. You can achieve this by using a reflector or a less intense light source.
Don't forget about the backlight, which separates your toy from the background, adding a three-dimensional feel. Position it behind and above the toy. This light creates a halo effect, emphasizing the toy's outline.
Experiment with angles and distances. Small adjustments can dramatically change the photograph's mood. Pay attention to how shadows fall and adjust accordingly. Remember, each toy is unique, so be prepared to tweak your setup to suit each subject. Through practice, you'll develop a keen eye for positioning that elevates your toy photography.
Controlling Light Intensity

To master toy photography, managing light intensity is key to capturing the perfect shot. The right amount of light can highlight details, create mood, and bring your toys to life. Start by adjusting your light source's power setting. Many studio lights come with a dial or digital control to increase or decrease brightness. Lowering the intensity softens shadows and reduces harsh highlights, while increasing it can make colors pop and emphasize textures.
Consider using diffusers to help control light intensity. Diffusers spread light evenly, reducing harshness and creating a more natural look. You can use softboxes, umbrellas, or even DIY solutions like translucent paper or fabric. When positioned correctly, diffusers can transform a scene, adding depth and realism.
Another approach is to use reflectors to bounce light back onto your subject. Reflectors can fill in shadows and provide a balanced exposure, enhancing details without overpowering the scene. Experiment with different reflector surfaces—white, silver, or gold—to achieve the desired effect.
Mastering Shadows and Highlights
Capturing stunning toy photographs involves skillfully mastering shadows and highlights. These elements add depth and dimension, transforming a flat image into a fascinating scene. Start by positioning your key light to create the desired shadow patterns. A light source placed directly above or to the side can cast dramatic shadows, enhancing the toy's features and creating a sense of realism.
Don't overlook the importance of a fill light to soften harsh shadows. This secondary light source helps balance contrast and guarantees that details aren't lost in the darkness. Adjust its intensity to achieve a natural look without overexposing the highlights.
Use reflectors to bounce light back onto the toy, illuminating areas that might otherwise remain in shadow. This technique adds subtle highlights and can be as simple as using a piece of white card or foil. Experiment with the placement and angle to see how it affects the overall composition.
Creating Mood With Color Gels

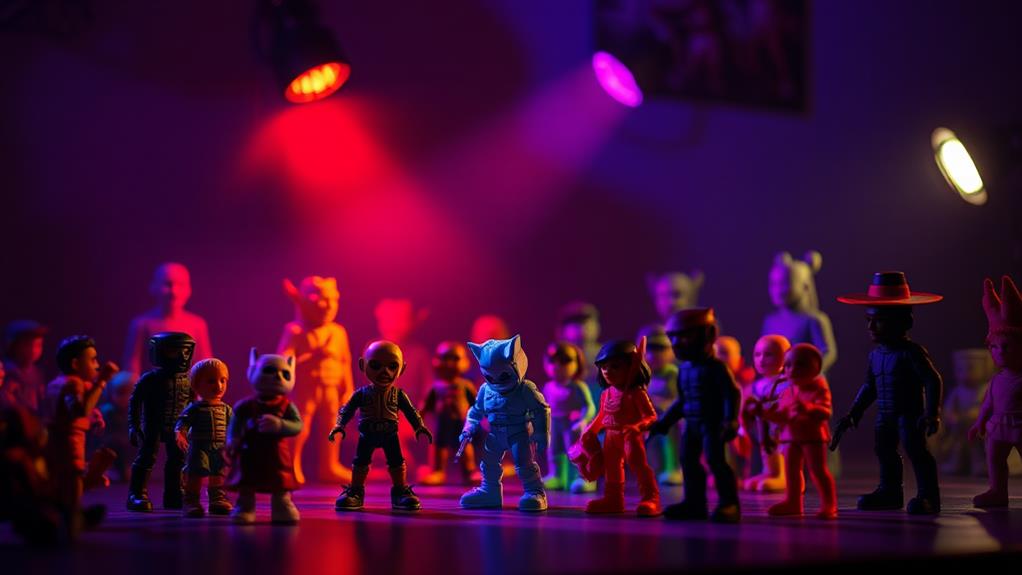
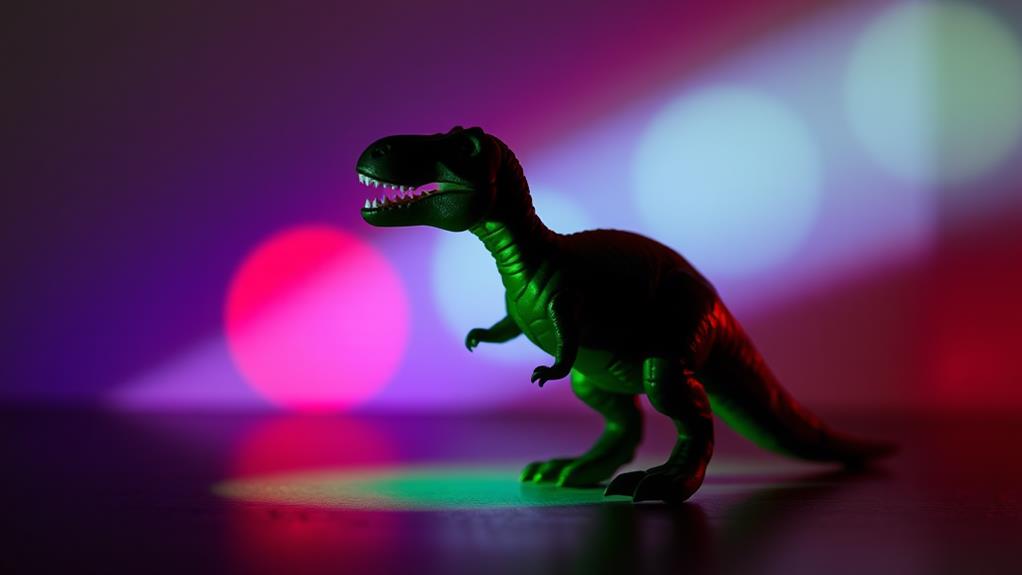
Enhancing your toy photography with color gels can dramatically transform the mood and atmosphere of your images. By adding a pop of color, you can convey emotions or highlight specific elements within your scene. Color gels are thin, colored sheets placed over your light source, casting vibrant hues across your setup. Experimenting with different colors helps you create various moods and settings, giving your toy photography a unique and dynamic flair.
To effectively use color gels, consider the mood you want to evoke. Warm colors like red and orange can create a sense of excitement or passion, while cool colors like blue and green can evoke calmness or mystery. Here's a quick guide to some common color choices and their effects:
| Color Gel | Mood/Effect |
|---|---|
| Red | Passion, Intensity |
| Blue | Calm, Mystery |
| Green | Nature, Tranquility |
| Yellow | Happiness, Energy |
When using color gels, remember to adjust the intensity of your lights to prevent overpowering the scene. Use them sparingly to maintain balance and guarantee your subject remains the focal point. With practice, you'll master the art of creating intriguing moods in your toy photography using color gels.
Using Reflectors and Diffusers
When you're working on toy photography, reflectors and diffusers become essential tools in your lighting setup. They allow you to control light, reduce harsh shadows, and create a more balanced image. A reflector is a simple, versatile tool that bounces light back onto your subject. Use it to fill in shadows and highlight details that might otherwise be lost. Position it opposite your main light source to redirect light where it's needed most.
Diffusers, on the other hand, soften and spread light, reducing harshness and glare. Place a diffuser between your light source and the toy to create a more even light distribution. This technique is especially helpful when shooting shiny or reflective toys, as it minimizes unwanted reflections.
Experiment with different materials for your reflectors and diffusers. White foam boards or silver reflectors work well, while sheer fabrics or purpose-made diffusers can soften light beautifully. Adjusting the distance between the light source and the diffuser or reflector can also change the effect, so don't hesitate to tweak your setup until you achieve the desired look.
Experimenting With Light Angles

In the domain of toy photography, experimenting with light angles can dramatically transform your images and bring your subjects to life. By shifting the direction and intensity of your lights, you can create mood, depth, and intrigue in your shots. Start by understanding how different angles affect your scene. A light placed directly above your toy can mimic natural sunlight, casting soft shadows. Conversely, lighting from below can produce eerie, dramatic effects often used in horror photography.
Consider these ideas when experimenting with light angles:
- Side Lighting: Adds depth and texture by creating shadows on one side of your toy, highlighting details and contours.
- Backlighting: Enhances outlines and can make translucent parts of your toy glow, adding a mystical or ethereal quality.
- Front Lighting: Provides even illumination, reducing shadows and emphasizing colors, best for a clean, straightforward look.
- Low-Angle Lighting: Casts long shadows and creates a sense of scale, making your toy appear larger-than-life.
As you explore, remember that even small changes in angle can noticeably alter your image's mood and impact. Experiment freely, and you'll discover new ways to make your toy photography enchanting and unique.
Achieving Consistent Lighting
Achieving consistent lighting in toy photography is essential to producing professional-looking images that capture the viewer's attention. To maintain consistency, start by setting up a dedicated workspace where you can control the environment. Use the same lighting equipment each time, such as softboxes or LED panels, which help reduce harsh shadows and provide even illumination. Position your lights at the same distance and angle for every shoot to guarantee uniformity.
It's vital to adjust your camera settings consistently. Set your white balance manually to match your light source, preventing color shifts between shots. Use a tripod to keep the camera steady, especially if you're shooting a series. This way, your camera position remains constant, and you'll avoid unwanted variations.
Use a light meter to measure and fine-tune your lighting setup. This tool helps confirm that your exposure remains balanced, leading to consistent results across different sessions. Record your settings and setup details in a notebook or digital file. This documentation allows you to replicate successful lighting conditions in future shoots. By implementing these practices, you'll develop a reliable routine that produces consistently beautiful toy photography, impressing viewers with your skill and attention to detail.
Frequently Asked Questions
How Can I Make Small Toys Appear Larger in Photographs?
You can make small toys look larger by using a low-angle shot and filling the frame. Position the camera close to the toy, blur the background, and use dramatic lighting to enhance the toy's presence in the photo.
What Camera Settings Work Best for Studio Toy Photography?
You'll want to use a low ISO to reduce noise, set your aperture around f/8 for sharpness, and adjust the shutter speed to balance exposure. Don't forget to use a tripod for stability and consistency.
How Do I Prevent Reflections on Shiny Toy Surfaces?
Think of reflections as pesky ghosts haunting your shots. To banish them, use diffused lighting, adjust angles, and experiment with polarizing filters. Don't let those reflections steal the spotlight from your toy's true charm.
What Backdrop Materials Are Ideal for Toy Photography Setups?
You'll want to choose a non-reflective backdrop, like matte paper or fabric. These materials help minimize glare and focus attention on the toy. Experiment with colors and textures to complement your subject and create the desired mood.
How Can I Create a Soft, Natural Light Look Indoors?
You can create a soft, natural light look indoors by diffusing light with sheer curtains or a softbox. Position your light source at an angle and use reflectors to bounce light, minimizing harsh shadows and achieving a gentle glow.
At a Glance
You've journeyed through the enchanting world of studio lighting for toy photography, revealing secrets that turn mere snapshots into enthralling stories. With light as your paintbrush, you've learned to dance shadows and highlights across your tiny subjects, creating moods with a flick of a gel. By experimenting with angles and mastering consistency, you've become a lighting maestro. Now, let your creativity shine and craft miniature masterpieces that speak volumes with every click of the shutter.


