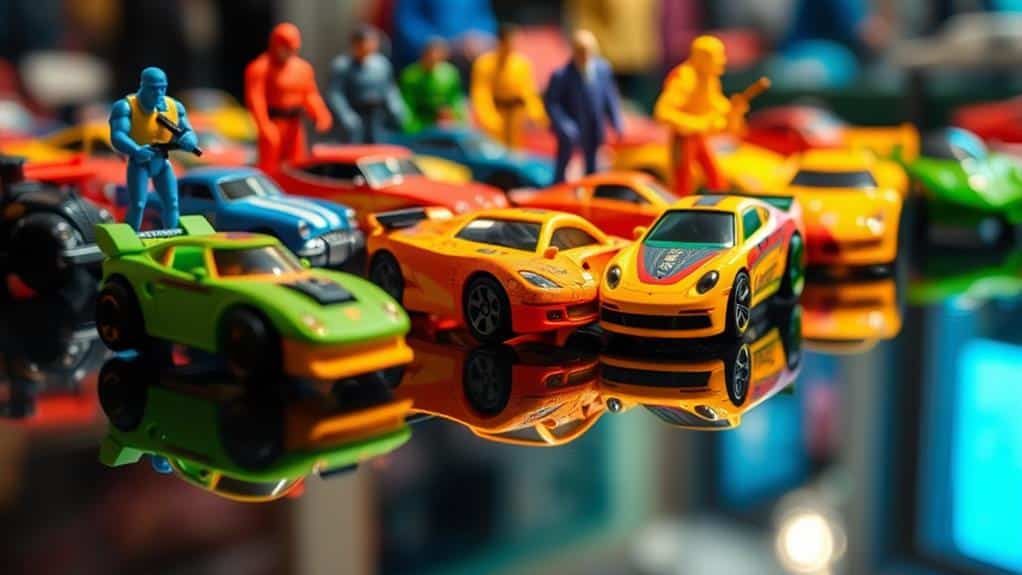
Enhancing toy photos with reflective surfaces can add depth and intrigue to your images. Use materials like glass or acrylic sheets to create sleek reflections or try aluminum foil for unique textures. Position your toys and reflections thoughtfully, adjusting the camera angle to capture the ideal interplay of light and reflection. Experiment with lighting—natural or diffused light can amplify or soften reflections as needed. Don't forget to choose backdrops and themes that complement your toys. Mirrors and water also offer distinct reflective possibilities to contemplate. Each setup can transform your photos dramatically, and there's even more to explore.
Understanding Reflective Surfaces
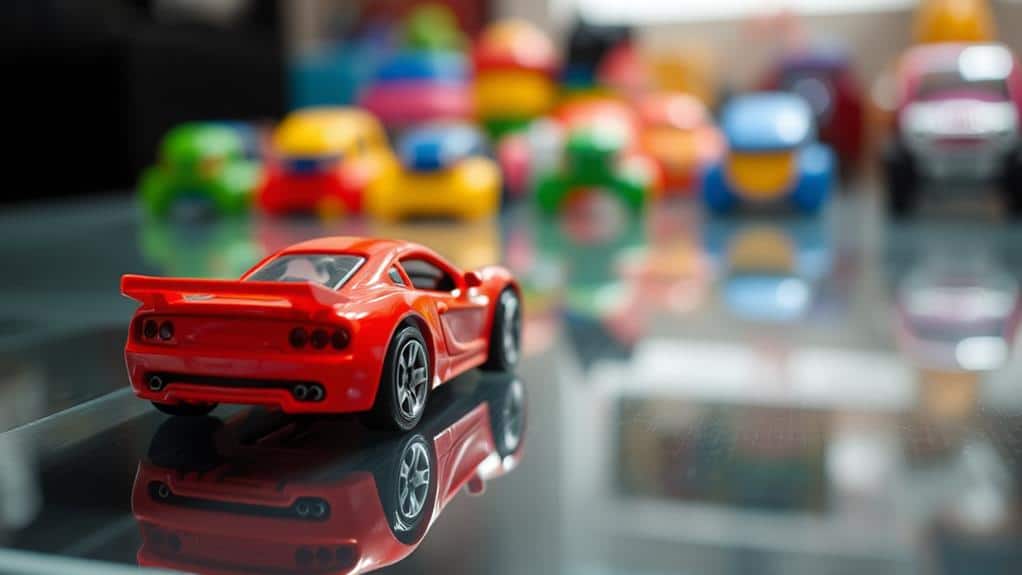
Reflective surfaces play a essential role in toy photography, often adding depth and dimension to your shots. They can transform an ordinary scene into something extraordinary by creating fascinating effects and emphasizing the subject. When you incorporate reflections, you introduce a new layer of intrigue. A well-placed reflection can make your toy appear as if it's interacting with an unseen world, doubling its presence and impact.
To effectively use reflective surfaces, you need to understand how they interact with light and your subject. The angle of your camera and the light source are significant. Position yourself so that the reflection complements rather than overpowers your toy. Experiment with different angles and distances to find the perfect balance. You'll notice that small adjustments in position can dramatically change the outcome.
Consider the texture and color of the reflective surface, as they can influence the mood and tone of your photo. Smooth, clear surfaces like mirrors or polished tables provide crisp reflections, while textured surfaces can introduce interesting distortions. Be mindful of unwanted reflections, including yourself or the camera, and adjust your setup accordingly to maintain focus on the toy.
Best Reflective Materials
Building on your understanding of reflective surfaces, let's focus on selecting the best materials to enhance your toy photography. Choosing the right reflective material can dramatically elevate your shots. Here are some top materials you should consider:
- Glass: Offers high reflectivity and a sleek finish, ideal for adding elegance to your photos. However, it can be fragile and challenging to clean.
- Acrylic Sheets: Provide a similar effect to glass but are more durable and lightweight. They come in various colors, offering more creative options.
- Mirrored Cardstock: Affordable and versatile, this material is perfect for experimenting with different angles and effects without breaking the bank.
- Aluminum Foil: Easily accessible and can create unique textures and reflections. It's a great choice for those on a budget or looking for a DIY option.
- Polished Metal: Offers a sophisticated, industrial look. It's durable and gives a distinct sheen that can add depth to your compositions.
Here's a quick comparison of these materials:
| Material | Key Feature |
|---|---|
| Glass | High reflectivity |
| Acrylic Sheets | Lightweight |
| Mirrored Cardstock | Cost-effective |
| Aluminum Foil | Textured reflection |
| Polished Metal | Industrial look |
Experiment with these materials to discover what works best for your style.
Setting Up Your Scene
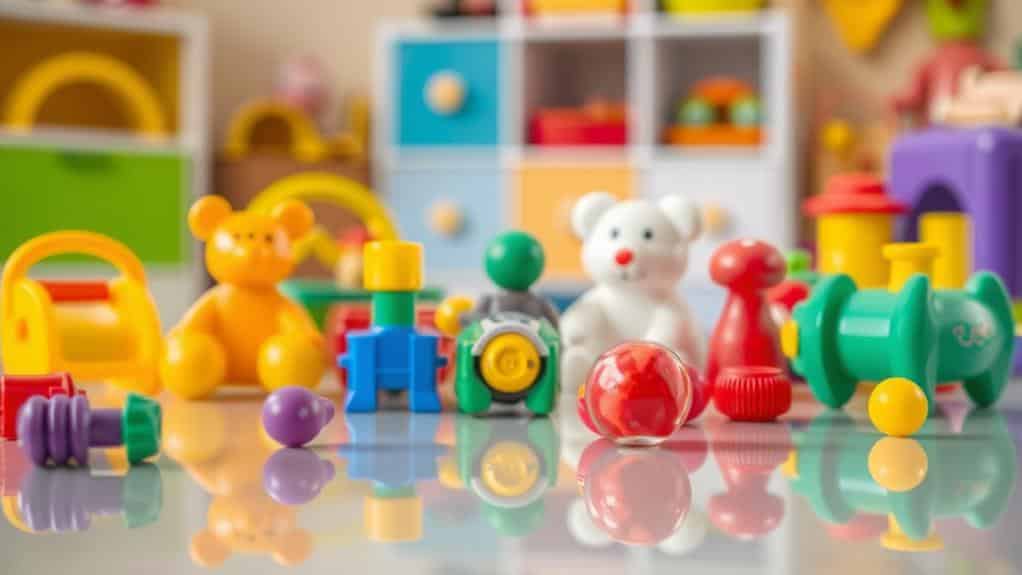
Creating the perfect scene for your toy photography starts with a clear vision and a few essential steps. First, decide on a theme or story you want to convey. Whether it's an epic sci-fi battle or a serene nature scene, knowing your goal helps guide every subsequent choice. Once you've got your theme, select the right toys that fit your narrative. Verify they're clean and in good condition to prevent distractions in the final image.
Next, choose a suitable background that complements your toys and theme. A simple, plain background can make your toys pop, while a detailed one can add depth and context. Arrange your reflective surfaces creatively, positioning them where they enhance the scene without overpowering it. Consider using mirrors, glossy paper, or even water to achieve intriguing reflections. Pay close attention to angles; sometimes, just a slight tilt can transform a reflection from ordinary to extraordinary.
Controlling Light Reflections
When it comes to controlling light reflections in your toy photography, it's all about the balance between light sources and reflective surfaces. You need to evaluate the placement and intensity of your lights. Soft lighting often works best, reducing harsh reflections that can distract from your subject. Use diffusers to soften the light, or try bouncing it off walls or ceilings to create a more even glow.
Here's a quick guide to help you understand how different elements impact reflections:
| Element | Effect on Reflections |
|---|---|
| Direct sunlight | Creates harsh, sharp reflections |
| Cloudy skies | Softens and diffuses light |
| White surfaces | Reflect light, brightening scene |
| Black surfaces | Absorb light, reducing reflections |
| Metallic surfaces | Produce strong, clear reflections |
Be mindful of your reflective surfaces. While they can add depth, too much reflection can overwhelm the scene. Adjust angles or move the reflective object until you achieve the desired effect. Remember, the angle of incidence equals the angle of reflection. So, changing your camera's position can alter how light bounces off your toys. Experiment with different setups to see how each change affects the final image. With practice, you'll master the art of controlling light reflections in your toy photos.
Using Mirrors Effectively
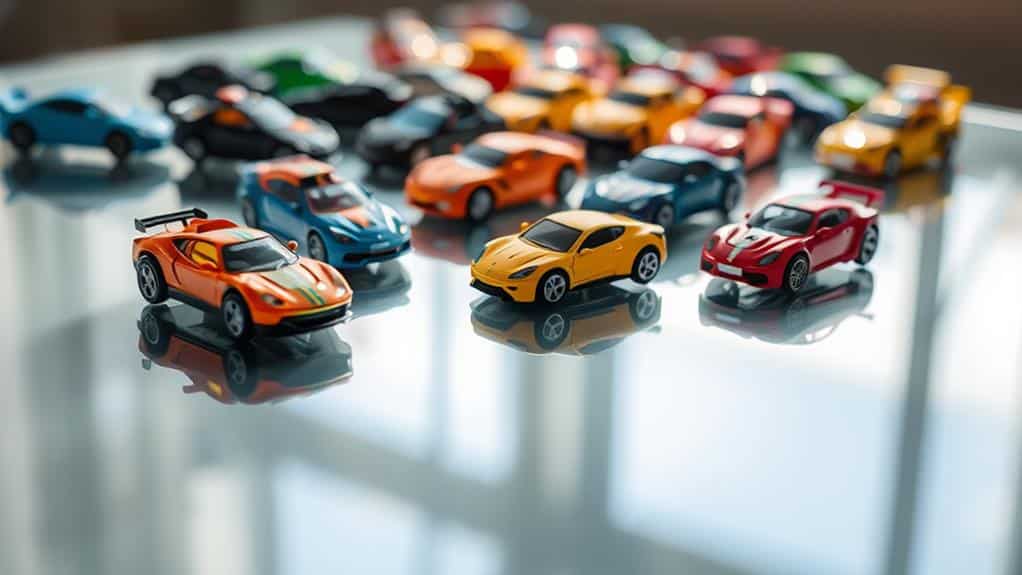
Mirrors can be a powerful tool in toy photography, adding depth and intrigue to your shots. By incorporating mirrors, you create interesting compositions that play with perspective and symmetry. Start by selecting a mirror that complements your toy's size and theme. A small, subtle mirror can highlight details, while a large one can create a dramatic reflection. Position the mirror at an angle that enhances the toy's features, ensuring it doesn't overshadow the main subject.
Experiment with different angles to see how light interacts with both the toy and its reflection. Natural light often produces softer, more flattering reflections, while artificial light can create sharp contrasts. Be mindful of unwanted elements appearing in the mirror, like yourself or the camera. A slight adjustment in angle can easily eliminate these distractions. Consider the position of the light source and how it enhances the textures and colors of the toy, bringing out its unique details. Utilizing the benefits of natural light in photography can add depth and dimension to your shots, creating a more organic and visually appealing atmosphere. Experimentation is key; take your time to explore different setups until you achieve the perfect balance of light and composition.
Use the mirror to tell a story within your photo. Reflective surfaces can depict a hidden world, showing an alternate reality or a character's inner thoughts. Don't be afraid to experiment with props and backgrounds reflected in the mirror to add layers to your narrative. By mastering the use of mirrors, you'll elevate your toy photography to a new, creative level.
Creating Water Reflections
Just like mirrors, water can add a mesmerizing dimension to your toy photography, offering unique reflections that enhance your images. To begin, you don't need a large body of water—a shallow dish or a puddle will do the trick. Arrange your toy near the water, ensuring the surface is still to capture a crisp reflection. If you're outdoors, wait for a calm day or use a windbreak to prevent ripples.
Lighting plays an essential role. Natural light works wonderfully, especially during golden hour, casting soft, warm tones. Position your toy so the light source is behind it, creating a dramatic silhouette reflected in the water. You can also experiment with artificial light; just adjust the angle to avoid unwanted glare.
Get low with your camera to align the toy and its reflection within the frame. Consider using a macro lens for close-ups that highlight details. Adjust your camera settings for a wide aperture to focus sharply on the toy while keeping the background blurred.
Experimenting With Metal Surfaces
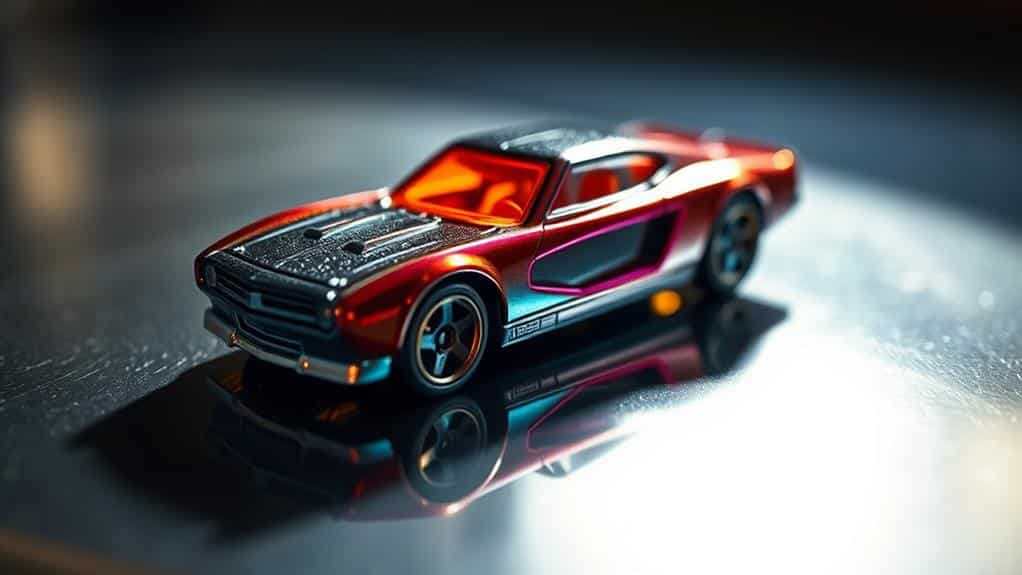
A touch of metal can bring a unique shine and depth to your toy photography, creating intriguing reflections and textures. Start by experimenting with different types of metallic surfaces. You might find a steel sheet or an aluminum foil to be particularly effective. The shiny, smooth surface can reflect the toys in unexpected ways, adding complexity and character to your shots. Position the toy at different angles to catch the light just right, and you'll notice how the scene changes dramatically with each shift.
Here's a quick guide to different metal surfaces:
| Metal Type | Reflection Quality | Ease of Use |
|---|---|---|
| Aluminum Foil | Diffuse, soft | Very easy |
| Stainless Steel | Sharp, clear | Moderate |
| Copper Sheet | Warm, unique | Challenging |
| Tin Plate | Vintage, muted | Easy |
Using these surfaces, you can control the mood of your photography. For a softer look, aluminum foil is ideal. If you want something more dramatic, stainless steel provides sharp reflections. Don't be afraid to mix and match different metals to see what works best for your shot. Remember, experimenting is key to discovering new perspectives in toy photography.
Enhancing Colors With Reflection
Reflections can elevate the colors in your toy photography, adding vibrancy and depth to each shot. By strategically using reflective surfaces, you can amplify the hues of your toys, making them pop against their background. Start by selecting a reflective base like a mirror or a glossy tile. Position your toy on this surface, ensuring it's angled to catch the light just right. The reflected light will enhance the toy's colors, creating a dynamic contrast that draws the viewer's eye.
Play around with different light sources. Natural sunlight can provide a warm, soft glow, while artificial lights might offer more control and consistency. Experiment with the direction and intensity of the light to find the perfect balance for your scene. You might want to try different colors of light to see how they interact with the toy's colors and the reflective surface.
Troubleshooting Common Issues
When you're working with reflections in toy photography, several common issues might arise, affecting your final image quality. One frequent problem is unwanted reflections. These can distract from your subject and clutter your composition. To fix this, adjust the angle of your light source or change your shooting position. You might also try using a polarizing filter to reduce glare.
Another issue is distorted reflections, which can make your toys look out of proportion. Confirm the reflective surface is flat and clean. If you're using a flexible material, like foil, smooth it out carefully to avoid ripples.
Sometimes, reflections can make the scene too busy, drawing attention away from your main subject. Simplify the background by using a neutral or single-colored reflective surface. This keeps the focus on the toy itself.
Lastly, low-quality reflections can occur if the surface isn't reflective enough. If you're not getting the sharpness you desire, try using a different material, like a mirror or a high-gloss acrylic sheet. These provide crisp, clear reflections.
Frequently Asked Questions
How Can I Make My Toy Photos Look More Professional With Reflections?
To make your toy photos look professional, use mirrors or glossy surfaces to create reflections. Position toys carefully, adjust lighting to highlight details, and experiment with angles. Watch reflections add depth and vibrancy to your shots.
What Are Some Budget-Friendly Reflective Surfaces for Toy Photography?
Consider using household items like aluminum foil, CDs, or glossy magazines. You can also try a shallow baking tray with water for a unique look. These options won't break the bank and add depth to your toy photos.
Do Reflective Surfaces Work Well for All Types of Toys?
Reflective surfaces don't always suit every toy. Consider the toy's color, size, and texture. Glossy toys might reflect too much, while matte ones can benefit more. Experiment with angles and lighting to find what works best for your toys.
How Do I Prevent Unwanted Reflections in My Toy Photos?
Did you know 90% of great photos rely on proper setup? To prevent unwanted reflections, adjust your angle or use diffusers. Experiment with lighting until you achieve the perfect balance, making your toy photos truly enchanting.
Can I Use Smartphone Cameras to Capture High-Quality Reflective Toy Images?
Yes, you can use smartphone cameras for high-quality reflective toy images. Guarantee good lighting and use manual focus to capture details. Experiment with angles to minimize distortion, and edit for clarity and color balance post-capture.
At a Glance
As you explore the art of enhancing toy photos with reflective surfaces, you'll find an intriguing coincidence: the moment you master controlling reflections, you'll also discover a new dimension of creativity in your photography. It's not just about the materials or techniques; it's about the unexpected magic reflections bring to your shots. So, embrace this journey, experiment with light and surfaces, and you'll inevitably capture stunning images that tell a story beyond the toys themselves.

