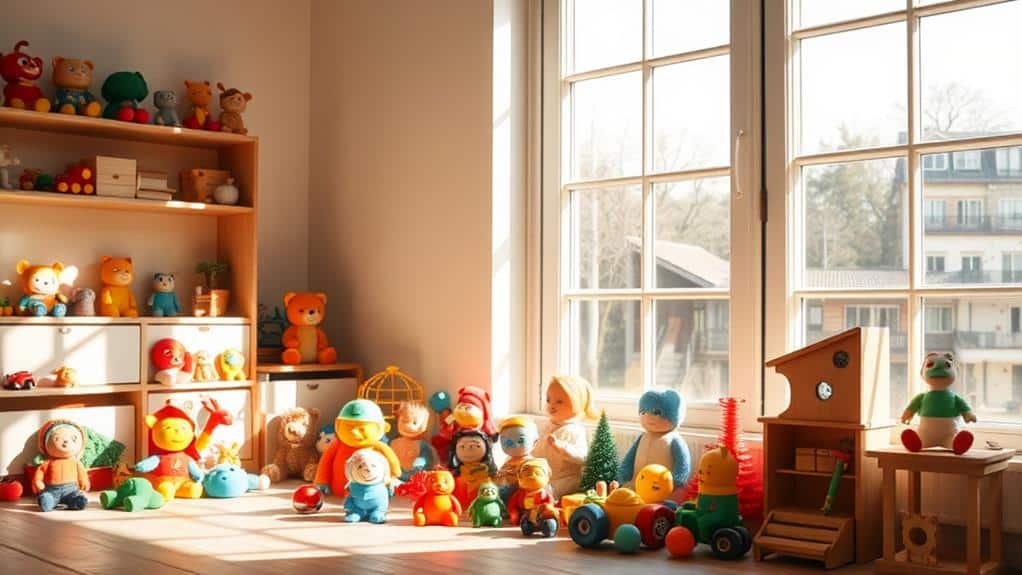
Using natural light in toy photography enhances the true colors and textures of your subjects, creating a vibrant, lifelike appearance. It provides soft, even illumination, reducing harsh shadows and highlights, making your photos more appealing. You don't need expensive equipment, as sunlight and simple diffusion tools can create high-quality images. By shooting during golden hours or using window light, you can adjust your composition and experiment with different light angles for dramatic effects. Mastering these techniques allows you to create engaging, mood-filled scenes. Discover more about how you can transform your toy photography with natural light techniques.
Benefits of Natural Light
When it comes to toy photography, there's something magical about the benefits of natural light. You'll find that it brings out the true colors and details of your toys, creating an authentic and vibrant look that artificial lighting often can't replicate. Natural light provides a soft, even illumination that reduces harsh shadows and highlights, making your toy subjects appear more lifelike. This type of lighting can enhance textures, shapes, and even the smallest details, adding depth and dimension to your photos.
Using natural light also means you don't need to invest in expensive lighting equipment. You can simply rely on the sun's rays streaming through a window or find a spot outdoors. This accessibility allows you to focus on creativity and composition rather than technical setups. You'll also notice that natural light changes throughout the day, offering a variety of moods and tones that can dramatically affect your images. Moreover, the benefits of natural light photography extend beyond convenience and cost-effectiveness. It often produces softer, more flattering shadows and highlights, creating a natural and authentic feel in your images. Embracing these organic lighting conditions can help you capture moments that feel genuine and timeless.
Moreover, shooting in natural light helps you develop a keen eye for how light interacts with your subjects. You'll learn to anticipate how different angles and intensities can transform a scene, ultimately improving your skills and making your toy photographs truly stand out.
Choosing the Right Time
Timing can make all the difference in capturing the perfect toy photograph. Natural light varies throughout the day, and choosing the right time can elevate your images from good to extraordinary. Early mornings and late afternoons are often referred to as the "golden hours." During these times, the sun is lower in the sky, creating a soft, warm glow. This gentle light adds depth and dimension to your toy photos, highlighting details without harsh shadows.
Midday sun, on the other hand, can be quite harsh. Direct overhead light might cause unwanted shadows, washing out details and colors. If you must shoot during midday, try using shade to diffuse the light. This way, you'll avoid the stark contrasts that could distract from your toy's features.
Consider overcast days as well. The clouds act like a giant softbox, providing even, diffused lighting that's ideal for capturing intricate details without glare. Pay attention to the weather forecast to plan your shoots accordingly. Remember, experimenting with different times can reveal which lighting conditions best suit your style. By selecting the right time, you'll harness natural light to enhance your toy photography beautifully.
Positioning Your Figurines
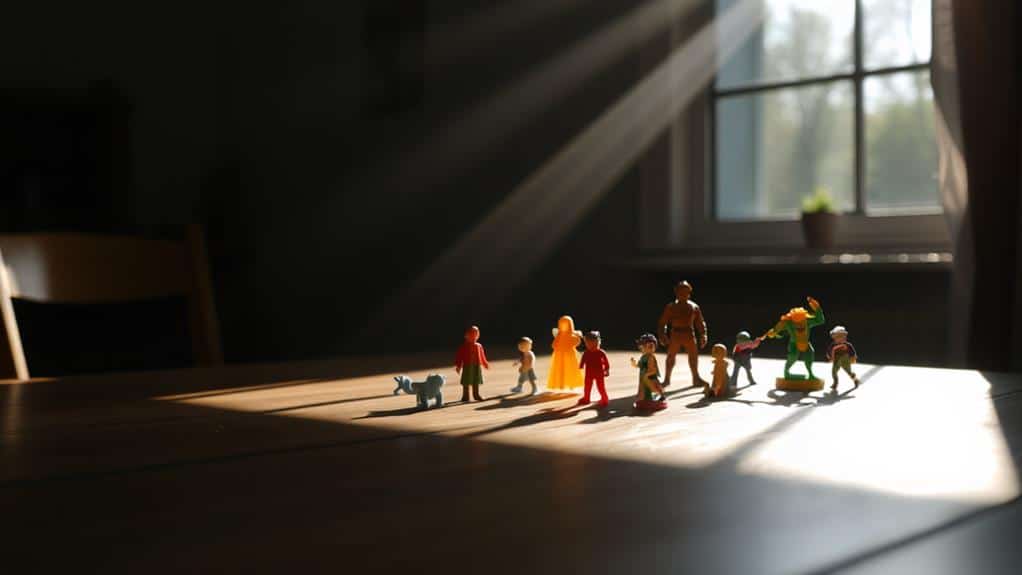
Positioning is key in bringing your toy photography to life. The way you arrange your figurines can transform a simple setup into a mesmerizing scene. Start by considering the narrative you want to convey. Are your toys in action, or is it a quiet moment? This decision influences the positioning. Angling your figurines slightly toward the camera can add depth, making them appear more dynamic. Try experimenting with different heights and angles to create a sense of drama or familiarity.
Play with layering by placing some toys closer to the lens and others further back. This technique creates depth and draws the viewer's eye toward the main subject. Don't forget to leave space in the frame for the story to breathe. Cramped compositions can make the scene feel cluttered and confusing.
Natural light's directionality affects shadows and highlights, so rotate your figurines and observe how the light interacts with their surfaces. The resulting shadows can enhance textures and add a three-dimensional quality. Pay close attention to your background. A simple, uncluttered setting can help your subjects stand out, while a detailed backdrop can add context and richness to the scene.
Harnessing Golden Hour
Bathe your toy photography in the enchanting glow of the golden hour to elevate your images. This magical time, shortly after sunrise or before sunset, offers a soft, warm light that adds depth and mood to your photos. As a toy photographer, you'll find this lighting ideal for creating dramatic shadows and highlights that accentuate your subjects. The golden hour's gentle illumination can make your toy figures appear more lifelike, enhancing textures and colors in a way that harsh midday sun simply can't.
To harness the golden hour effectively, plan your shoots around these times. Check local sunrise and sunset schedules, and arrive early to set up your scene. Position your toys to take advantage of the natural light direction, allowing it to cast interesting shadows or illuminate specific features. Experiment by moving your figures and camera angles to see how the changing light affects the scene.
Utilizing Window Light
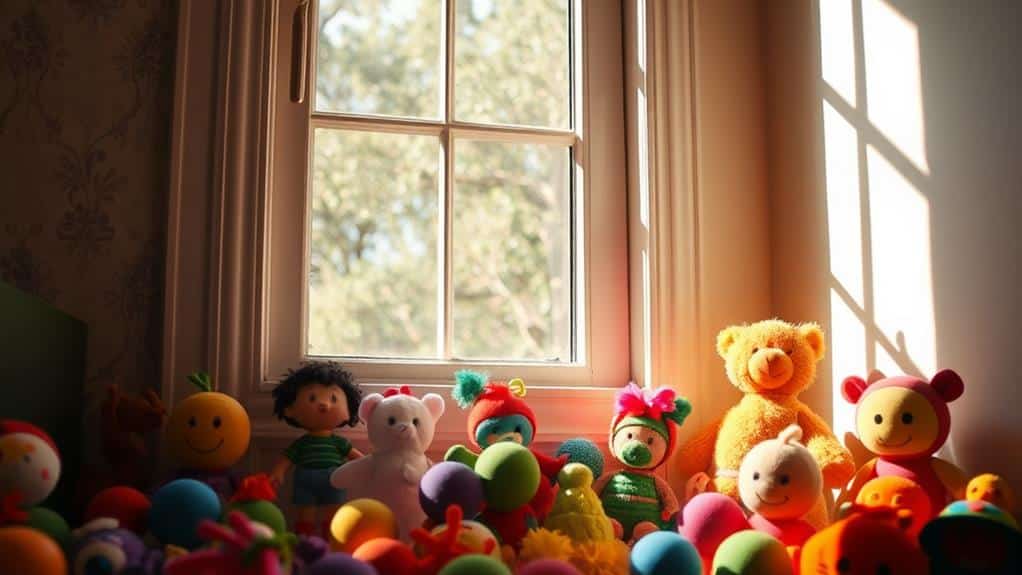
While the golden hour offers an enchanting outdoor experience, the beauty of indoor photography lies in the versatility of window light. You can create stunning toy photographs by simply positioning your subjects near a window. This natural light source provides a soft, even illumination that enhances details and colors without the need for artificial lighting. It's a great way to mimic the gentle lighting of early morning or late afternoon indoors.
Start by selecting a window with ample natural light, ideally one facing north or east to avoid harsh midday sun. Position your toys so the light falls on them at an angle, adding depth and dimension to your shots. Move your toys around to experiment with different angles and shadows. You'll notice how subtle changes in position can dramatically alter the mood and impact of your image.
Don't forget to pay attention to the background. The area around the window can serve as a clean, uncluttered backdrop, letting your toys take center stage. By shooting with your back to the window, you can also play with backlighting effects, which can create a magical silhouette or halo around your subjects.
Diffusing Harsh Sunlight
When the sun is blazing and casting harsh shadows, diffusing the light can make all the difference in capturing that perfect toy photograph. Direct sunlight often creates strong contrasts that can detract from the details and colors of your toys. By diffusing this harsh light, you can soften shadows and achieve a more even and flattering illumination.
To diffuse sunlight effectively, use simple tools like a white bedsheet, sheer curtain, or a professional diffuser. Position the diffuser between the sun and your subject to scatter the light. This creates a gentle glow that enhances the toy's features without overwhelming them. You can also use translucent reflectors or even a large piece of white cardboard to bounce light back onto your subject.
Remember to adjust your position and the diffuser's angle to control the direction and intensity of the light. Experiment with different materials and setups to find what works best for your scene. By mastering diffusion techniques, you'll bring out the best in your toy photography, highlighting intricate details and vibrant colors while maintaining a natural look. Don't let harsh sunlight ruin your shots; instead, turn it into an advantage.
Managing Shadows Effectively
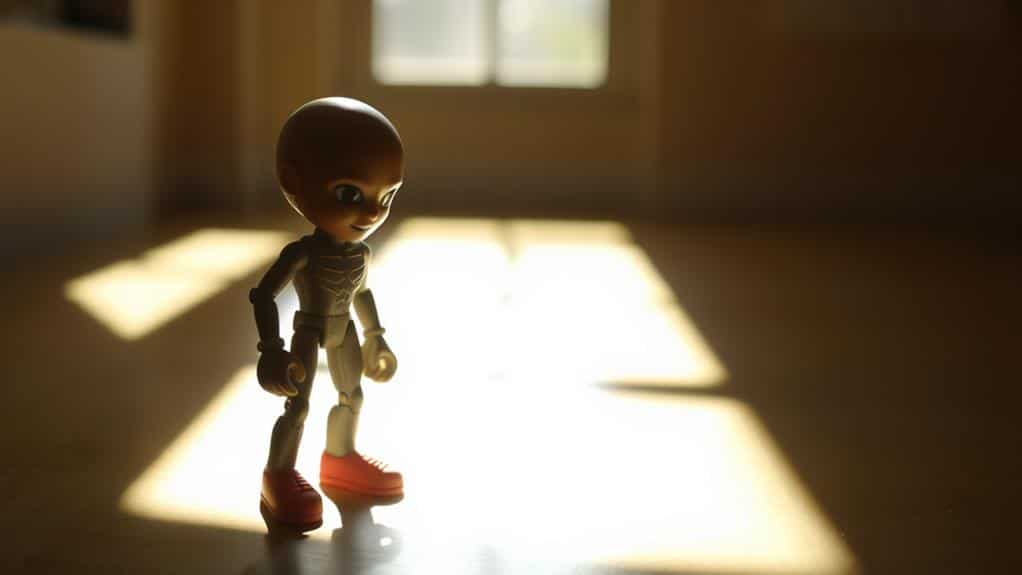
Shadows play an essential role in toy photography, adding depth and dimension to your images. To manage shadows effectively, you should first consider the direction of light. Light coming from the side creates dramatic, elongated shadows, while front lighting minimizes them. Experiment with light angles to achieve the desired effect and bring your toy subjects to life.
Using natural light means you can't control shadows as precisely as artificial light allows. However, you can influence them by moving your toys or adjusting the light source. Try shooting during different times of the day to see how shadows shift and change. Early morning or late afternoon light tends to be softer, casting gentler shadows, whereas midday sun can create stark contrasts.
Here's a quick guide to shadow effects based on light direction:
| Light Direction | Shadow Effect | Ideal Use |
|---|---|---|
| Side Lighting | Elongated Shadows | Dramatic, moody scenes |
| Front Lighting | Minimal Shadows | Clear, detailed close-ups |
| Back Lighting | Silhouetted Shadows | Mysterious, artistic outlines |
Enhancing Details Naturally
Mastering shadows is just one part of creating enchanting toy photography; capturing natural details elevates your images further. Natural light brings out textures and colors in a way artificial light often can't. By using sunlight, you'll highlight the intricate details of toys, making them pop in your photos. To achieve this, position your toys where the light reveals their smallest features, whether it's the stitching on a teddy bear or the glint in an action figure's eyes.
When setting up your scene, consider how light interacts with different materials. Natural light can enhance:
- Glossy surfaces: Reflective areas, like shiny plastic, catch the sun's rays, creating dynamic highlights.
- Matte finishes: Soft, even lighting shows off subtle textures, like the rugged surface of a toy truck.
- Translucent elements: Sunlight passing through items like Lego bricks adds depth and interest.
- Vibrant colors: Sunlight enriches hues, making reds redder and blues bluer, without the harshness of flash.
- Fine details: Tiny engravings or delicate patterns become more pronounced under natural lighting.
Creating Mood With Light
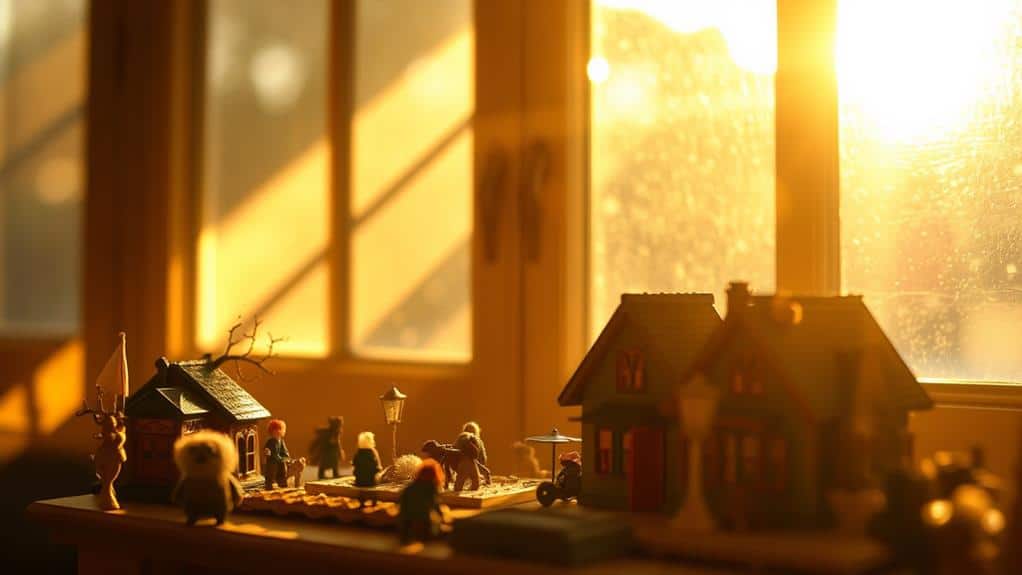
A beam of natural light can transform a simple toy scene into a story brimming with emotion and drama. When you position your toys in a spot where natural light cascades over them, you're not just capturing an image; you're crafting a mood. Soft morning light can evoke a sense of calm and serenity, while the harsh midday sun might suggest tension or adventure. The nuances of natural light let you play with shadows and highlights, adding depth and character to your photos.
You can use the golden hour—those magical moments just after sunrise or before sunset—to bathe your toys in warm, golden tones. This time of day offers a gentle light that creates long, soft shadows, perfect for adding a touch of nostalgia or whimsy to your scenes. On the other hand, cloudy days provide diffused, even lighting that can create a mysterious and subdued atmosphere.
Observe how light interacts with your toys' surfaces and colors. Notice how it changes throughout the day, creating different moods. By embracing these natural variations, you can evoke specific emotions, making your toy photography not just a hobby but an expressive art form.
Experimenting With Angles
When you're photographing toys, experimenting with angles can dramatically change the narrative of your scene. The position of your camera relative to the toy can transform an ordinary shot into something extraordinary. By simply shifting your perspective, you can evoke different emotions and tell varied stories. Consider how a low angle can make a small toy appear grand and imposing, while a high angle can emphasize vulnerability or playfulness.
To create compelling toy photography, try these angles:
- Eye-Level Shot: Capture the toy's world as if you're part of it, bringing viewers into the scene for a relatable experience.
- Low Angle: Make your toy look heroic or larger-than-life, enhancing their presence and making them feel powerful.
- High Angle: Offer a bird's-eye view to highlight scale and context, often making the toy seem small and endearing.
- Close-Up: Zoom in to capture intricate details, textures, or expressions, adding depth and character to your subject.
- Dutch Tilt: Tilt your camera for a dynamic, whimsical effect, creating tension and movement in a static scene.
Experimenting with these angles under natural light can lead to a plethora of creative possibilities. Each angle offers its own unique storytelling potential, helping you craft images that resonate with viewers.
Frequently Asked Questions
How Can Natural Light Affect the Color Saturation of Toy Photos?
When you let the sun shine on your toys, natural light enhances color saturation, making hues pop and appear more vivid. You'll see a marked difference, as natural light adds a lifelike vibrancy artificial light can't match.
What Camera Settings Work Best With Natural Light for Toy Photography?
Use a low ISO to reduce noise, set your aperture around f/8 for sharper details, and adjust shutter speed to prevent overexposure. Don't forget to use a tripod to stabilize your shots in natural light.
Is Natural Light Suitable for Photographing Toys With Reflective Surfaces?
Yes, natural light works well for reflective surfaces if you manage angles carefully. Position the light source to minimize harsh reflections and use diffusers if needed. Experiment with different times of day to find ideal lighting conditions.
How Do Weather Conditions Impact the Outcome of Natural Light Photography?
You're about to capture the perfect shot, but wait—clouds roll in. Weather conditions can drastically alter natural light's intensity and color. You'll need patience and adaptability to seize those fleeting moments of ideal lighting.
Can Natural Light Be Effectively Used Indoors for Toy Photography?
Yes, you can use natural light indoors for toy photography by positioning toys near windows. Adjust curtains or blinds to control light intensity. Experiment with angles to create intriguing shadows and highlights, enhancing the overall composition.
At a Glance
You're setting up your toy photography, and the sun just happens to peek through the clouds. Coincidence? Maybe, but it's the natural light that transforms your scene. By choosing the right time and position, you harness this golden opportunity to enhance details and create mood. Shadows dance, angles intrigue, and your figurines come to life in ways artificial light just can't match. Embrace these serendipitous moments, and let natural light elevate your photography.

