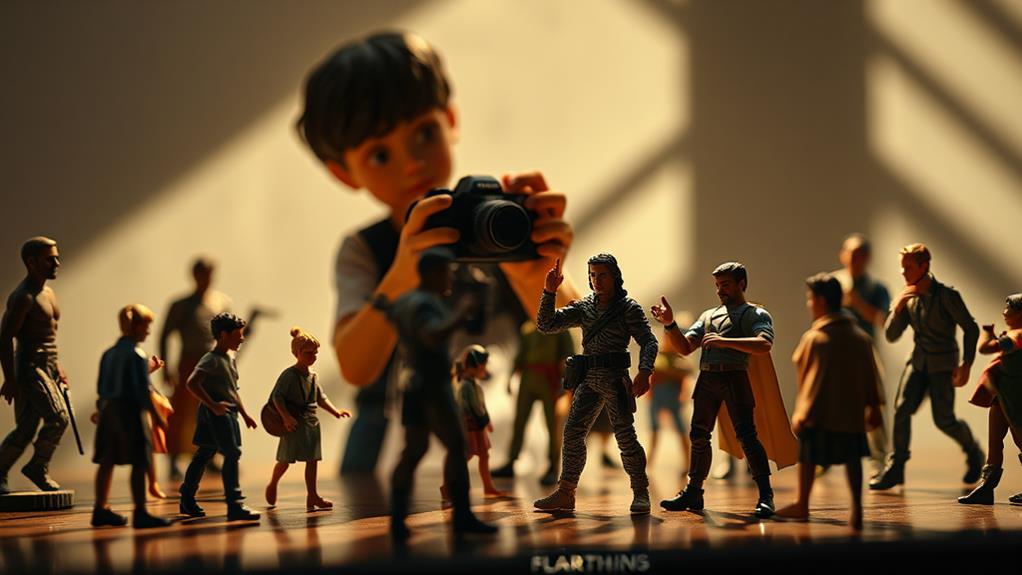
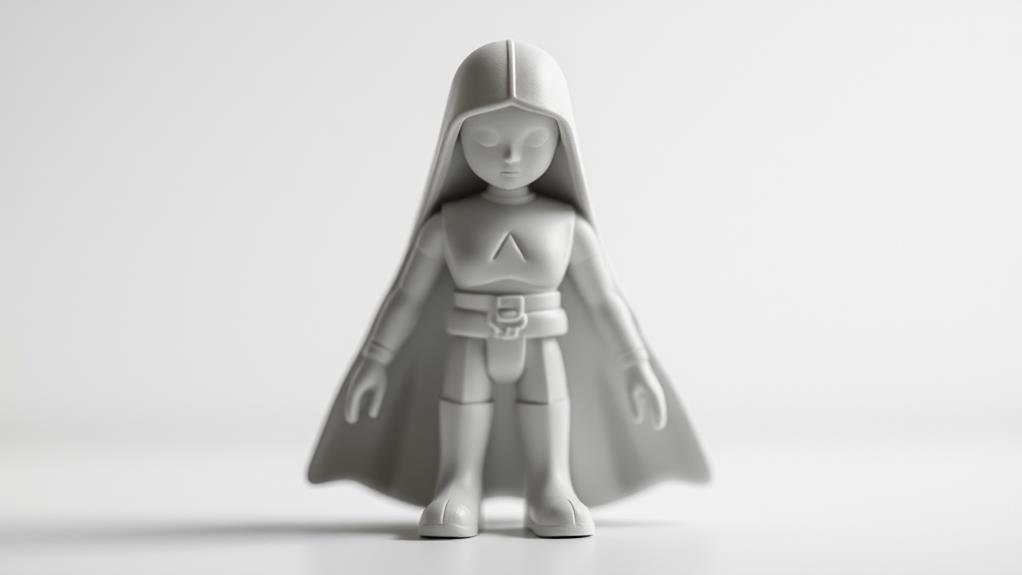
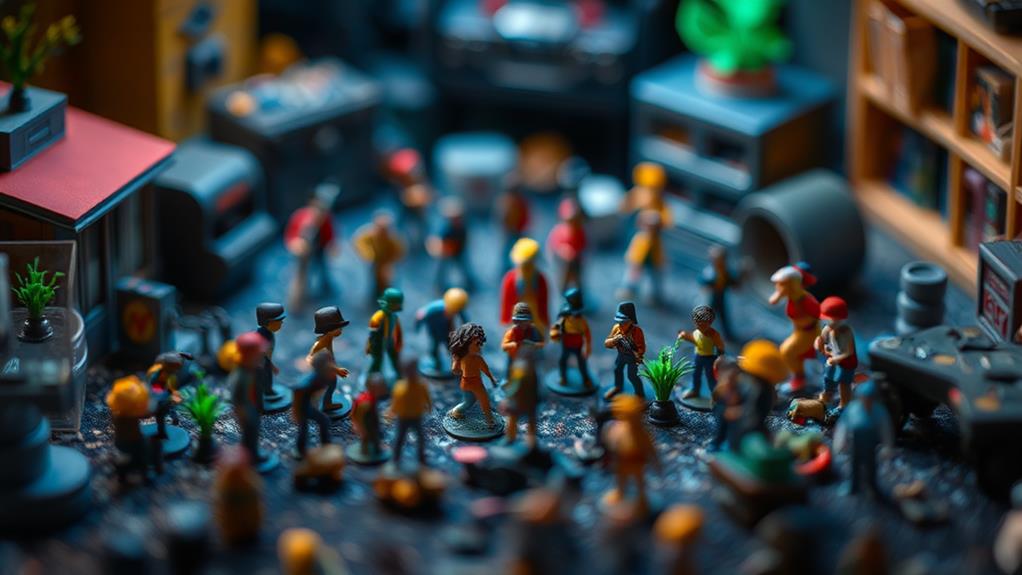
To elevate your figurine photography, start by choosing backgrounds that enhance your subject’s colors and themes. Use the rule of thirds to compose balanced shots and create intrigue. Experiment with angles by shooting low for a dramatic effect or high for a softer look. Focus on capturing intricate details using macro photography and guarantee clarity by utilizing a tripod. Play with natural and artificial lighting for the best highlights and shadows. Incorporate natural elements in your setup to add depth and realism. Engaging techniques like leading lines and negative space can further add depth to your compositions—ready to explore more? To further enhance your figurine photography, consider incorporating props that resonate with the themes of your figurines, creating a cohesive narrative in your images. Experimenting with reflections and transparencies can also yield striking results, adding an artistic flair to your compositions. For those looking to delve deeper into this creative realm, check out our movieinspired figurine photography tips for inspiration and unique techniques to elevate your work even further.
Choose the Right Background
Selecting the perfect background is crucial for making your figurine photos stand out. You want to choose a background that complements the figurine without overpowering it. Start by considering the figurine's colors and themes. If your figurine has vibrant colors, pick a more neutral background to let the figurine's hues shine. Conversely, if your figurine is more muted or monochromatic, a colorful or textured background might add an interesting contrast.
Lighting conditions will also influence your background choice. Natural light works wonders, so try shooting near a window or outdoors. A plain white or black backdrop often highlights details and contours, creating a professional look. You can also experiment with different materials like fabric, paper, or even natural elements like leaves or stones to add depth and interest.
Remember to keep your background uncluttered. Too many distractions can draw attention away from your figurine. A clean, simple backdrop guarantees your subject remains the focus. Additionally, consider the scale. If you're photographing tiny details, a macro lens can capture them beautifully against a softly blurred background, maintaining the emphasis on your figurine. With a thoughtful choice, your photos will truly captivate viewers.
Utilize the Rule of Thirds
When it comes to composing your figurine photos, one technique stands out: the rule of thirds. This fundamental photography principle involves dividing your frame into a 3×3 grid, creating nine equal sections with two horizontal and two vertical lines. By aligning your figurine along these lines or placing them at their intersections, you achieve a balanced, aesthetically pleasing composition that draws the viewer's eye naturally.
Start by enabling the grid feature on your camera or smartphone. This visual guide helps you position your figurine effectively. Instead of centering the subject, position it off-center along one of the grid lines. This creates visual interest and depth, guiding the viewer's gaze around the image.
Consider your figurine's pose and direction. If it's facing left, place it on the right vertical line, allowing space for the figurine to "look" into. This negative space enhances the storytelling element of your photo, making it more engaging.
Experiment With Angles

Angles can transform your figurine photography, revealing new perspectives and adding dynamism to your shots. By experimenting with different angles, you can highlight unique aspects of your figurines that might otherwise go unnoticed. Start by moving around your subject and observing how the light interacts from various positions. A low angle can make your figurine appear more imposing and dramatic, while a high angle might create a softer, more approachable feel.
Don't just stick to eye level—get creative. Tilt your camera or try shooting from odd angles to add interest. By changing your viewpoint, you can emphasize certain features, like a figurine's intricate details or its expressive pose. Consider how the background interacts with your chosen angle. A simple shift can eliminate distractions or enhance the overall composition.
Focus on Details
As you explore various angles to capture your figurines' best features, don't overlook the power of focusing on details. Zooming in on intricate elements can transform a standard photo into a striking one. Every figurine tells a story through its details—whether it's the texture of fabric on a superhero cape or the delicate brushwork on a porcelain doll. By concentrating on these nuances, you bring out the character and craftsmanship of each piece.
Here's how you can effectively focus on details:
- Adjust Your Camera Settings: Use the macro mode on your camera or smartphone to capture close-up shots. This setting helps highlight even the tiniest details without losing clarity.
- Use a Tripod: Stability is essential when focusing on minute details. A tripod minimizes shaky hands, ensuring crisp and clear images.
- Explore Depth of Field: A shallow depth of field can blur the background, making the details pop. Experiment with aperture settings to achieve this effect.
- Pay Attention to Backgrounds: A cluttered background can distract from your figurine's details. Opt for simple, neutral backgrounds to maintain focus on your subject.
Play With Lighting

Lighting can make or break your figurine photography. To capture the best shots, focus on how light interacts with your figurine. Start by experimenting with natural light, which can create soft, appealing shadows and highlights. Position your figurine near a window, but avoid direct sunlight that can create harsh shadows and overexposed areas.
You can also use artificial lighting to gain more control. Try using a desk lamp or LED lights for consistent illumination. Adjust the angle and distance to see how shadows and highlights change. Consider using a diffuser, like a white cloth or paper, to soften the light and reduce glare.
Reflectors are another great tool. Use a white piece of paper or a reflector board to bounce light onto your figurine, illuminating areas that might be too dark. This technique helps you highlight intricate details without introducing additional light sources.
Don't forget to play with light color and temperature. Different bulbs produce various hues; try warm or cool lights to see what suits your figurine best. Finally, take multiple shots from different angles to capture a range of lighting effects. This experimentation can lead to stunning, dynamic photos.
Create a Sense of Scale
When photographing figurines, establishing a sense of scale can add depth and realism to your images. It can transform a simple toy into a lifelike character. To achieve this, consider incorporating everyday objects or settings that viewers can easily relate to. Here are some tips to help you create a convincing sense of scale:
- Use Background Elements: Place your figurine next to items like books, cups, or plants. These familiar objects can provide a reference point, making it easier for viewers to understand the size of your figurine.
- Introduce Human Elements: Including a part of your hand or a finger in the shot can instantly give viewers a clear idea of scale. This technique connects your audience to your image on a more personal level.
- Experiment with Perspective: Shooting from a lower angle can make your figurine appear larger and more dominant, while a higher angle does the opposite. Play with these perspectives to see what suits your story best.
- Add Multiple Figurines: Positioning several figurines together can help establish a hierarchy of size, offering viewers multiple reference points in the same frame.
Use Leading Lines

Creating a sense of scale breathes life into your figurine photography, but guiding your viewer's eye with leading lines can further enhance the composition. Leading lines are visual elements that draw a viewer's gaze towards the subject or create a sense of depth. They can be anything from a pathway, a railing, or even the edges of a table. By incorporating these lines, you can create a more dynamic and engaging image that highlights your figurine effectively.
When setting up your shot, look for natural lines in your environment. These lines should guide the viewer's eyes directly to your figurine, making it the focal point. Position your camera so that these lines lead towards or frame your subject. For instance, if you're photographing a figurine on a shelf, the shelf's edge can act as a guiding line. Experiment with different angles and perspectives to see how lines can change the photograph's impact.
Don't forget to try various orientations—horizontal lines can convey calmness, while vertical ones add a sense of power or height. Diagonal lines, on the other hand, introduce movement and energy, drawing viewers into the world of your figurine.
Incorporate Natural Elements
Enhance your figurine photography by integrating natural elements into your shots. Doing so can add depth, context, and a touch of authenticity to your images. Nature offers diverse textures, colors, and backgrounds that can complement your figurines beautifully. Whether you're shooting indoors or outdoors, these elements can transform an ordinary image into something extraordinary.
Here are some tips to effectively incorporate natural elements:
- Use Plants and Foliage: Position your figurines among leaves, flowers, or branches to create a miniature world. This not only provides an organic backdrop but also highlights the figurine's details by contrasting them with nature's textures.
- Utilize Natural Light: Shoot during the golden hour—shortly after sunrise or before sunset—to capture warm, soft lighting. This natural light can enhance the figurine's colors and shadows, adding a magical glow to your photos.
- Include Water Elements: Use a small amount of water to mimic ponds, rivers, or raindrops. The reflections and shimmer can evoke a sense of realism and drama, making the scene more dynamic.
- Incorporate Rocks and Sand: Position your figurines on rocks or sand to suggest rugged landscapes or desert scenes, adding a sense of adventure or exploration.
Explore Negative Space

Negative space is a powerful tool in figurine photography that you shouldn't overlook. It refers to the empty or unoccupied areas surrounding your subject. By effectively using negative space, you can create a striking composition that draws attention to your figurine. It helps in balancing the image and can evoke specific emotions or give your photograph a sense of tranquility.
To explore negative space, start by examining your background. Confirm it's not too cluttered, allowing your figurine to be the focal point. You can use a plain wall, a soft gradient, or an out-of-focus backdrop to achieve this effect. Experiment with different angles and distances to see how the empty spaces can frame your subject.
Additionally, pay attention to the rule of thirds. Position your figurine off-center, letting the negative space complement and enhance the main subject. This technique often leads to more dynamic and interesting compositions.
Lastly, consider how negative space can convey a story or mood. It can suggest isolation, freedom, or minimalism, depending on how you use it. By mastering negative space, you'll elevate your figurine photography, making each shot more compelling and visually appealing.
Frequently Asked Questions
How Can I Prevent Reflections on Glossy Figurine Surfaces?
Use diffused lighting to minimize reflections on glossy surfaces. Place a softbox or white sheet between the light source and the figurine. Adjust angles and avoid direct light to reduce glare on shiny parts.
What Camera Settings Are Best for Capturing Small Figurines?
For capturing small figurines, use a macro lens, set a low ISO for clarity, and choose a narrow aperture like f/8 for depth of field. Guarantee proper lighting and adjust shutter speed to avoid blurring.
How Do I Effectively Use Props to Enhance My Figurine Photos?
Choose props that complement your figurine's theme. Arrange them to create a narrative or mood. Maintain balance without overshadowing the figurine. Use colors and textures that enhance the scene, and experiment with different angles for dynamic shots.
What Post-Processing Techniques Enhance Figurine Photography?
Adjust brightness, enhance contrast, and sharpen details to make your figurine photos pop. Use color correction for accuracy, apply subtle filters for mood, and remove imperfections for a polished look. Consistency in edits guarantees a cohesive portfolio.
How Can I Achieve a Consistent Theme Across Multiple Figurine Photos?
To achieve a consistent theme, select a cohesive color palette and maintain similar lighting settings. Use matching backgrounds and props. Stick to a particular style, like dramatic or minimalist, ensuring each photo complements the entire series.
At a Glance
You've journeyed through the world of figurine photography, wielding your camera like a wand. Remember to choose the right background, and let the rule of thirds guide your composition like a trusty map. Experiment with angles and focus on details, much like a detective solving a mystery. Play with lighting to cast enchanting spells, and use leading lines as your compass. By incorporating these tips, your figurine photos will tell stories as fascinating as any epic tale.


