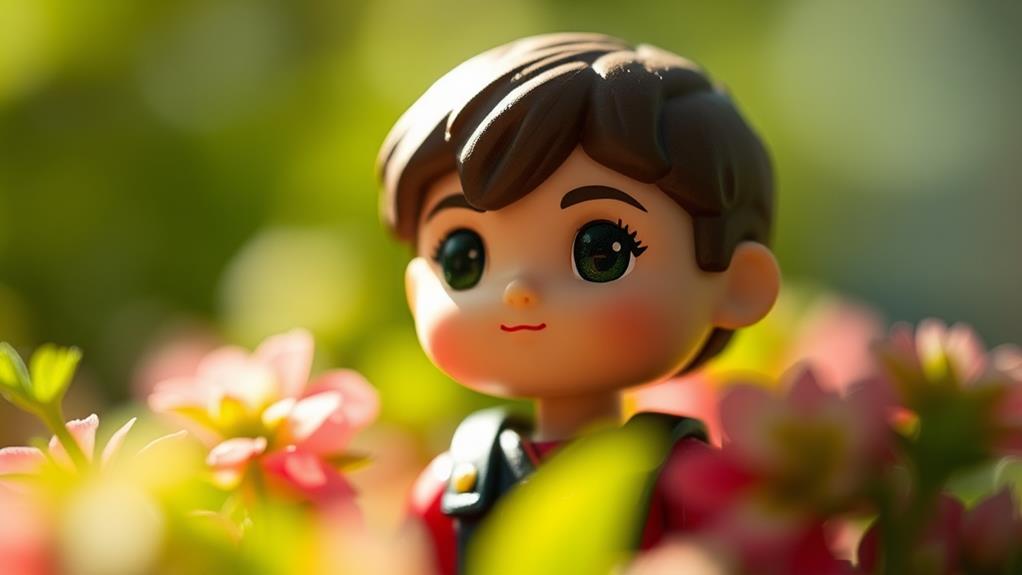
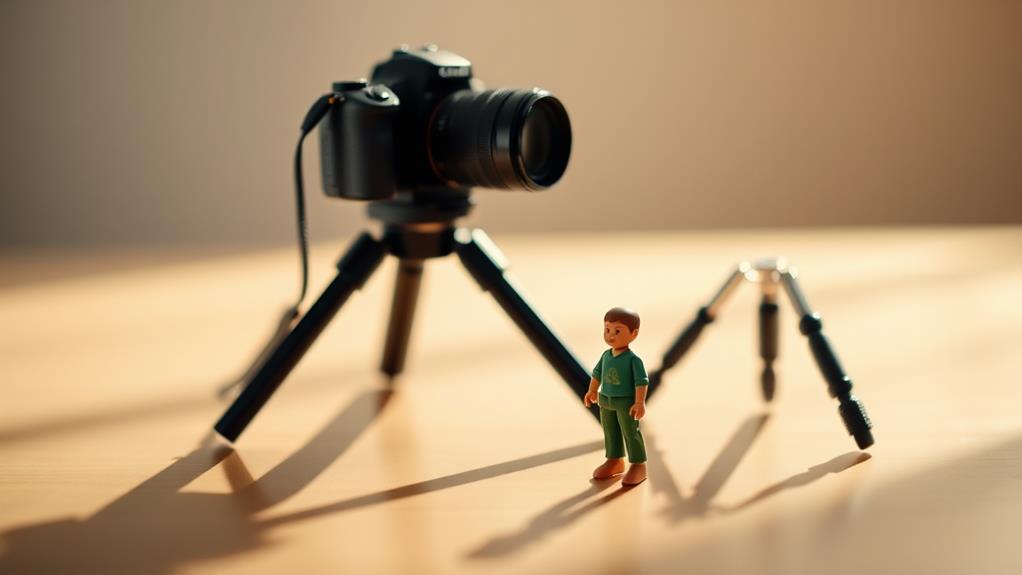
To overcome hurdles in macro toy figure photography, start by optimizing your lighting. Use natural or LED lights and position them thoughtfully to manage shadows. Utilize diffusers and reflectors to soften harsh light, and consider polarizing filters for reflection control. Stabilize your setup with a sturdy tripod and remote shutter release to prevent blurriness. Master depth of field by using a wide aperture and focusing manually, possibly incorporating focus stacking for sharper results. Select a macro lens with an appropriate focal length to reduce distortion. Immerse yourself in these techniques, and you'll find your skills and creativity greatly enriched.
Understanding Lighting Techniques
Lighting is one of the most essential aspects of macro toy figure photography, and mastering it can greatly elevate your images. You'll find that the right lighting can transform a simple toy figure into a compelling subject. Start by choosing the right light source. Natural light is often the easiest to work with, providing a soft, even glow that complements your figures. If you're shooting indoors, position your setup near a window to harness daylight.
When natural light isn't available, consider using LED lights or a ring light. These options provide consistent brightness and allow you to control the intensity. Place the light source at different angles to create interesting shadows and highlights. Side lighting can add depth, while backlighting can create dramatic silhouettes.
Don't forget about diffusers and reflectors. A diffuser softens harsh light, preventing unwanted glare on shiny surfaces. You can use a simple white sheet or a professional diffuser kit. Reflectors, on the other hand, bounce light back onto your subject, filling in shadows for a balanced look. Even a piece of white paper can work as an effective reflector. Experiment with these elements, and you'll see your macro toy photography come to life.
Mastering Depth of Field
How can you make your toy figures pop against a blurred background? Mastering depth of field is your key. Start by using a wide aperture, like f/2.8 or f/4, to achieve a shallow depth of field. This technique will keep your toy figure sharp while beautifully blurring the background. The wider the aperture, the more pronounced the blur, or bokeh, giving your figure the attention it deserves.
Positioning matters too. Place your figure a good distance from the background. The more separation, the stronger the blur effect you'll achieve. Don't forget about your camera's position. Get down to the toy's level to create a more immersive and engaging perspective.
Utilize your camera's manual mode to take full control. Adjust the aperture and shutter speed to guarantee your figure remains well-lit and in focus. If you're using a smartphone, activate portrait mode to simulate a shallow depth of field effect.
Experimentation is essential. Try different distances and apertures until you find the sweet spot. With practice, you’ll create stunning images where your toy figures stand out with crystal clarity against a soft, dreamy background. To enhance your results further, it’s crucial to understand the optimal lens settings for photography, as these can significantly impact the overall quality of your images. Pay attention to how lighting affects your shots; sometimes, a slight adjustment in exposure can make all the difference. With continued experimentation and patience, you’ll develop a keen eye for capturing the essence of your subjects, transforming ordinary scenes into extraordinary works of art.
Tackling Focus Issues

When you're delving into macro toy figure photography, achieving precise focus can be a real challenge. The tiny subjects demand meticulous attention to detail. Start with stabilizing your camera. A tripod is your best friend because hand-held shots often lead to blur. Use manual focus and magnify the live view to guarantee sharpness. Autofocus can struggle with macro, so take control.
Consider using focus stacking. This technique involves taking multiple shots at different focus points and blending them in post-processing. It gives you a greater depth of field, keeping the entire subject in crisp focus. Let's compare approaches:
| Technique | Pros | Cons |
|---|---|---|
| Manual Focus | Greater control | Time-consuming |
| Autofocus | Quick and easy | Less accuracy in macro |
| Focus Stacking | Enhanced depth of field | Requires post-processing |
| Stabilization | Reduces motion blur | Needs extra equipment |
| Magnified View | Better focus precision | Can be challenging to use |
Pay attention to your aperture settings. A narrow aperture (higher f-stop) can improve focus sharpness but requires more light. Experiment with different settings to find what works best for your macro toy figure photography. With practice, you'll master focus issues and capture those tiny details beautifully.
Dealing With Shadows
One common challenge in macro toy figure photography is managing shadows, which can obscure details and alter the mood of your image. When shooting small subjects, even slight movements or changes in light can create unwanted shadows. To tackle this, start by positioning your light source thoughtfully. You might find that placing it at an angle rather than directly overhead works better, reducing harsh shadows that might otherwise dominate your shot.
Reflectors are your best friends here. Use them to bounce light into shadowed areas, brightening up the scene without introducing additional light sources. You can use simple items like white paper or aluminum foil as makeshift reflectors. Experiment with their placement until you achieve the desired effect.
Additionally, pay attention to the background. Dark or textured backgrounds can amplify shadows, so consider using a lighter or smoother backcloth to minimize this effect. You can also diffuse your light source to soften shadows—try using a sheer cloth or specialized diffuser to spread out the light evenly.
Don't forget to review your setup through the camera's viewfinder or screen. Adjust as needed and take test shots to verify shadows are enhancing, not hindering, your final image.
Choosing the Right Lens

Selecting the right lens is vital for capturing the intricate details of toy figures in macro photography. You need a lens that allows you to get close and reveal every tiny feature with clarity. A dedicated macro lens is your best bet because it's designed for close-up work and can focus at short distances. Look for one with a 1:1 magnification ratio to guarantee your subject's true size is maintained in your image.
Consider the focal length too. A 60mm lens works well for beginners, offering a balance between working distance and depth of field. If you want more flexibility, a 100mm or 105mm lens gives you extra space between the lens and your subject, reducing the risk of casting shadows or disturbing the scene.
Don't forget about aperture. A lens with a wide maximum aperture (like f/2.8) lets in more light, which can be vital in low-light conditions. However, be aware that a wider aperture can result in a shallow depth of field, so you'll need to adjust settings accordingly to keep your toy figures in sharp focus. With the right lens, your macro toy photography will shine.
Handling Reflections
Reflections can be a photographer's nemesis, especially in macro toy figure photography where unwanted glare and shiny surfaces disrupt the perfect shot. You need to manage reflections to highlight details instead of distracting from them. Start by adjusting your light source. Soft lighting works wonders. Use diffusers or reflectors to scatter harsh light, minimizing glare. You can also try repositioning your light to a different angle to reduce reflections on shiny surfaces.
Next, consider using a polarizing filter. It's a handy tool for cutting down reflections and enhancing colors. Simply attach it to your lens and adjust until the glare diminishes. Remember, not all lenses support polarizers, so check compatibility.
If you're dealing with glossy figures, try applying a matte spray. It's a temporary solution but effective in reducing shine. Just verify it's non-permanent and safe for your figures.
Lastly, pay attention to your environment. Eliminate any reflective surfaces or objects that might bounce unwanted light onto your subject. Sometimes, changing your shooting angle slightly can make a huge difference. With these strategies, you're well on your way to mastering reflections in macro toy figure photography.
Stabilizing Your Camera

After managing reflections, you'll want to guarantee your camera is stable to capture sharp, detailed images. A shaky camera can ruin your shot, especially in macro photography where even slight movements cause blurriness. Start by using a sturdy tripod. It provides the essential stability needed to keep your camera steady. Make sure it's fully extended and securely locked in place to avoid any wobbling.
Consider using a remote shutter release or your camera's timer function. This prevents camera shake from pressing the shutter button manually. If your camera supports it, enable mirror lock-up to reduce internal vibrations during exposure. These small adjustments can make a big difference in image clarity.
You might also explore using a camera stabilizer or a bean bag for added support on uneven surfaces. A weighted stabilizer helps counterbalance any slight movements. When working indoors, position your setup on a stable table or surface to minimize external disturbances.
Lastly, pay attention to your camera settings. Use a faster shutter speed if you're shooting handheld or in a windy environment. By following these steps, you'll greatly improve the sharpness and quality of your macro toy figure photographs.
Enhancing Composition Skills
Engaging composition transforms ordinary toy figures into compelling visual stories. By focusing on composition, you'll create dynamic scenes that captivate viewers. Start by considering the rule of thirds. Imagine your frame divided into nine equal parts with two horizontal and two vertical lines. Position your toy figures along these lines or at their intersections to create balance and interest.
Next, explore different angles and perspectives. Don't hesitate to shoot from a low angle to make your figures appear larger than life, or try overhead shots for a unique viewpoint. This experimentation can lead to surprising and engaging results.
Lighting plays an essential role in enhancing composition. Use natural light to create soft shadows and highlights, adding depth to your scene. Alternatively, you can introduce artificial lighting to highlight specific areas, guiding the viewer's eye through the image.
Frequently Asked Questions
How Can I Create a Realistic Background for Macro Toy Photography?
Start by choosing a theme or setting for your toy figures. Use printed backgrounds, natural elements, or DIY dioramas to create depth. Incorporate lighting and perspective for realism, ensuring everything aligns with your story's mood.
What Props Work Best for Storytelling in Macro Toy Scenes?
Did you know that 70% of photographers use everyday items as props? You can enhance your macro toy scenes with household items like cotton for clouds, paper for mountains, or even spices for sand. Let creativity lead!
How Do I Prevent Dust From Ruining My Macro Toy Shots?
You should clean your toys and surroundings before shooting. Use a microfiber cloth or air blower. Work in a dust-free environment and cover your setup when not in use to prevent dust from ruining your macro shots.
What Materials Can Enhance Texture in Macro Toy Photography?
"A picture's worth a thousand words." Use sandpaper for rough surfaces or velvet for smooth backgrounds. Incorporate natural elements like leaves or fabric for added depth. Experiment with lighting and angles to accentuate textures in your macro toy photography.
How Can I Effectively Convey Motion in Macro Toy Figure Photography?
Capture motion by using a slow shutter speed, creating a blur effect. Tilt the camera slightly for dynamic angles. Experiment with panning techniques or add motion blur in post-processing to emphasize movement in your macro toy photos.
At a Glance
You've journeyed through the miniature world of macro toy figure photography, conquering each hurdle like a seasoned adventurer. With lighting as your guiding star and depth of field as your trusty compass, you're ready to capture magic. Shadows and reflections bow to your newfound wisdom, while a stable hand and keen eye elevate your creations. So go ahead, let your creativity dance in the frame and watch your tiny subjects come alive, telling grand stories in small spaces.


