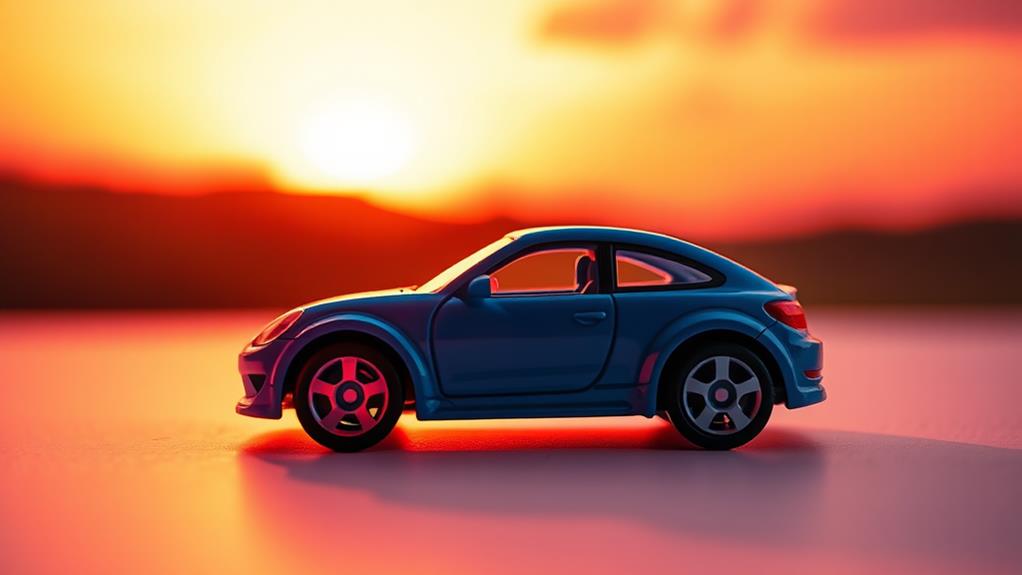
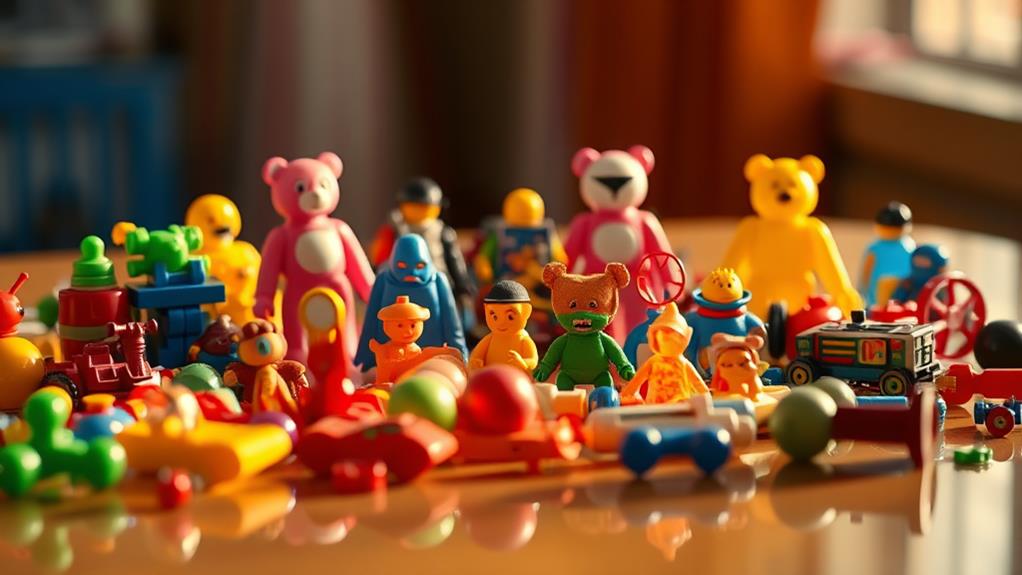
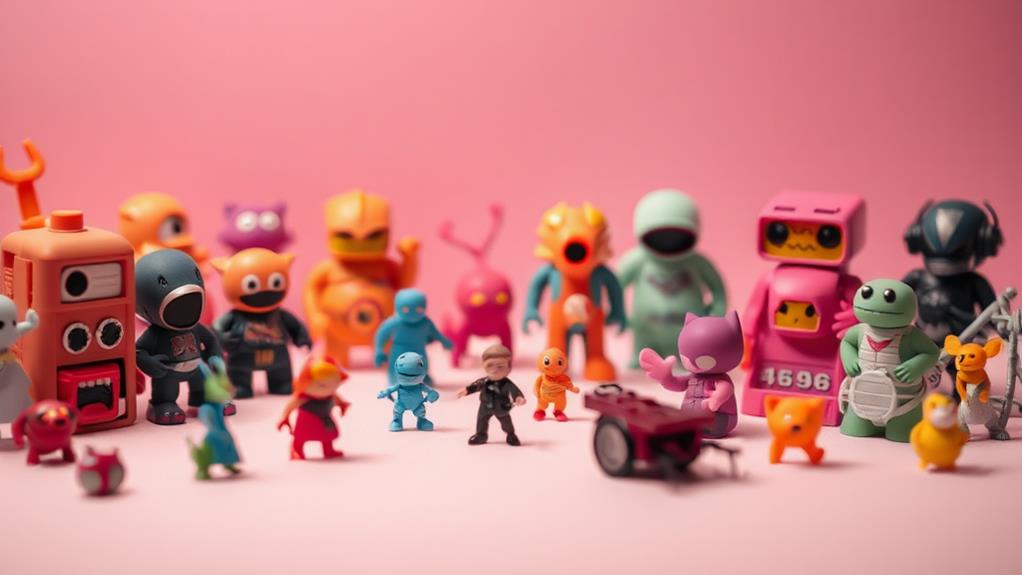
In toy photography, understanding color theory can elevate your images from average to enchanting. You can use color harmony to choose palettes that evoke specific emotions, like joy with yellows or calm with blues. Creating contrast using complementary colors adds drama and focus, while balanced warm and cool tones can energize or soothe parts of your scene. Experimenting with a limited palette or monochrome schemes sharpens focus on your subjects, drawing viewers in. Adjust tone interactions through lighting and editing to achieve the effect you want. Explore how hues influence mood and bring out the best in your toy photos.
Impact of Color Harmony
In the vibrant world of toy photography, understanding the impact of color harmony can transform your images from mundane to mesmerizing. By mastering this concept, you'll create photos that captivate and engage viewers. Color harmony involves using colors that complement each other to create a balanced and pleasing visual effect. It's about finding the right mix of hues that work together seamlessly, enhancing the subject rather than overpowering it.
Start by selecting a color palette that aligns with the emotion you want to convey. Use the color wheel to identify complementary, analogous, or triadic colors that can bring your scene to life. For instance, pairing a bright red toy with a soft green background can make the subject pop and create a visually appealing balance.
When composing your shot, pay attention to how colors interact. Avoid clashing colors that can distract from the main subject. Instead, aim for a cohesive look where colors enhance the story you're telling. Experiment with different combinations and observe how they influence the overall feel of the photograph. With practice, you'll develop an intuitive sense for color harmony, elevating your toy photography to new heights.
Enhancing Mood With Colors
Colors wield extraordinary power in setting the mood of your toy photography. By carefully selecting your color palette, you can evoke emotions and tell stories that resonate with your audience. Think about how different colors make you feel, and use those instincts to guide your choices. A warm, vibrant palette can create a sense of joy and playfulness, while cooler tones may evoke calmness or mystery.
To help you enhance the mood in your shots, consider the following emotions and corresponding colors:
| Emotion | Colors | Example Use |
|---|---|---|
| Joy | Yellow, Orange | Use for scenes with happy characters |
| Calm | Blue, Green | Perfect for peaceful landscapes |
| Excitement | Red, Purple | Ideal for action-packed scenarios |
| Nostalgia | Sepia, Pastel | Great for vintage or dreamy settings |
Experiment with these colors to see how they transform your scenes. When you're capturing a playful toy figure, opt for bright yellows and oranges to amplify the fun. If you're aiming for a more serene image, blues and greens work wonders. Trust your instincts and let colors guide the narrative of your photography. You'll find that a well-chosen palette not only enhances mood but also brings your toy photography to life.
Color Contrast Techniques

A key element in enthralling toy photography is mastering color contrast techniques. By leveraging the power of contrasting colors, you can make your toy subjects pop, drawing viewers’ attention to the details and nuances that might otherwise go unnoticed. Think of contrasting colors like a visual magnet, pulling eyes exactly where you want them. Here’s how you can effectively use color contrast in your toy photography: To enhance the impact of color contrasts, it’s also crucial to consider the background and surrounding elements in your frame. By carefully choosing complementary or contrasting backgrounds, you can further amplify your toy’s visual appeal. Additionally, optimizing toy photography lighting will help illuminate those vibrant colors, ensuring that each hue is both vivid and true to life, creating a captivating scene that draws viewers in.
- Complementary Colors: Use colors opposite each other on the color wheel, like blue and orange, to create dynamic tension. This method highlights your toy's features and makes them stand out.
- Warm vs. Cool: Pair warm colors (reds, oranges) with cool colors (blues, greens) to create a striking balance. This contrast can add depth and dimension to your composition, enhancing the overall visual impact.
- Value Contrast: Focus on the difference between light and dark areas to direct attention. A dark toy against a bright background (or vice versa) guarantees your subject doesn't blend in.
- Saturation Contrast: Use highly saturated colors against more muted tones to create visual excitement. This technique is great for making a specific part of the scene the focal point.
Evoking Emotions With Hues
Understanding how hues can evoke emotions is essential in toy photography. By using colors strategically, you can transform a simple image into one that resonates with viewers on an emotional level. Different hues can convey distinct feelings and moods, making your toy photos more compelling and engaging. For example, warm colors like red and orange can evoke excitement or passion, while cool colors like blue and green can induce calmness or melancholy.
To better understand the emotional impact of hues, consider this table:
| Hue | Emotion | Mood |
|---|---|---|
| Red | Passion | Energetic |
| Blue | Calmness | Serene |
| Yellow | Happiness | Cheerful |
| Green | Tranquility | Invigorating |
Complementary Colors in Shots

When it comes to toy photography, leveraging complementary colors can create striking and memorable images. These colors, located opposite each other on the color wheel, naturally enhance each other when paired, creating a vibrant, dynamic look. Using complementary colors effectively can make your toy photos pop and engage your audience by drawing their eyes to the subject. Here's how you can incorporate them into your shots:
- Choose Your Color Pair: Start by selecting a pair of complementary colors. Classic pairs include red and green, blue and orange, or yellow and purple. This step creates a solid foundation for your scene.
- Set the Scene: Arrange your toys and background to highlight these colors. You might use a green backdrop for a red toy or an orange prop next to a blue action figure. Be intentional with placement to emphasize contrast.
- Adjust Lighting: Use lighting to further boost the colors. Soft, even lighting can help maintain the vibrancy of complementary hues without washing them out.
- Post-Processing Enhancements: In post-production, slightly tweak saturation and contrast to amplify the complementary effect, ensuring the colors remain vibrant and eye-catching.
These techniques will help you capture compelling toy photography with a professional touch.
Using Warm and Cool Tones
Often, achieving the right balance between warm and cool tones in toy photography can elevate your images to new heights. Warm tones, like reds, oranges, and yellows, evoke emotions such as excitement and warmth, creating a dynamic feel. Meanwhile, cool tones, including blues, greens, and purples, convey calmness and serenity, offering a soothing contrast. By integrating both, you can craft a visually compelling narrative that draws viewers in.
Consider how these tones interact with your toy subjects and backgrounds. Here's a simple guide:
| Warm Tones | Cool Tones |
|---|---|
| Energizes the scene | Calms the scene |
| Adds vibrancy | Adds tranquility |
| Highlights action | Highlights depth |
Incorporating warm and cool tones strategically can help emphasize certain parts of your scene. For instance, placing a warm-toned toy against a cool-toned backdrop can make it pop, capturing attention instantly. Conversely, using cooler tones around a warm-toned subject can subtly enhance its presence without overpowering the image. Experiment with lighting and editing to adjust these tones as needed.
Color Balance in Composition

Achieving proper color balance in composition is essential for creating fascinating toy photography. It guarantees your images are visually appealing and that all elements in the frame work harmoniously. You can make your toy photography stand out by mastering a few key techniques. Here's how you can achieve that perfect color balance:
- Understand Complementary Colors: Use colors opposite each other on the color wheel. This contrast creates a dynamic tension that makes your photos pop. For instance, a red toy against a green background draws attention and adds energy.
- Limit Your Palette: Sticking to a few colors can prevent your composition from becoming overwhelming. A limited palette focuses the viewer's attention on the subject and enhances the mood.
- Consider Color Temperature: Mixing warm and cool tones strategically can help balance your composition. Warm tones advance while cool tones recede, which can add depth and dimension to your images.
- Use Neutral Colors: Incorporate grays, white, or black to tone down a busy scene. Neutrals can also help highlight your subject by providing a subtle background.
Creating Focal Points With Color
In toy photography, one powerful way to create focal points is by using color strategically. By choosing a primary color within your composition, you can guide the viewer's eye to the most important part of your image. Start by selecting a color that contrasts with the rest of your scene. For instance, if your background is mainly cool blues, a toy with bright red or yellow will immediately draw attention.
You can also use complementary colors to create dynamic tension. Placing a toy with vibrant green next to a deep purple backdrop can enhance the toy's presence, making it the focal point. This contrast naturally draws the viewer's eye to the toy, due to the visual harmony that complementary colors create.
Another technique is isolating the colored subject. Surround your toy with neutral tones or a subdued color palette. This isolation guarantees that the colorful toy stands out without distractions. Additionally, consider the use of lighting to accentuate these colors. By highlighting the toy with a spotlight, you amplify the chosen color's impact, further reinforcing its role as the focal point. With thoughtful color choices, your toy photography can truly captivate and engage viewers.
Experimenting With Monochrome Schemes

Exploring monochrome schemes in toy photography opens up a world of creative possibilities. By focusing on a single color, you can bring out unique textures and details in your subjects, creating a striking visual impact. Monochrome schemes allow you to emphasize shadows, highlights, and the intricate design of the toys themselves. It's a chance to strip away the distraction of multiple colors and let the viewer appreciate the finer details.
When experimenting with monochrome schemes, consider these steps:
- Choose Your Color: Select a color that complements your toy subject. Think about the mood or story you want to convey. For example, a blue monochrome might evoke a serene or mysterious atmosphere.
- Lighting Is Key: Use lighting to enhance your chosen color's depth and contrast. Adjust angles and intensity to highlight textures and create dynamic shadows.
- Background Matters: Pick a background that harmonizes with the monochrome theme. A consistent color palette keeps the focus on the toy.
- Post-Processing Techniques: Utilize editing tools to refine your image. Enhance your chosen color's saturation or adjust contrast to achieve the desired effect.
Frequently Asked Questions
How Does Lighting Affect the Perception of Color in Toy Photography?
Lighting drastically changes how you perceive colors in toy photography. It can enhance or mute tones, alter hues, and affect contrast. You should experiment with various lighting conditions to see how they transform the toys' appearance in your photos.
What Role Do Cultural Differences Play in Interpreting Colors in Toy Images?
Colors speak louder than words, shaping your perception based on cultural nuances. In toy images, cultural differences mean some colors evoke excitement while others may seem dull. Understanding these differences lets you capture diverse audiences' imaginations effectively.
Can Digital Editing Alter the Impact of Color Theory in Toy Photos?
You're probably wondering if digital editing can change how colors affect toy photos. Yes, it can. By adjusting hues, saturation, and contrast, you can enhance or diminish certain emotional responses, making your images more enchanting or subdued.
How Do Different Camera Settings Influence the Colors Captured in Toy Photography?
Imagine your camera as a painter's brush; changing settings like ISO, aperture, and white balance transforms your canvas. You control vibrancy and mood, influencing toy colors like an artist crafting a masterpiece with deliberate strokes.
What Are Some Common Mistakes in Applying Color Theory to Toy Photography?
You might overlook lighting, causing colors to appear off. Ignoring color balance can lead to unnatural results. Don't forget complementary colors; they enhance contrast. Avoid over-saturation, which can make photos look unrealistic and distract from the toy's details.
At a Glance
In the vibrant world of toy photography, color theory is your secret weapon, a painter's palette that breathes life into every frame. By embracing the dance of hues, you create a symphony of emotions and stories. Let colors be your guide to crafting mood, drawing focus, and balancing composition with grace. Experiment boldly, for each shade is a brushstroke on the canvas of imagination, revealing new dimensions in your art. Your lens becomes the storyteller, weaving tales through color.


