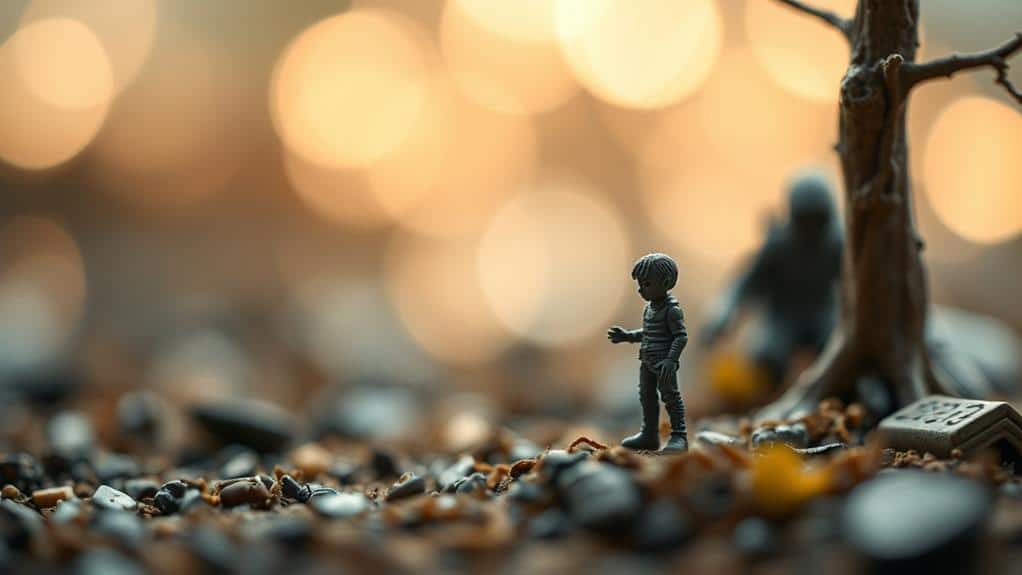
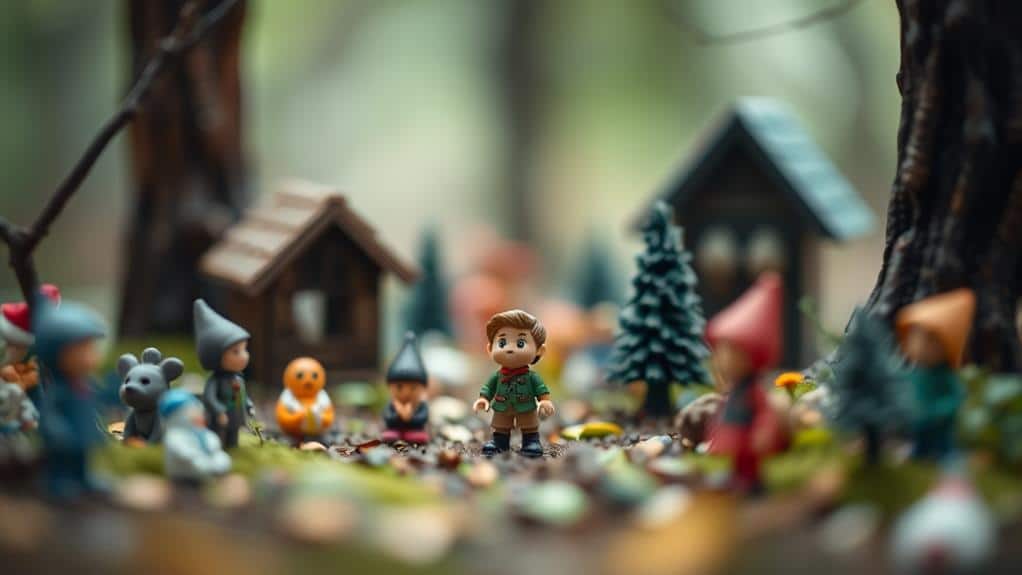
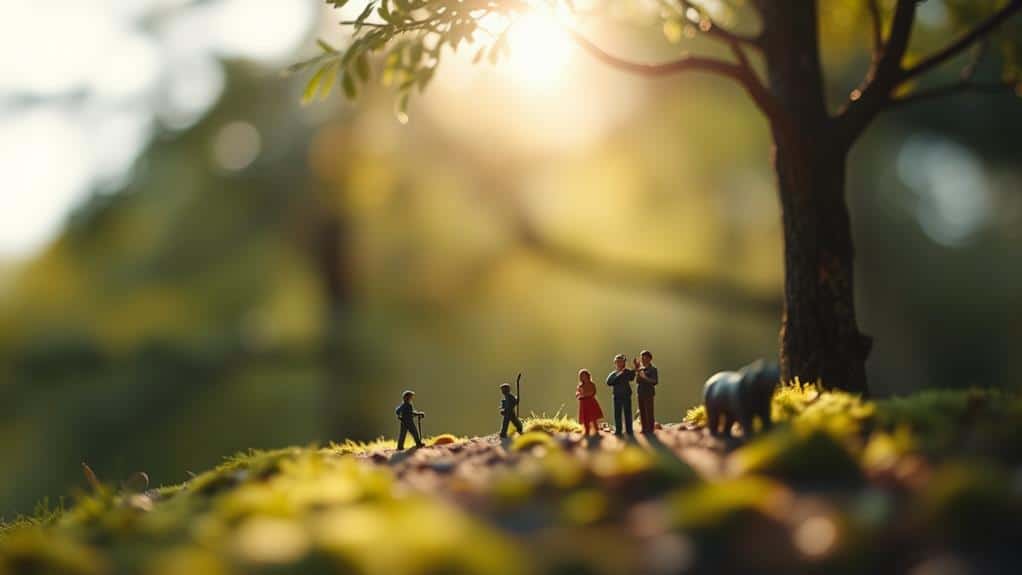
In miniature photography, depth of field (DoF) is all about the sharpness and focus range in your image. A shallow DoF, achieved with wider apertures like f/2.8, isolates your subject and creates artistic emphasis. This technique makes miniatures appear larger than life by blurring the background. Conversely, a deeper DoF with narrower apertures like f/16 keeps more of the scene in focus, revealing intricate details. Your choice of aperture greatly affects the mood and narrative. Additionally, manipulating focus and background blur enhances the illusion of scale and depth, offering endless possibilities for creativity and storytelling. Explore further to access more tips.
Understanding Depth of Field
Depth of field (DoF) is a crucial concept in miniature photography that greatly impacts the final image. It refers to the range within a photo that appears sharp and in focus. When you're shooting miniatures, understanding DoF helps you control what parts of your scene are clear and what parts blur into the background, adding depth and dimension to your work. In miniature photography, achieving an effective DoF can make small models look more life-like, providing that illusion of scale and realism.
To grasp DoF, think about how it influences the focus of your image. A shallow DoF means only a small portion of your photo is sharp, while the rest is softly blurred. This effect can draw attention to specific details, like the face of a miniature figure, creating an artistic emphasis. Conversely, a deep DoF keeps more of the scene in focus, which is useful when you want to capture an entire diorama or landscape in detail.
Experimenting with DoF allows you to become more creative with your compositions. By adjusting focus, you're able to guide the viewer's eye through your miniature world, enhancing storytelling and visual appeal.
Choosing the Right Aperture
Selecting the right aperture is essential to mastering depth of field in miniature photography. You'll find that adjusting the aperture allows you to control how much of your tiny scene is in focus. A wider aperture (a smaller f-number) creates a shallow depth of field, perfect for isolating a specific subject. Conversely, a narrower aperture (a larger f-number) increases the depth of field, bringing more of the scene into sharp focus.
Consider the following examples to help visualize aperture effects:
| Aperture (f-stop) | Depth of Field Effect |
|---|---|
| f/2.8 | Very shallow, subject pops |
| f/4 | Shallow, subtle background |
| f/8 | Moderate, balanced focus |
| f/16 | Deep, detailed scene |
| f/22 | Very deep, everything sharp |
When you're creating a miniature world, the aperture you choose can dramatically change the mood and focus. For instance, using f/2.8 might accentuate a tiny figure, making it stand out against a blurred backdrop. On the other hand, selecting f/16 could help highlight intricate details throughout the entire scene. Experimenting with different apertures lets you tell your story precisely as you envision it, ensuring your audience is captivated by the miniature marvel you've crafted.
Controlling Background Blur

After understanding the impact of aperture on depth of field, it's time to explore the art of controlling background blur in miniature photography. Background blur, also known as bokeh, can greatly enhance the focus on your miniature subject. To achieve this, start by choosing a wide aperture, such as f/2.8 or f/4. This will help create a shallow depth of field, allowing the background to softly fade away, emphasizing your miniature's details.
Positioning your subject also plays an essential role in controlling background blur. Keep enough distance between your miniature and the background. The further away the background is, the more blurred it will appear. Additionally, consider your shooting angle. A low angle can often help isolate the subject from any distracting elements behind it.
Another useful tip is to experiment with focal length. Longer focal lengths, like those offered by telephoto lenses, can compress the scene, enhancing the background blur effect. This is especially helpful if you're working in a cluttered environment. Finally, remember to focus carefully on your subject. Precise focus guarantees your miniature remains sharp against a beautifully blurred backdrop, bringing your creative vision to life.
Enhancing Scale With Focus
Building on the previous techniques, enhancing the perceived scale of your miniature subjects can drastically elevate your photography. By carefully manipulating focus, you create a sense of grandeur and depth that makes your miniatures come alive. Start by selecting a wide aperture setting. This will produce a shallow depth of field, which helps isolate your subject and blur the background, making your miniature appear larger than life.
To further enhance scale with focus, position your camera at eye level with your miniature. This perspective emulates how we view life-sized objects, tricking the viewer into perceiving the miniature as more substantial. Experiment with your camera's focus points to guarantee the most critical parts of your subject are sharp and in focus.
Finally, consider using a longer focal length lens. This compresses the scene and accentuates the depth, making the background appear closer and more blurred, adding to the illusion of scale. Here are three ways to evoke awe and wonder in your audience:
- Capture epic scenes that transport viewers to another world.
- Create dramatic contrasts that highlight intricate details.
- Invoke emotions by transforming the mundane into the extraordinary.
Tips for Toy Figurine Photos

When capturing toy figurines, the techniques that enhance scale with focus can be indispensable. Start by choosing a small aperture, like f/16 or f/22, to guarantee a greater depth of field. This helps keep the entire scene sharp, making your figurines appear more lifelike. Position your camera at the figurine's eye level to give the viewer a more immersive perspective. This angle tricks the eye into seeing the miniature world as a full-sized scene. Additionally, utilize proper lighting to create shadows and highlights that further emphasize realism and depth. Experiment with props and backgrounds that complement the figurines to build a cohesive and believable setting. By mastering these scale techniques for toy photography, you can transform miniature subjects into scenes that feel surprisingly full-sized and captivating.
Lighting is essential. Use soft, diffused light to avoid harsh shadows that might give away the figurine's small size. Natural light from a window or a softbox works well. Experiment with backlighting to create dramatic effects that highlight details.
Backgrounds matter too. A simple, uncluttered background keeps the focus on the figurine. You can use colored paper or fabric to add depth without distraction. Pay attention to details like dust and fingerprints on the figurines, as these can become glaringly obvious in close-up shots.
Lastly, don't forget to experiment with angles and compositions. Try different arrangements and viewpoints to find the most compelling shots that convey a sense of scale and narrative.
Frequently Asked Questions
How Does Lighting Affect Depth of Field in Miniature Photography?
In miniature photography, lighting influences depth of field by affecting your camera's aperture settings. Bright lighting lets you use smaller apertures, increasing depth of field, while dim lighting may require larger apertures, reducing depth of field. Adjust accordingly.
What Equipment Is Essential for Achieving Optimal Depth of Field in Miniatures?
Balancing complexity with simplicity, use a DSLR or mirrorless camera paired with a macro lens. Combine this with a sturdy tripod and focus stacking software to capture sharp details in your miniature scenes, enhancing depth and clarity.
Can Smartphone Cameras Achieve a Good Depth of Field in Miniature Photography?
You can achieve good depth of field in miniature photography with a smartphone camera. Use manual focus, adjust aperture if available, and employ editing apps for enhancements. Practice patience and experimentation to capture those tiny details perfectly.
How Does Focal Length Impact Depth of Field in Miniature Scenes?
Imagine a tightrope walker balancing precision and blur. You adjust focal length to either sharpen details or soften the background in your miniature scenes. A longer lens narrows focus, while a shorter one can broaden the visual field.
Are There Software Tools That Help Simulate Depth of Field in Post-Processing?
Yes, you can use software like Adobe Photoshop or Lightroom to simulate depth of field effects in post-processing. These tools let you adjust blur and focus areas, enhancing the miniature scene's realism and depth without extra equipment.
At a Glance
In miniature photography, depth of field is your magic wand, transforming ordinary scenes into enchanting worlds. By choosing the right aperture, you control the dance between sharp focus and gentle blur, like a painter balancing light and shadow. Your lens becomes a window to a universe where toy figurines stand as giants and every detail tells a story. Embrace this power, let your creativity soar, and watch as your tiny subjects come to life in vivid clarity.


