
Master toy photography with these DSLR tips: Choose a macro lens for intricate details and prime for sharpness. Use a wide aperture for subject isolation, adjust shutter speed for motion, and modify ISO for lighting. Set white balance for color accuracy, experiment with lighting techniques, and use a tripod for stability. Explore varied angles for unique perspectives. Post-process for final polish and enhancements. Improve your skills further by exploring more on these techniques.
Choose the Right Lens for Toy Photography
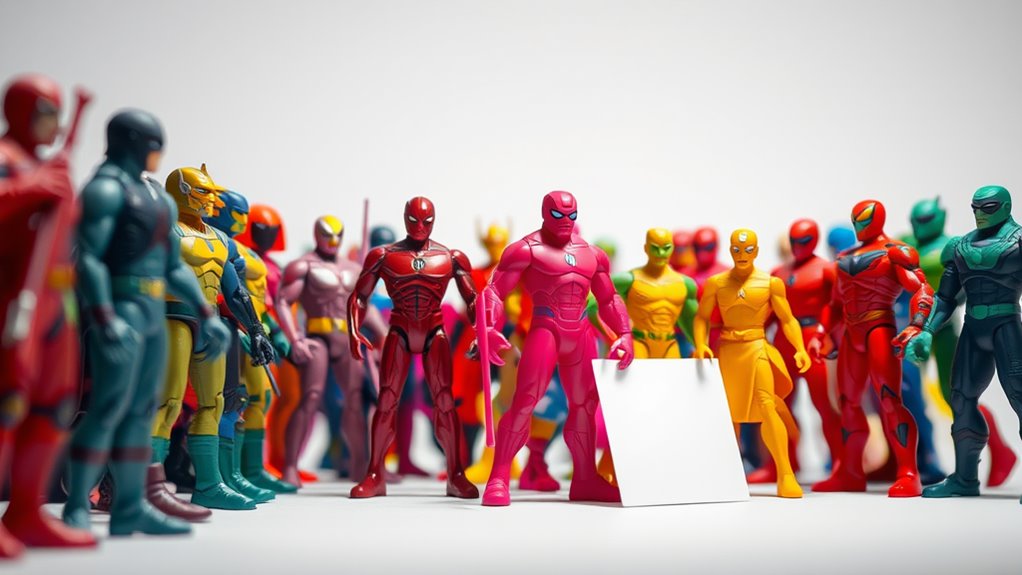
When diving into toy photography, selecting the right lens can markedly impact your results. You want to capture every tiny detail, so consider a macro lens for its close-focusing abilities. This type of lens lets you fill the frame with your toy, highlighting intricate features that might otherwise go unnoticed. If you're aiming for more dynamic compositions, a prime lens offers sharpness and excellent control over your framing. It encourages you to physically move around your subject, uncovering unique angles. Don't overlook the versatility of a zoom lens if you prefer a range of focal lengths in one piece of equipment. Each lens type brings something distinct to your shots, so choose based on how you want to portray your miniature world.
Utilize Aperture Settings for Depth of Field
Mastering aperture settings is essential for creating enchanting depth of field in toy photography. By adjusting the aperture, you can control how much of your scene stays in focus. A wide aperture (low f-stop number) creates a shallow depth of field, perfect for isolating your toy and blurring the background. This technique draws attention to your subject, making it pop against a soft, dreamy backdrop. On the other hand, a narrow aperture (high f-stop number) increases the depth of field, keeping more elements in focus, which is great for detailed scenes with multiple toys. Experiment with different settings to understand how they affect your images. Don't hesitate to try various combinations until you find the perfect balance for your creative vision.
Master Shutter Speed for Capturing Motion
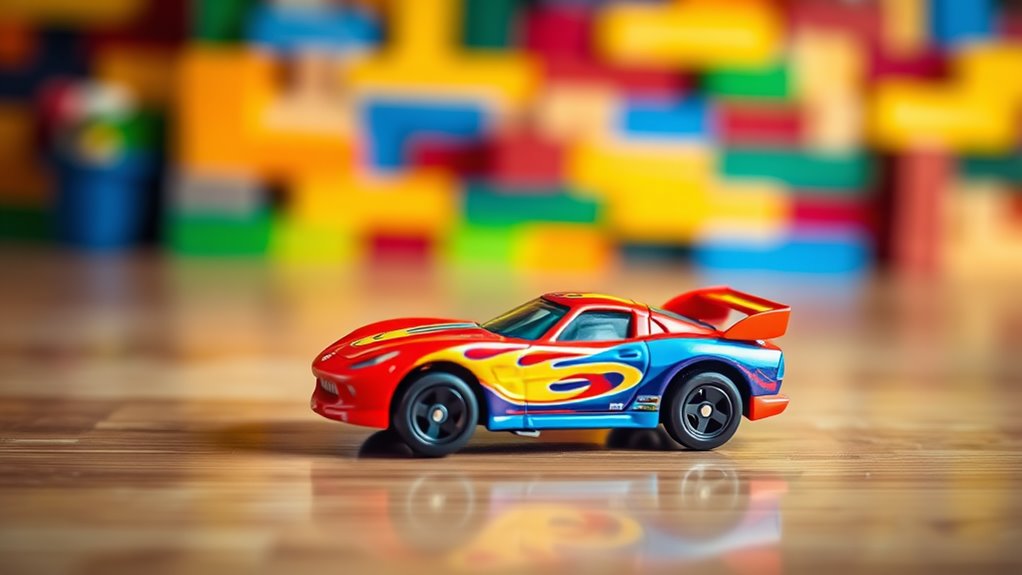
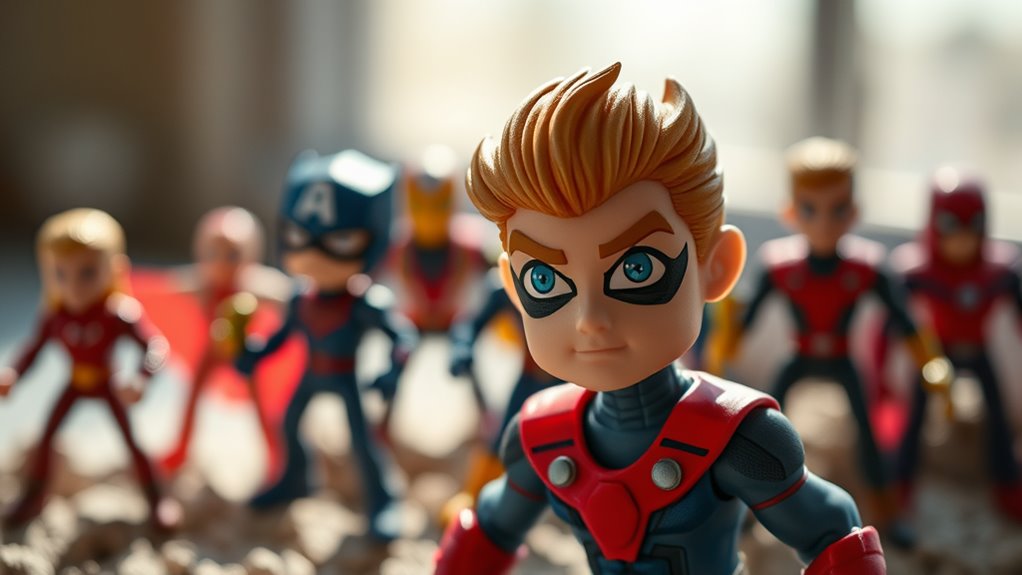
Capturing motion in toy photography adds an exciting, dynamic element to your shots. To master this, focus on adjusting your camera's shutter speed. A fast shutter speed, like 1/1000 of a second, freezes motion, perfect for action-packed scenes with toys like cars or superheroes. However, if you want to convey movement, a slower shutter speed, such as 1/30 of a second, can create a motion blur effect, giving life to your toys. Remember, your camera's stability is essential when using slower speeds, so consider using a tripod. Experiment with different shutter speeds to see how they affect your photographs. Practice makes perfect, so don't hesitate to try various settings to find what best brings your toy scenes to life.
Adjust ISO for Optimal Lighting Conditions
To achieve ideal lighting in your toy photography, adjusting the ISO on your DSLR is essential. ISO determines your camera sensor's sensitivity to light. In low-light settings, increase the ISO to capture more light, but be cautious—higher ISO can introduce noise, reducing image quality. During bright daylight, lower the ISO to maintain crisp details without overexposure.
Experiment with different ISO settings to find the sweet spot. Start with a base ISO, usually 100 or 200, and adjust according to the available light. If you're shooting indoors or in dim environments, gradually increase the ISO while monitoring the noise level. Remember, balancing ISO with aperture and shutter speed is critical for well-exposed photos. Keep practicing to master this important aspect of toy photography.
Employ White Balance for Accurate Colors
Although many photographers overlook it, setting the correct white balance is key for achieving accurate colors in your toy photography. It guarantees that your images reflect true-to-life hues, making them more appealing. Ignoring white balance could lead to unwanted color casts, which distract from your subject. To get it right, familiarize yourself with your camera's white balance settings.
- Auto White Balance (AWB): Great for beginners, but not always perfect.
- Presets: Use presets like daylight, cloudy, or tungsten to match your lighting.
- Custom White Balance: Perfect for unique lighting situations; just use a neutral card.
- Kelvin Scale: Manually adjust the temperature for precise control.
Experiment with these settings to see what works best for your scenes, guaranteeing your toy photos pop with vibrant, accurate colors.
Focus on Composition and Framing
With accurate colors set through proper white balance, the next step in elevating your toy photography is mastering composition and framing. Start by considering the rule of thirds. Imagine a grid dividing your frame into nine sections. Position your toy along these lines or at intersections to create visual interest. Don't center your subject unless you're aiming for a specific effect.
Pay attention to your background. A clutter-free backdrop guarantees your toy remains the focal point. Use leading lines, such as a path or a branch, to guide the viewer's eye toward the toy.
Experiment with angles. Shooting from a low angle can make your toy appear larger and more imposing, while a high angle can create a different narrative. Keep practicing to find your unique style.
Experiment With Lighting Techniques
Capturing the perfect shot of your toys often depends on how well you can play with lighting. By experimenting with different lighting techniques, you can dramatically change how your toys look in photos. Start by moving your light source around to see how shadows and highlights transform your scene. Don't hesitate to mix natural and artificial light for more dynamic effects. Here are a few techniques to try:
- Backlighting: Create a silhouette effect by placing the light source behind your toy.
- Side lighting: Add depth and texture by illuminating from the side.
- Diffused lighting: Soften shadows using a diffuser or sheer fabric.
- Colored gels: Add mood with colored lights or gels.
Play around, and you'll find lighting can bring your toy photos to life!
Use Tripod for Stability and Sharpness
A tripod is one of the most essential tools in your toy photography kit, ensuring your shots are stable and sharp. When you're shooting intricate details or using longer exposure times, even the slightest hand movement can blur your image. By mounting your DSLR on a tripod, you eliminate this risk, capturing crisp, clear photos every time.
Choose a tripod that's sturdy but lightweight enough to carry around easily. Look for adjustable legs to accommodate uneven surfaces, and a versatile head that lets you fine-tune the camera's position. You can also use a remote shutter release or self-timer to further reduce camera shake. A tripod not only enhances stability but also frees up your hands, allowing you to focus on setting up the perfect scene.
Explore Different Perspectives and Angles
Have you ever considered how a shift in perspective can transform your toy photography? By simply changing angles, you can bring your miniature scenes to life in unexpected ways. Instead of capturing toys from the standard eye-level view, try experimenting with different perspectives to add depth and interest.
- Get low: Shoot from below to make toys appear larger-than-life and more dramatic.
- Bird's-eye view: Capture scenes from above to create a thorough view of the setup.
- Close-up details: Focus on specific elements to highlight intricate details and textures.
- Tilt your camera: Add dynamic energy by tilting your camera for unusual angles.
Incorporate Post-Processing for Final Touches
Post-processing is your chance to make toy photos pop by enhancing colors and contrast. Sharpen details with precision to highlight the textures of your subjects, and don't hesitate to apply creative filters for a unique touch. A little editing can transform your shots from good to amazing, giving them that final polish.
Enhance Colors and Contrast
Although capturing vibrant and well-lit toy photographs is essential, enhancing colors and contrast through post-processing can truly elevate your images. By focusing on these elements, you can create striking photos that pop with life and detail. You don't need to be a Photoshop expert to make a difference. Start by adjusting the saturation to bring out the toy's natural color. Next, tweak the contrast to guarantee your toy stands out against the background.
Here are some quick tips to get you started:
- Use the vibrance tool to enhance subtle colors without oversaturating.
- Experiment with curves to balance highlights and shadows.
- Apply a subtle vignette to draw attention to the subject.
- Adjust the white balance to match your desired mood.
These tweaks can transform your toy photos dramatically.
Sharpen Details Precisely
To truly make your toy photography stand out, sharpening details can be a game-changer in post-processing. Start by using software like Adobe Photoshop or Lightroom. In Photoshop, navigate to the "Filter" menu and select "Sharpen" to access options like "Unsharp Mask" or "Smart Sharpen." These tools help you enhance edges and bring out fine details in your toys. Adjust the amount, radius, and threshold sliders to find the perfect balance without overdoing it, as too much sharpening can create unwanted noise.
Lightroom also offers a "Detail" panel where you can fine-tune the sharpening effect. Begin with a low setting and gradually increase it while zooming in to verify you're enhancing, not distorting. Remember, subtlety is key for realistic, eye-catching results.
Apply Creative Filters
Enhancing your toy photography with creative filters can elevate your images to new artistic heights. By incorporating post-processing techniques, you can add a unique flair and transform ordinary shots into extraordinary pieces of art. Experiment with different filters to find what best suits your style and theme.
- Vintage Filter: Give your photos a nostalgic feel by adding a warm, faded look that evokes memories of old photographs.
- Dramatic Black & White: Strip away color to emphasize contrast and texture, drawing attention to the intricate details of your toys.
- Vibrant Boost: Amplify colors for a lively and eye-catching appearance that makes your toys pop.
- Soft Focus: Create a dreamy, ethereal effect by slightly blurring the background, ensuring your subject stands out.
Explore these filters to refine your final touches!
Frequently Asked Questions
How Can I Create a Miniature World Effect in My Toy Photos?
To create a miniature world effect, use a shallow depth of field by adjusting your aperture settings. Focus on toy details, play with perspective, and experiment with lighting to make the scene look realistic and enthralling.
What Are the Best Settings for Shooting in Low Light Conditions?
When shooting in low light, channel your inner Da Vinci by setting a high ISO, opening the aperture wide, and slowing the shutter speed. Don't forget to use a tripod to keep your shots steady and sharp.
How Do I Prevent Reflections or Glare on Shiny Toy Surfaces?
To prevent reflections or glare on shiny surfaces, adjust your lighting angle. Use diffused lighting or a polarizing filter to minimize glare. Position your camera and lights strategically, ensuring no direct light hits the toy's surface.
What Techniques Can Enhance Storytelling in Toy Photography?
Focus on composition and lighting to create mood. Use props and backgrounds that support your story. Position toys to convey action or emotion. Experiment with angles for dynamic shots. Don't forget to capture details that enhance narrative depth.
How Can I Achieve a Bokeh Background Effect in My Shots?
To achieve a bokeh background, use a wide aperture (small f-number) to create shallow depth of field. Position your subject away from the background and focus on it. This blurs the background, giving a pleasing effect.
At a Glance
You've got all the tools to elevate your toy photography game! Imagine capturing a dynamic scene of action figures in mid-battle. By selecting a wide aperture, you blur the background, making the figures pop. A fast shutter speed freezes their motion while adjusting ISO guarantees perfect lighting. Don't forget to play with angles and lighting for dramatic effects. Finally, post-processing will add those finishing touches, transforming your shot into a enthralling storytelling masterpiece. Now, go create magic!


