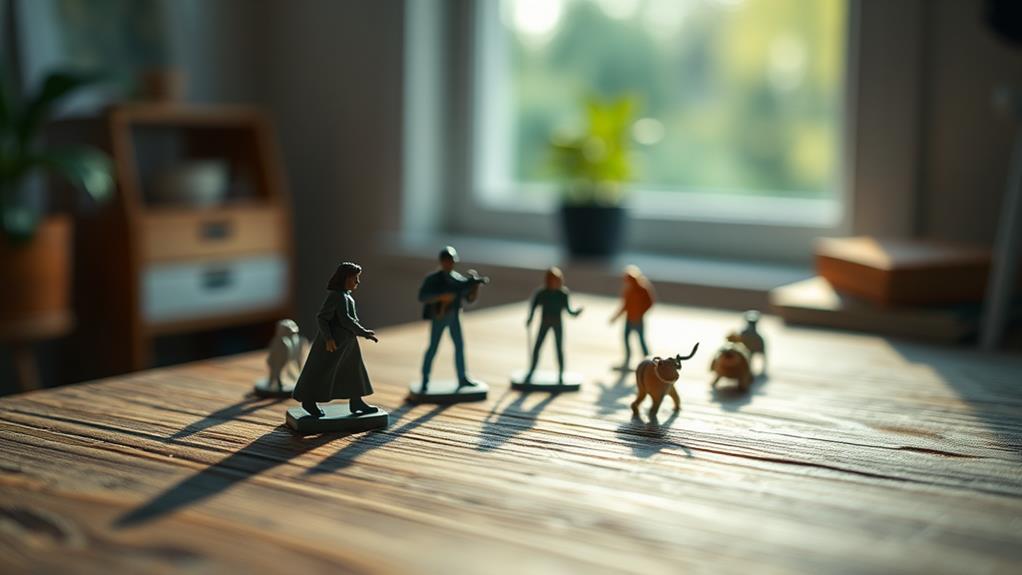
Photographing miniature figurines effectively involves using techniques that enhance their details and stories. Start by mastering the rule of thirds to create balanced and engaging compositions. Play with scale and perspective to make your subjects appear part of a larger world. Use leading lines and framed compositions to guide viewers' eyes and emphasize your figurines. Lighting is key; position it to cast soft shadows and highlight textures. Experiment with angles and colors to enhance contrast and interest. Craft backgrounds that support your figurine's narrative. With these strategies in mind, imagine the possibilities for elevating your photography skills even further.
Mastering the Rule of Thirds
Understanding composition is essential when you're photographing miniature figurines, and one of the most effective techniques to master is the Rule of Thirds. This rule involves dividing your image into nine equal parts by two equally spaced horizontal lines and two equally spaced vertical lines. By positioning your subject along these lines or at their intersections, you create a more balanced and engaging photo.
When you're setting up your shot, imagine these grid lines in your viewfinder. Place your miniature figurine where the lines intersect or along one of the lines. This helps draw the viewer's eye to the subject and provides a natural way to emphasize key elements of your composition. It prevents the central placement that can result in static and uninteresting images.
Consider the background, too. A clutter-free background that aligns with the Rule of Thirds enhances the figurine's prominence. This technique also allows you to highlight details that complement the subject, such as accessories or props, without overwhelming the main focus. Remember, the Rule of Thirds is a guideline, not a strict rule. Once you've mastered it, feel free to experiment and adapt it to suit your creative vision.
Creating Depth and Dimension
To create depth and dimension in your miniature figurine photography, focus on lighting and perspective. Start by positioning a light source at an angle to cast soft shadows, giving your figurines a three-dimensional look. Experiment with different lighting angles to see how shadows change and enhance depth. When it comes to perspective, try shooting from a low angle to make your figurines appear larger and more imposing. This technique can add drama and a sense of presence to your images.
Here's a quick reference table to guide you:
| Technique | Effect |
|---|---|
| Angled lighting | Creates soft, dimensional shadows |
| Low-angle shots | Adds drama and presence |
| Backlighting | Highlights edges for depth |
| Side lighting | Enhances textures and details |
Backlighting can also be powerful. By placing the light source behind the figurines, you create a halo effect, highlighting the edges and adding depth. Side lighting, on the other hand, emphasizes textures and intricate details, making your figurines stand out. Remember, the key is to experiment with these techniques to see what works best for your specific setup and style. Adjusting your approach based on the results you see will help you achieve the desired depth and dimension in your photos.
Utilizing Leading Lines
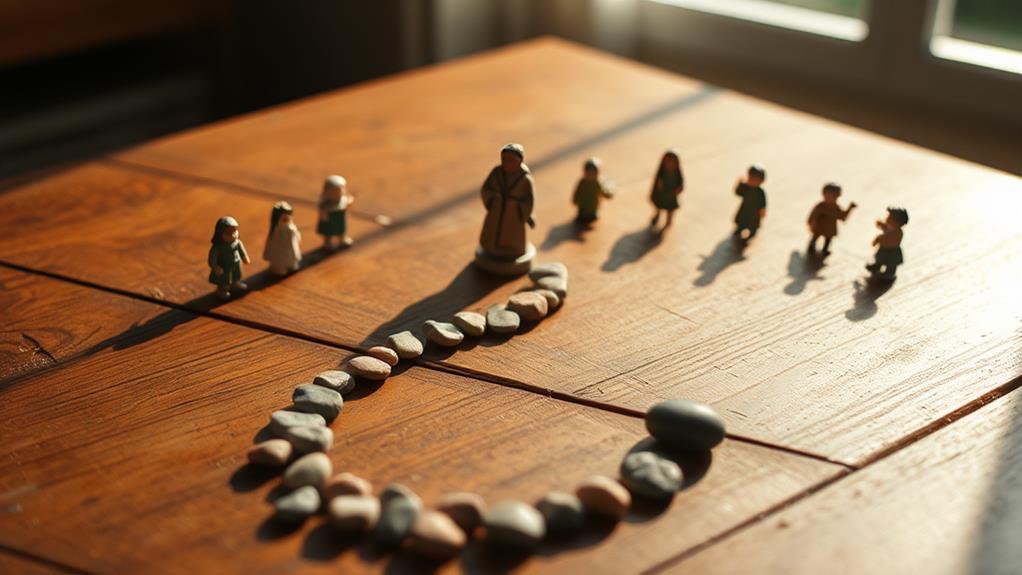
Leading lines are a powerful tool in photography that can guide the viewer's eye directly to your miniature figurines, enhancing the composition. By using elements like roads, pathways, or even the edges of a table, you can create a visual path that directs attention to your subject. This technique not only highlights the figurine but also adds depth to the photograph, making it more engaging.
To effectively utilize leading lines, start by observing your environment. Look for natural or man-made lines that can lead toward your miniature. These could be anything from the texture of a wooden surface to the edge of a book. Position your figurine so that these lines converge towards it, drawing the viewer in.
Experiment with different angles. Sometimes, shooting from a lower angle can exaggerate the lines, making them more prominent and impactful. Don't hesitate to reposition your miniature or adjust your camera's perspective until you find the most compelling composition.
Framing Your Figurine
Capturing the perfect shot of your miniature figurines can become even more enchanting by using framing techniques. Framing draws attention to your subject and adds depth to your composition. You can create a natural frame by positioning objects like plants, books, or even the edges of a window around your figurine. This not only enhances the focus on your miniature but also adds context to the scene.
Consider using the rule of thirds to find the best placement for your figurine within the frame. Imagine your scene split into a three-by-three grid, and place your subject along these lines or at their intersections. This technique adds balance and interest to your photo.
Don't forget to experiment with different angles and distances. Sometimes stepping back and including more of the surrounding environment can provide a compelling frame. Conversely, getting in close might highlight intricate details while still maintaining an effective frame.
Lastly, verify the lighting complements your frame. Soft, diffused light often works best, casting gentle shadows that can enhance the framing elements. By thoughtfully framing your miniature figurines, you'll create enthralling images that draw viewers into your miniature world.
Playing With Scale and Perspective
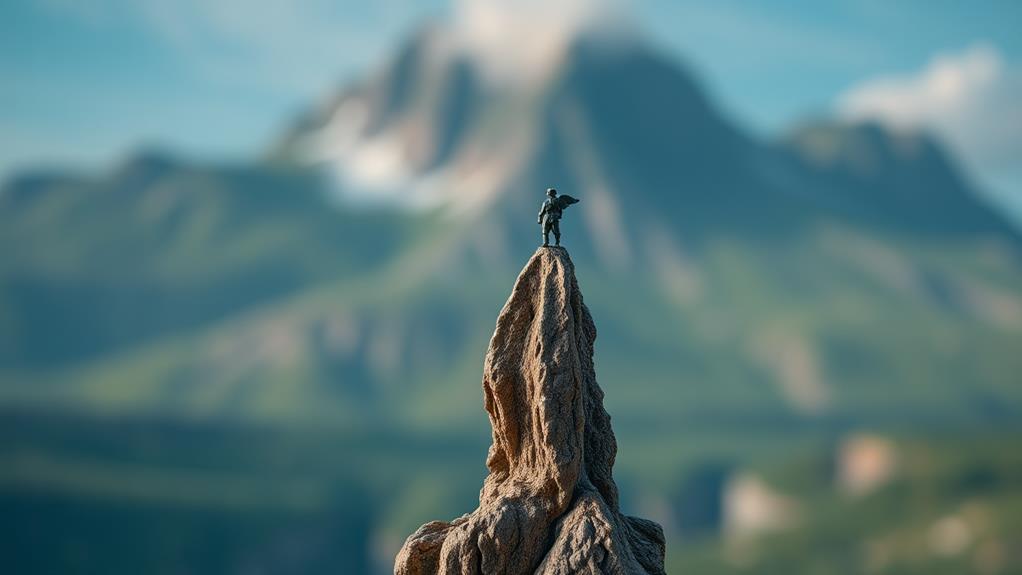
When you play with scale and perspective, your miniature figurines can transform into enchanting characters in expansive worlds. The key is to manipulate the viewer's perception, making your small figures appear larger than life. Start by altering angles. Shooting from a low angle can give your figurine a sense of grandeur, as if it's towering above the viewer. Conversely, shooting from above can make it seem diminutive and adorable, suitable if you're aiming for a playful or whimsical mood.
To enhance the illusion of scale, integrate everyday objects. Position a tiny figurine next to a large leaf or stone, and suddenly, it appears as though it's exploring a vast landscape. This contrast captivates viewers, drawing them into the scene. Depth of field is another powerful tool. By blurring the background, you can create a sense of depth that suggests a larger world beyond the figurine.
Experiment with forced perspective, where you position objects in the foreground or background to alter perceived distances. By aligning elements cleverly, you can create humorous or surreal compositions that playfully distort reality, encouraging viewers to see from your creative viewpoint.
Using Negative Space
Negative space isn't just empty space; it's a powerful design element that can elevate your miniature figurine photography. When you use negative space effectively, you draw attention to your subject, making it the focal point of your composition. By giving your figurine room to breathe, you create a sense of balance and harmony. This approach can also evoke emotions or highlight the figurine's intricate details, enhancing the overall storytelling of your image.
To make the most of negative space, start by choosing a simple background that won't compete with your figurine. A plain wall, a neutral-colored surface, or an open sky all work well. Position your figurine in a way that gives it ample space around it. This technique allows viewers' eyes to naturally gravitate towards your subject without distractions.
Experiment with different angles and distances. Sometimes, positioning your figurine off-center can make the composition more dynamic. Don't be afraid to leave significant portions of the frame empty. This emptiness can create a mood or suggest a narrative, adding depth to your photograph. Remember, negative space isn't an absence; it's an opportunity to enhance your figurine's visual impact.
Balancing Colors and Contrast
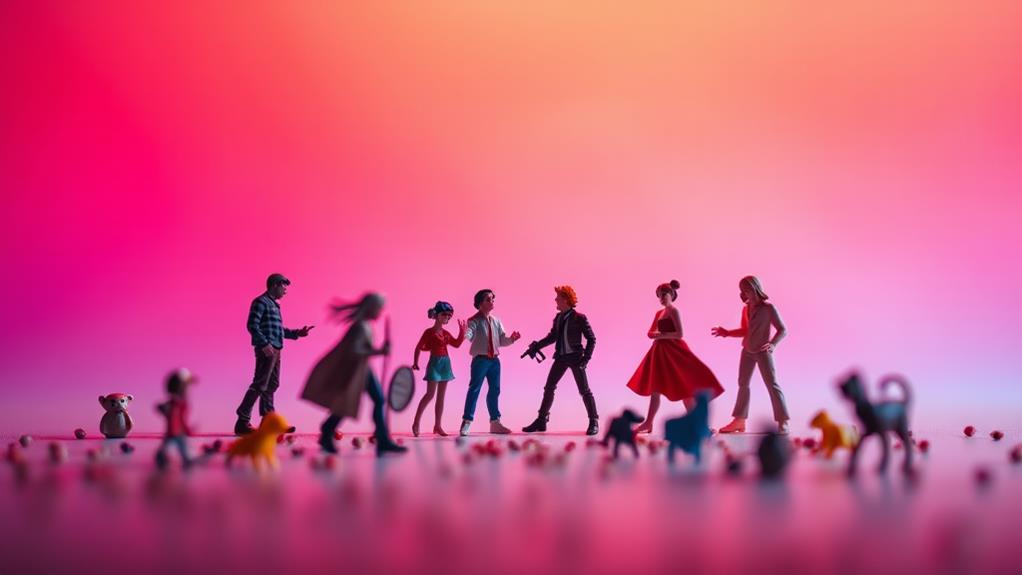
Achieving the right balance of colors and contrast can transform your miniature figurine photographs from ordinary to enchanting. Start by considering the colors of your figurines. Complementary colors can make them pop, while analogous colors create harmony. Use a color wheel as a guide to choose backgrounds and props that enhance your subject without overpowering it.
Contrast is just as important. It highlights the details, bringing out the texture and intricacies of your miniatures. Adjust the lighting to create shadows that define the shape and depth of your figurines. A simple trick is to use a soft light source to avoid harsh shadows, but make certain there's enough contrast to highlight the details.
Post-processing tools can be your best friend here. Use photo editing software to tweak the contrast and saturation levels. Be careful not to overdo it; aim for a natural look that still catches the eye. Adjust the brightness and shadows to bring out the best features of your figurines.
Crafting a Story With Background
A well-chosen background can be the secret ingredient that elevates your miniature figurine photography from simple snapshots to enchanting stories. Crafting a story with the background involves more than just selecting a random setting; it's about creating a world where your figurine becomes the star. Think about the narrative you want to tell and how the background can support that tale.
- Complement the Theme: Choose backgrounds that align with the figurine's theme. A knight might find its place in a medieval castle setting, while a sci-fi character could stand out in a futuristic landscape.
- Use Textures: Introduce textures to add depth and realism. A rough wooden table can evoke a rustic feel, while smooth, metallic surfaces suggest modernity.
- Play with Scale: Verify the background elements are proportionate to your figurine. Oversized objects can dwarf your subject, while too-small items may look unrealistic.
- Color Harmony: Select background colors that complement your figurine without overpowering it. Subtle, neutral tones often work best, allowing the figurine to remain the focal point.
Experimenting With Angles
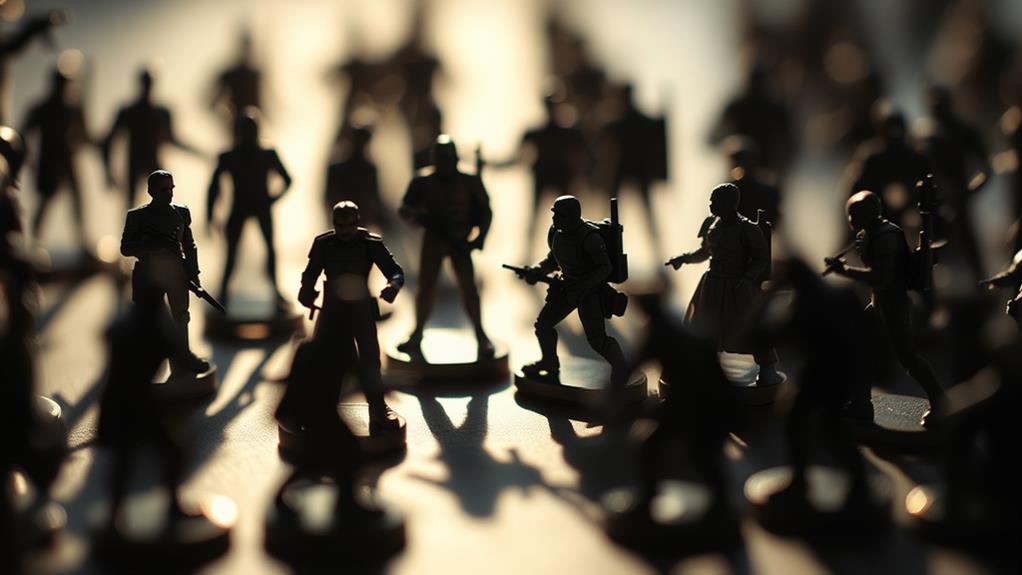
Once you've set the perfect scene, it's time to experiment with angles to bring your miniature figurines to life. Start by moving around your subject, looking for perspectives that enhance the story you're trying to tell. Don't just settle for eye-level shots. Instead, crouch down low or get up high to capture a dynamic angle. This can create a sense of drama or grandeur, making your figurines appear larger than life.
Consider using a low angle to give your figurine a powerful, heroic look. This can make the viewer feel like they're part of the scene, looking up at a towering figure. Alternatively, a high angle can give your shot a more introspective or vulnerable feel, allowing you to highlight the figurine's intricate details.
Play with the distance between your camera and the figurine, too. Getting closer can emphasize textures and expressions, while stepping back can showcase the entire scene. Don't hesitate to rotate your figurine or change the light direction to cast interesting shadows and highlight features differently.
Focusing on Details
When photographing miniature figurines, honing in on the details is essential for capturing their charm and intricacy. You'll want to highlight their delicate features and textures to truly bring them to life in your images. Here's a guide to help you focus on these tiny details:
- Use a Macro Lens: A macro lens is perfect for capturing the fine details of your figurines. It allows you to get up close and personal, highlighting textures and minute features that might otherwise go unnoticed.
- Adjust Your Aperture: A smaller aperture (higher f-stop number) will increase your depth of field, ensuring more of your figurine remains in focus. This is vital for capturing details from head to toe, especially in complex subjects.
- Leverage Natural Light: Position your figurine near a window or use diffused lighting to reduce harsh shadows and bring out subtle details. Natural light enhances colors and textures, giving your photos a real-life feel.
- Steady Your Camera: Use a tripod to avoid camera shake. Even the slightest movement can blur the fine details you're trying to capture, so stability is key for sharp, detailed images.
Frequently Asked Questions
What Type of Lighting Works Best for Photographing Miniature Figurines?
You'll want soft, diffused lighting for photographing miniature figurines. Use natural light or a lightbox to minimize harsh shadows. Experiment with angles and intensity to highlight details and colors, ensuring your figurines look vibrant and well-defined.
How Do I Prevent Glare on Glossy Figurine Surfaces?
Glare's ghastly glow can be reduced by diffusing direct light. Use softboxes or white sheets to scatter the shine. Position lights at an angle to avoid reflection. Experiment with angles until you find that perfect, glare-free shot.
What Camera Settings Are Ideal for Capturing Detailed Textures in Miniatures?
To capture detailed textures, use a small aperture like f/8 or f/11 for greater depth of field. Set a low ISO to reduce noise. Adjust your shutter speed accordingly, and guarantee your lighting is even and diffused.
Are There Recommended Props to Enhance the Scene Around a Figurine?
Use natural elements, add tiny accessories, create a themed backdrop. Incorporate small plants, scatter miniature furniture, arrange a colorful background. These props enhance your scene, add depth and create an engaging visual story around your miniature figurine.
How Can I Achieve a Professional Look Without Advanced Equipment?
You can achieve a professional look by using natural light, a simple background, and a smartphone camera. Stabilize your shots with a tripod or steady hands, and edit with free apps for brightness and contrast adjustments.
At a Glance
You've explored the art of photographing miniature figurines, where each tip is a brushstroke on your creative canvas. Remember, the rule of thirds isn't just a rule—it's a gateway to balanced beauty. Depth, dimension, and leading lines guide the eye, while framing and perspective magnify magic. Colors dance, stories unfold, and angles whisper secrets. Embrace these techniques, and let your creativity shine as bright as a photographer's flash. Now, go capture those tiny worlds!

