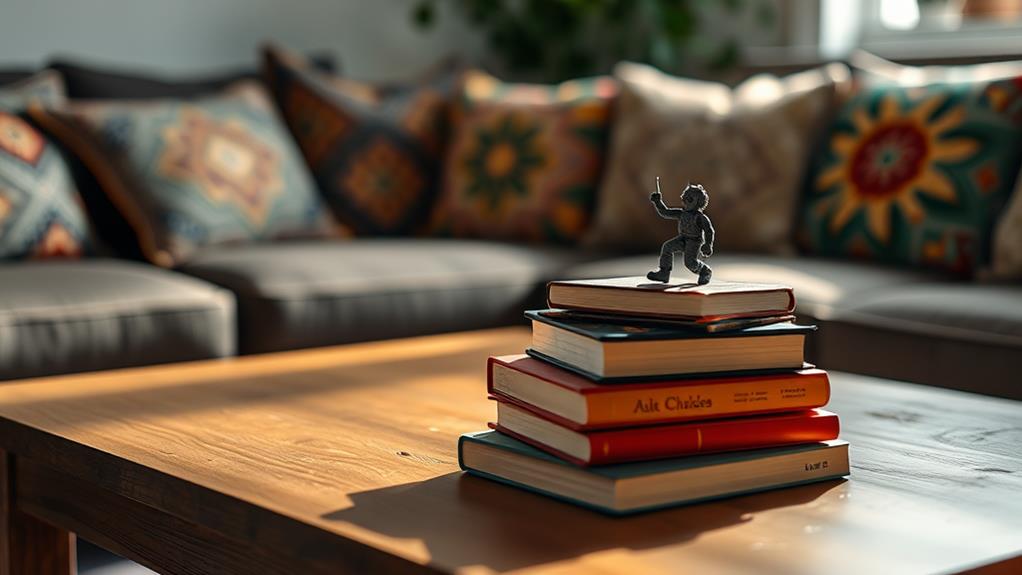
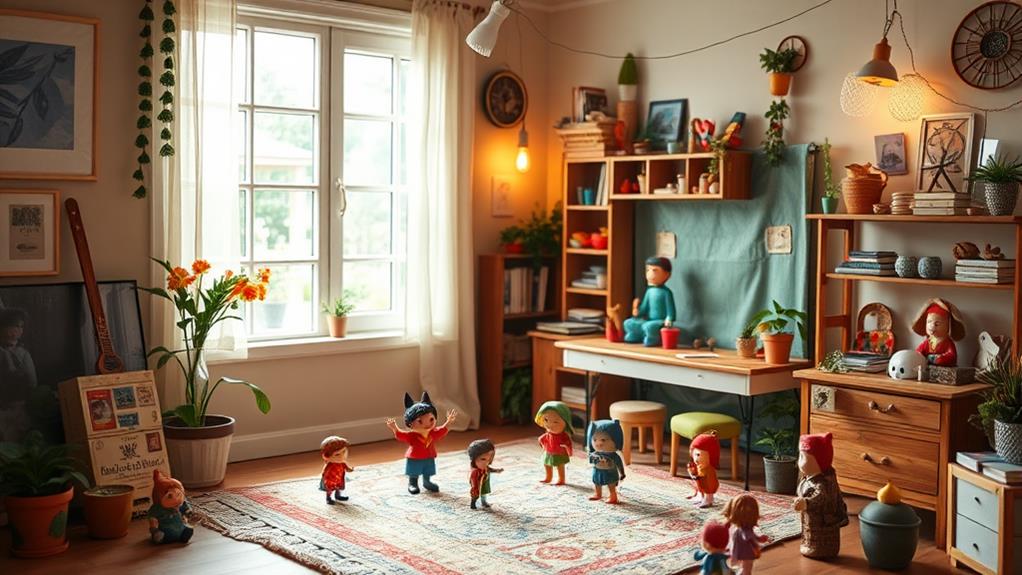
To capture stunning toy figurine photos, start by choosing the perfect backdrop. Match it to your figurine's theme, like using a cityscape for superheroes. Simple materials like colored paper or fabric work well. Miniature props, crafted from cardboard and clay, add depth and should align with the figurine's size. Pay attention to lighting; position your light source at an angle for soft shadows, and use natural light during golden hours for warmth. Household items like aluminum foil can mimic reflective surfaces, adding intrigue. Master these techniques, and there's a wealth of creative options waiting for you to explore.
Choosing the Perfect Backdrop
Selecting the ideal backdrop is essential for enhancing the appeal of your toy figurine photos. A well-chosen background can transform an ordinary shot into something enchanting, setting the right mood and context for your figurines. Start by considering the theme of your figurine. A superhero might shine against a cityscape backdrop, while a fantasy character could thrive in a woodland setting.
You don't need to spend a fortune on elaborate backdrops. Try using simple materials like colored paper, fabric, or even a printed poster to create a visually appealing scene. Experiment with textures and colors that complement your figurine's features without overwhelming them. Neutral tones often work well because they allow the figurine to remain the focal point.
Pay attention to scale. The backdrop should match the size of the figurine to maintain realism. A backdrop that's too large might dwarf your figurine, whereas one that's too small won't provide enough context. Natural light can enhance your backdrop, so consider shooting near a window or outdoors. Finally, test different angles and distances to find the perfect composition that highlights your figurine's best features.
Crafting Miniature Props
Creating miniature props can add a touch of realism and interest to your toy figurine photos. By designing tiny accessories, you can immerse viewers in the scene you're capturing. Start by considering the theme of your photo shoot. Whether it's an adventurous jungle, a bustling city street, or a cozy room, think about the elements that would naturally exist there.
Gather materials like cardboard, clay, or fabric scraps to craft these props. Use cardboard to construct miniature buildings or vehicles. Clay works well for sculpting small items like dishes or tools. Fabric can be used to replicate textures such as carpets or curtains. Use paint to add details and enhance realism.
Don't overlook everyday objects; a bottle cap can transform into a table, or twigs can become trees. Scale is essential, so keep your figurines' size in mind while crafting. Once you've created your props, arrange them thoughtfully around your figurines, ensuring they don't overpower the main subject. This enhances your composition and storytelling.
With practice, you'll find crafting these props becomes easier and more enjoyable, elevating the overall quality of your toy photography.
Lighting Techniques for Depth

Lighting can transform your toy figurine photos, adding depth and dimension that bring scenes to life. To achieve this, start by understanding the role of shadows and highlights in creating depth. Position your light source at an angle to create soft shadows, which add a three-dimensional feel. You can use natural light during golden hours—early morning or late afternoon—for a warm, soft glow.
Try using a small lamp or LED light with adjustable brightness to control the intensity. A key light, positioned to one side, serves as your primary light source, while a fill light on the opposite side reduces harsh shadows. Experiment with backlighting to create silhouettes and emphasize outlines, giving your figurines a dramatic look.
Don't forget about light modifiers. Use diffusers like a white sheet or tracing paper to soften harsh light. Reflectors, such as aluminum foil or a white card, help bounce light back onto the figurine, filling in shadows and adding subtle highlights. Always adjust and play with these elements to find the perfect balance that suits the mood and story you want to capture in your photos.
Creating Realistic Environments
Picture a miniature world where your toy figurines come to life in breathtaking detail. To create such realistic environments, you need to focus on scale, background, and textures. Start by considering the scene you want to depict. Is it a bustling city street or a serene forest? Choose props that match the scale of your figurines to avoid breaking the illusion. Small pebbles can become boulders, and twigs transform into trees, enhancing the authenticity of your scene.
Next, think about the background. It should complement your figurine's theme and colors without overwhelming them. A simple printed backdrop can instantly transport your toys to a different domain. You can also use colored paper or fabric to suggest skies, landscapes, or interiors.
Textures play a vital role in adding depth. Use natural materials like sand, soil, or leaves to mimic realistic surfaces. Pay attention to the lighting and shadows they create, as these elements will add to the scene's believability. Experiment with different angles and perspectives to find the perfect shot. Remember, it's about making your figurines appear as if they've stepped out of their tiny world and into ours.
Utilizing Household Items

When it comes to utilizing household items for your toy figurine photos, you'd be surprised by the endless possibilities right at your fingertips. Everyday objects can transform your shots into compelling scenes without breaking the bank. Start by raiding your kitchen. Aluminum foil can mimic reflective surfaces, creating futuristic or space-themed backgrounds. A simple sheet of parchment paper can diffuse harsh lighting, giving your photos a soft, professional touch.
Head to your living room and gather some lamps. Adjusting the light angles can dramatically alter the mood of your photos. Use colored light bulbs or even a scarf over the lamp to add intriguing hues and shadows. Books stacked at varying heights can serve as platforms or backdrops, adding depth and dynamism to your composition.
In your bathroom, cotton balls can simulate clouds or snow, perfect for fantasy or winter settings. Meanwhile, clear containers filled with water can create stunning underwater effects, especially if you add food coloring for dramatic flair. Don't overlook your garden either; leaves and rocks make excellent natural props. By thinking creatively and using what you already have, you can elevate your toy figurine photography to new levels.
Frequently Asked Questions
How Can I Prevent Dust From Appearing in Close-Up Shots of My Toy Figurines?
To prevent dust in close-ups, regularly clean your figurines with a microfiber cloth. Use compressed air for tight spots and shoot in a clean, dust-free environment. Check your camera lens for dust before capturing the shot.
What Camera Settings Are Ideal for Capturing Detailed Textures on Toy Figurines?
Like an artist revealing hidden beauty, use a small aperture (f/8-f/16) for depth, low ISO for clarity, and manual focus for precision. Adjust shutter speed carefully to balance light. Your figurines will shine with enchanting details.
How Do I Pose Toy Figurines to Convey Dynamic Action or Movement Effectively?
Start by bending joints naturally, creating a sense of motion. Use accessories to emphasize action. Tilt heads or bodies to suggest direction. Experiment with angles and lighting for dramatic effects. Always aim for balance and realism in poses.
What Editing Software Can Enhance Colors and Details in Toy Figurine Photos?
You can use Adobe Lightroom or Snapseed to enhance colors and details in your toy figurine photos. They offer powerful tools for adjusting brightness, contrast, and sharpness, helping you create vibrant and detailed images effortlessly.
How Can I Achieve a Bokeh Effect in the Background of Toy Figurine Photos?
To create a dreamy background, use a wide aperture on your camera lens. Position your subject close and the background far away. This magical trick blurs distractions, focusing attention on your cherished figurine with a beautiful bokeh effect.
At a Glance
You've now got all the tools to elevate your toy figurine photography from ordinary to extraordinary. Think of your scene as a tiny stage where each element plays an essential role. With the right backdrop, crafted props, and creative lighting, your photos will leap off the screen like a vivid dream. Don't underestimate the power of household items to add that special touch. So, grab your camera and let your imagination run wild!


