Improve your miniature photo scale by focusing on key editing techniques. Adjust the depth of field with a wide aperture to sharpen your subject while creating background blur for more depth. Use perspective angles to manipulate your image's sense of scale and refine composition through cropping. Highlight shadows and correct color balance for a vibrant, realistic look. Emphasize areas of interest with selective focus tools and experiment with cropping to remove distractions and highlight your main subject. By mastering these techniques, you'll take your miniature photography to the next level. Discover even more valuable insights to perfect your images.
Adjusting the Depth of Field
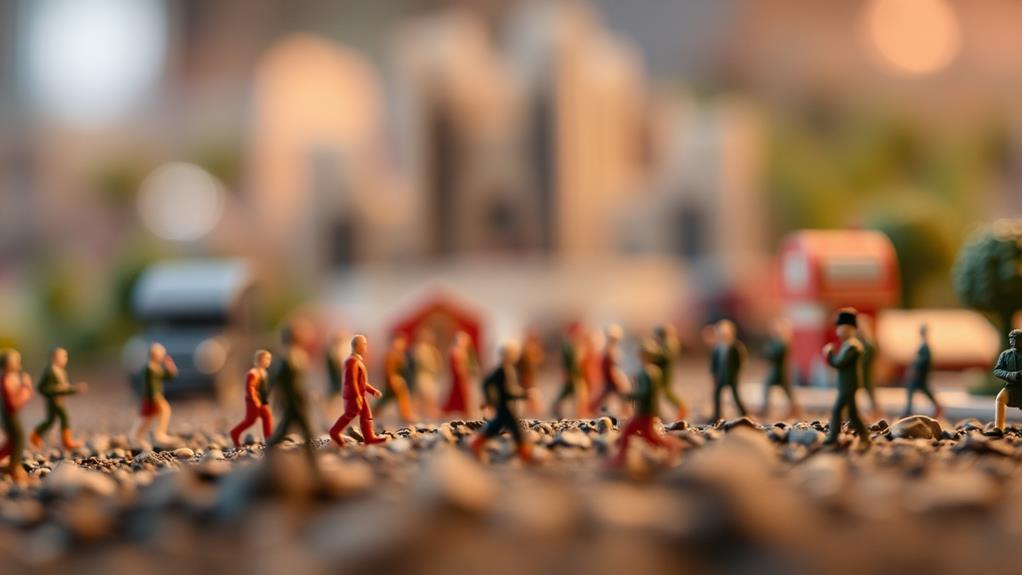
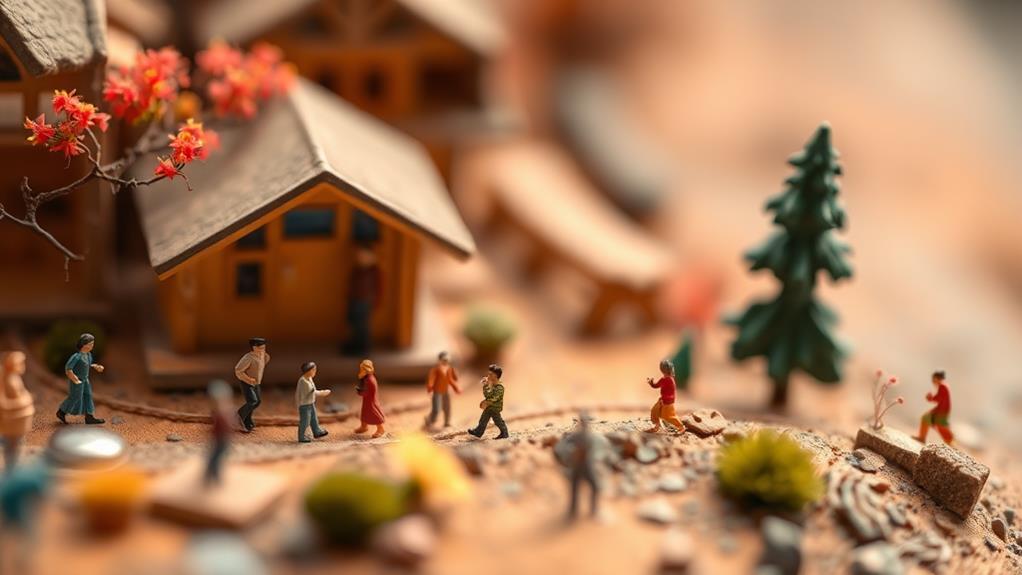
When you're editing miniature photos, adjusting the depth of field can dramatically enhance the image's focus and artistic appeal. You want to start by identifying the main subject of your photo; this will guide your depth of field adjustments. By narrowing the depth of field, you can make your subject stand out sharply while the surrounding elements become soft and less distinct. This technique draws the viewer's eye directly to the focal point, creating a more engaging and professional image.
To achieve this effect, use the aperture setting in your editing software. A wider aperture (lower f-stop number) reduces the depth of field, blurring the background and foreground more. It's essential to find the right balance; too much blur can lead to a loss of context, while too little keeps everything in focus, diminishing the miniature illusion.
Experiment with different aperture settings to see what works best for your particular shot. Don't hesitate to make incremental adjustments, as subtle changes can make a big difference. Remember, the goal is to keep the subject in focus and let the depth of field guide the viewer's attention seamlessly across the image.
Utilizing Background Blur
Background blur is a powerful tool for enhancing the artistic quality of miniature photos. It creates a sense of depth, making your subject pop while giving an illusion of a miniature world. By utilizing background blur effectively, you can direct the viewer's attention and add a professional touch to your images.
To achieve the perfect blur, start by setting a wide aperture on your camera. This helps create a shallower depth of field, which naturally blurs the background. Additionally, you can use photo editing software to fine-tune the blur effect. Here are some tips:
- Use Gaussian blur: In editing software, apply Gaussian blur to the background layer to control the intensity and smoothness of the blur.
- Select the right radius: Adjust the blur radius to guarantee that it complements your subject without overpowering it.
- Feather the edges: To blend the subject seamlessly with the blurred background, feather the edges of your subject layer.
- Experiment with layers: Create multiple layers with varying blur levels to add depth and complexity to your photo.
Manipulating Perspective Angles

Perspective manipulation is a game-changer for miniature photography, allowing you to create enchanting images that defy reality. By altering angles, you can make your subjects appear larger or smaller, enhancing the illusion of scale. Start by choosing a low angle to shoot from, which can give your miniature subjects a towering appearance. Alternatively, a high angle can make them seem tiny and delicate. Adjusting the perspective helps you control the narrative of your image, making it more engaging and visually intriguing.
To get the best results, consider using editing software to tweak perspective angles post-shoot. Tools like Photoshop offer perspective warp options that can refine your composition further. Experiment with these to find the perfect balance that suits your vision. Here's a quick guide to perspective manipulation techniques:
| Technique | Description |
|---|---|
| Low angle | Makes subjects appear larger and more imposing. |
| High angle | Creates a sense of delicacy and smallness. |
| Tilt-shift | Simulates a miniature effect by blurring edges. |
| Perspective warp | Adjusts angles to enhance scale illusion. |
| Cropping | Focuses the viewer's attention on the main subject. |
Mastering these techniques will give your miniature photos a dynamic quality, transforming ordinary scenes into extraordinary visual stories.
Enhancing Shadows and Highlights
Boosting your miniature photos with enhanced shadows and highlights can make them pop and feel more lifelike. This technique adds depth and dimension, making the subjects in your photos stand out. Start by evaluating the light source in your image. Consider where the natural shadows and highlights fall and adjust them to amplify the miniature effect. Use editing software to selectively darken shadows and brighten highlights, emphasizing the tiny details that often get overlooked.
To effectively enhance shadows and highlights, follow these steps:
- Adjust Shadow Levels: Use the shadow slider in your editing software to deepen shadows. This creates contrast and draws the viewer's eye.
- Refine Highlights: Increase the highlight slider to give your photos a crisp, vibrant look. Be careful not to overdo it, as too much can wash out details.
- Use Dodge and Burn: This tool allows you to manually tweak specific areas. Dodge brightens parts of the image, while Burn darkens, giving you precise control.
- Layer Masks: Apply changes selectively using layer masks. This helps you blend adjustments seamlessly without affecting the entire image.
Correcting Color Balance

Achieving the right color balance in your miniature photos can transform them from dull to dynamic. It's crucial to verify that the colors are true to life and vibrant, making your tiny subjects pop. Start by using a reliable photo editing software that allows you to adjust color balance manually. Look for a color balance or temperature slider, which helps you tweak the warmth or coolness of the image.
Begin by neutralizing any color casts. If your photo looks too blue, adjust the temperature slider toward warmer tones. Conversely, if it appears too warm, cool it down. Pay attention to the whites in your image; they should appear neutral, not tinted. This step guarantees an accurate color representation throughout your photo.
Next, fine-tune the tint. Adjust the slider to reduce any green or magenta casts. Subtle adjustments often make a significant difference, so don't overdo it. Keep an eye on skin tones or natural elements, as they're good indicators of true color balance.
Applying Selective Focus
While vibrant colors set the stage for mesmerizing miniature photos, applying selective focus can further enhance the visual impact. Selective focus is a powerful tool that helps you draw attention to specific elements in your photo, making them pop while gently blurring the background and foreground. This technique creates a sense of depth and realism, emphasizing the tiny world you've captured. To effectively use selective focus, you'll need to evaluate the placement of your focal point and how it interacts with the rest of the image.
Here are some tips for applying selective focus:
- Choose the right aperture: Use a wide aperture (small f-number) to create a shallow depth of field. This blurs the surrounding areas, directing the viewer's eye to your subject.
- Use manual focus: Switch from autofocus to manual focus so you can precisely control which part of the image is sharp.
- Experiment with angles: Changing your shooting angle can dramatically affect which parts of the image stay in focus.
- Utilize software tools: In post-processing, use selective focus tools to refine and enhance the areas you want to stand out.
Cropping for Better Composition

When it comes to miniature photography, cropping plays a crucial role in enhancing composition and directing the viewer's attention. You have the power to refine your images by removing distractions and focusing on the essential elements. Cropping helps you emphasize the scale and detail of the miniature scene, creating a more engaging and visually appealing photo.
Begin by identifying the focal point of your image. Isolate this area by cropping out unnecessary elements that don't add value. This not only highlights the main subject but also strengthens the narrative of your photo. Remember, less is often more in miniature photography.
Here's a quick guide to help you decide how to crop effectively:
| Aspect Ratio | Best Use | Effect on Composition |
|---|---|---|
| 1:1 | Square compositions | Balanced, symmetrical |
| 4:3 | Standard photo prints | Traditional, versatile |
| 16:9 | Cinematic scenes | Wide, dramatic feel |
| 3:2 | Classic photography | Natural, harmonious |
Experiment with different aspect ratios to see which enhances your composition best. Cropping isn't just about cutting away; it's about transforming your photo's narrative. So take your time, and don't be afraid to make bold choices.
Frequently Asked Questions
What Equipment Is Best for Capturing Detailed Miniature Photos?
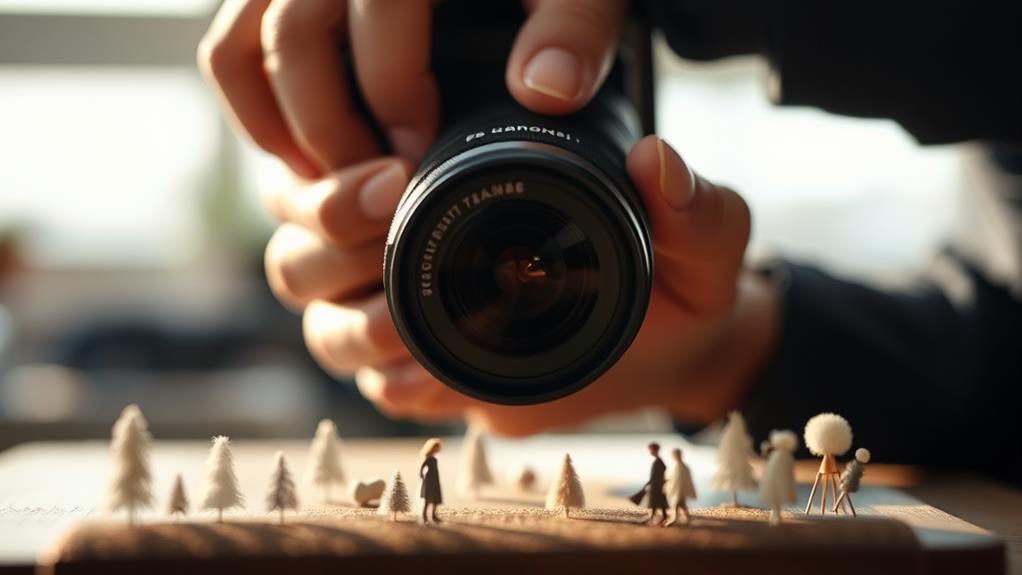
You’ll want a macro lens for capturing detailed miniature photos. Use a DSLR or mirrorless camera for better control. A tripod stabilizes shots, while proper lighting guarantees clarity. Consider a remote shutter release to avoid any camera shake. Additionally, experimenting with different angles and perspectives can greatly enhance your compositions, allowing you to highlight the intricacies of your subjects. Incorporate miniature figure photography techniques, such as using selective focus and shallow depth of field, to draw attention to specific elements within your frame. Post-processing can also play a crucial role in refining your images, so don’t hesitate to adjust contrast and color balance to achieve the desired effect.
How Can I Prevent Reflections in Miniature Photography?
Did you know 60% of photographers struggle with reflections? Use a polarizing filter to reduce glare. Adjust your lighting direction, and diffuse bright lights with softboxes or white umbrellas to minimize unwanted reflections in miniature photography.
What Is the Ideal Lighting Setup for Miniatures?
You should use a soft, diffused light to avoid harsh shadows. Place lights at multiple angles to guarantee even illumination. A lightbox or softbox can help create a balanced setup, enhancing your miniature's details beautifully.
How Do I Clean Miniatures Before Photographing Them?
Gently use a soft brush to remove dust from your miniatures. Dampen a microfiber cloth slightly to wipe away any smudges. Avoid harsh chemicals, as they can damage paint. Confirm they're completely dry before photographing for best results.
Are There Specific Lenses Recommended for Miniature Photography?
Why wouldn't you use a macro lens for miniature photography? They capture details sharply, making your miniatures pop. Look for lenses with a short minimum focusing distance to get up close without losing clarity. You'll love the results!
At a Glance
By mastering these editing techniques, you'll transform your miniature photography into enchanting art. Did you know that 67% of viewers are more likely to engage with images that effectively use depth of field? This statistic underscores the power of thoughtful editing in making your photos stand out. So, don't hesitate to experiment and refine your skills. With practice, you'll create mesmerizing miniatures that capture attention and tell compelling stories, one tiny detail at a time.


