Mastering composition elevates your toy photography by transforming simple snapshots into enchanting visual narratives. Effective framing helps you decide what to include or exclude, directing attention and shaping the story. Leading lines naturally guide the viewer's eye, making your subject the undeniable focus. Implementing the rule of thirds balances the scene, bringing interest and context with artful placements. By balancing light and shadow, you shape the mood and depth, enhancing the photo's impact. Finally, you enrich depth perception, adding realism and immersing the viewer. Create truly compelling images, discover hidden techniques and elevate your toy photography to art.
Importance of Effective Framing
In toy photography, effective framing is essential because it often determines the overall impact of your image. It's about deciding what to include and exclude, helping you direct the viewer's attention exactly where you want it. By thoughtfully framing your shot, you can highlight the emotions and stories you wish to convey, making even the smallest toy figures appear larger than life.
First, consider the scene you're capturing. Ask yourself what the main subject is and how it interacts with its surroundings. Use the viewfinder or screen to experiment with different angles and distances. Sometimes, moving just a couple of inches can eliminate distractions and enhance focus. You want to guarantee that everything within the frame adds value to your composition.
Additionally, framing can create a sense of depth, drawing viewers into your miniature world. Try framing your subject with natural elements like foliage or architecture to add layers and context. Remember, the edges of your frame act as boundaries, guiding the viewer's eye. Use them to create a visually appealing balance in your composition. With practice, you'll find the right framing can transform your toy photography from ordinary to extraordinary.
Utilizing Leading Lines
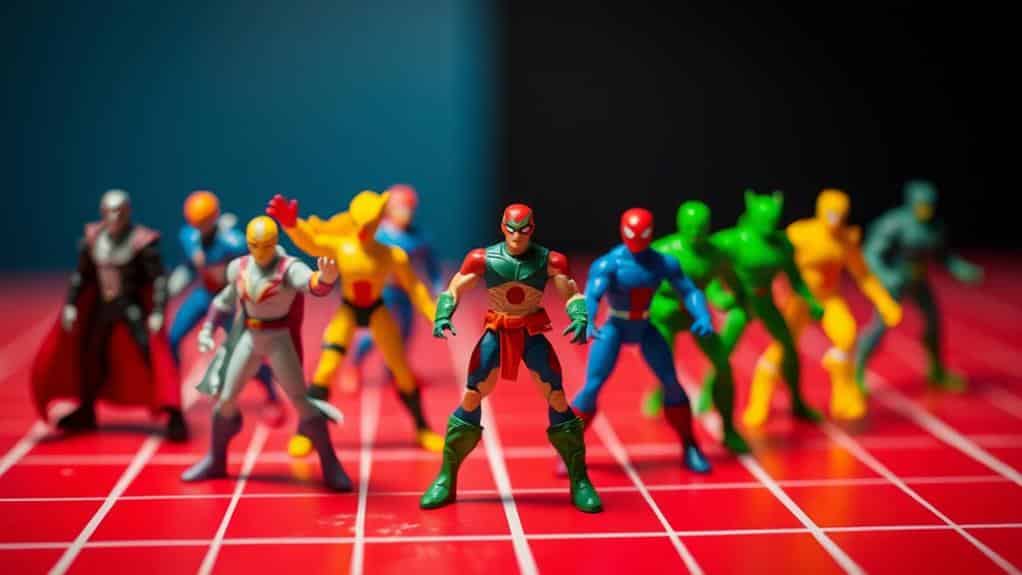
When mastering toy photography, leading lines are a powerful tool to guide the viewer's eye towards your subject. These lines can be anything from a road, a row of trees, or even the edge of a table. They create a path for the viewer to follow, which not only draws attention to your main subject but also adds depth and dimension to your image. By positioning these lines strategically, you can create a dynamic composition that keeps the viewer engaged.
To effectively use leading lines, start by observing your environment. Look for natural or man-made elements that can lead the eye. Once identified, position your camera in a way that these lines point directly to your toy, making it the focal point. Experiment with different angles and perspectives to see what works best. Sometimes, a slight shift in camera position can make a significant difference in how the lines interact with your subject.
Implementing Rule of Thirds

While leading lines guide the viewer's eye, the rule of thirds helps balance your composition. Imagine dividing your image into nine equal parts with two horizontal and two vertical lines. Placing the key elements of your toy photography at the intersections of these lines can create a more engaging and harmonious image. This technique encourages viewers to explore your photo naturally, without feeling overwhelmed.
To apply the rule of thirds, shift your subject off-center. It might feel counterintuitive at first, but positioning your toy at one of the intersection points can enhance visual interest. For example, if you're photographing an action figure, place it on one of the vertical lines. This not only draws attention to your subject but also allows space for the environment or props, adding context to the scene.
Don't worry if you don't nail it on the first try. Experimenting with different placements can lead to unexpected and delightful results. It's all about finding a balance that feels right for your scene. As you practice, you'll develop an instinct for when the rule of thirds enriches your composition and when breaking it might serve your vision better.
Balancing Light and Shadow
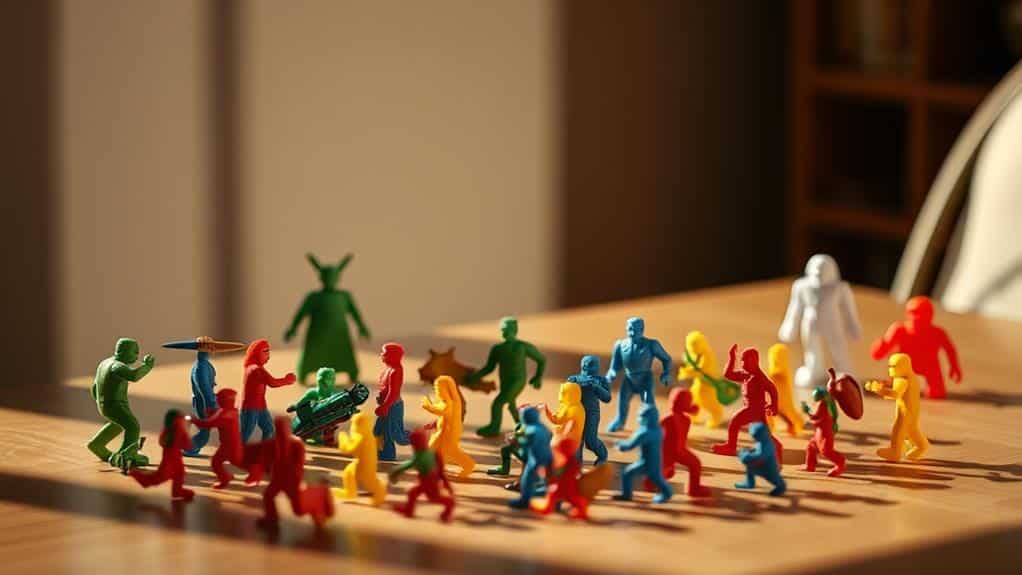
Light and shadow play essential roles in toy photography, shaping mood and depth in your images. When you master the art of balancing these elements, you breathe life into your miniature scenes. Start by experimenting with natural light sources. Position your toys near a window during different times of the day to see how the changing light affects the atmosphere. Morning light tends to be softer, creating gentle shadows, while afternoon light can cast dramatic contrasts. For more control over your lighting, consider using softbox lighting for miniature photography, which can provide an even, diffused light that reduces harsh shadows. This technique allows you to highlight intricate details on your toys while maintaining a pleasing softness throughout the scene. As you become more comfortable with your lighting setups, you can mix natural light with artificial sources to create unique effects and enhance the storytelling aspect of your photos.
Use artificial lights to gain more control. A desk lamp, for instance, allows you to highlight specific features of your toys, creating intentional shadows that add intrigue. Don't shy away from using multiple light sources to fill shadows or accentuate certain areas. Reflectors, like a simple white piece of paper, can bounce light back onto your subject, softening harsh shadows.
Consider the direction of light. Side lighting can create texture, while backlighting adds a halo effect that can make figures appear more dynamic. Experiment with shadows. They can tell a story on their own; a looming shadow can convey mystery, while soft shadows can evoke whimsy. By carefully manipulating light and shadow, your toy photography compositions will become more compelling and visually striking.
Enhancing Depth Perception

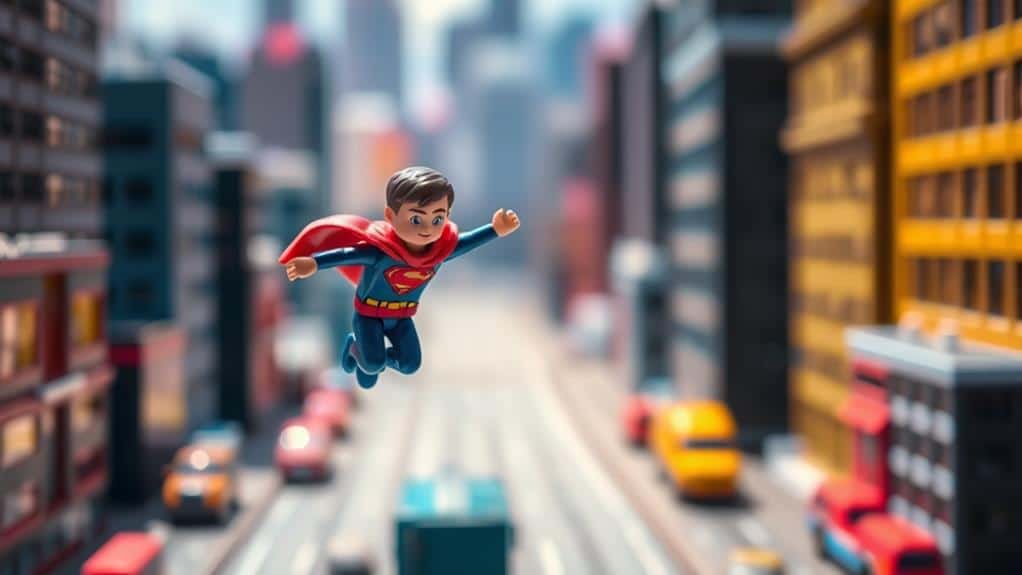
Capturing a sense of depth in toy photography adds realism and immerses viewers in your miniature world. To enhance depth perception, start by experimenting with different focal lengths. A wider angle lens can emphasize the distance between foreground and background, making your scene feel more expansive. Position your main subject strategically; placing it off-center can create a more dynamic composition.
Incorporate elements that lead the eye into the scene. Use lines, like roads or fences, to guide the viewer's gaze deeper into the image. Overlapping objects is another effective technique. When one toy or element partially covers another, it naturally suggests which one is closer, adding layers to your composition.
Lighting plays a critical role. Adjust shadows to add contrast and highlight the 3D aspects of your subjects. Side lighting can enhance textures and contours, making the scene pop. Also, consider the background's role in your photo. A subtle blur, achieved through a shallow depth of field, helps isolate the subject while maintaining a sense of space.
Frequently Asked Questions
How Can Toy Photography Benefit From Experimenting With Different Angles?
Experimenting with different angles in toy photography lets you discover unique perspectives, adding depth and interest to your shots. You'll capture dynamic scenes, highlight details, and create engaging visual stories that draw viewers into your miniature world.
What Role Does Color Theory Play in Elevating Toy Photography Compositions?
Color theory guides your eye, enhancing toy photography by creating mood and contrast. Use complementary colors to make subjects pop or analogous hues for harmony. Mastering color choices elevates your photos, making them engaging and visually striking.
How Do Textures Impact the Overall Composition in Toy Photography?
Textures add depth and realism to your toy photography, making scenes more engaging. They guide the viewer's eye and create contrast, helping you emphasize key elements. Experiment with different surfaces to enhance the overall composition effectively.
Can Props Enhance Storytelling in Toy Photography Compositions?
You can enhance storytelling in toy photography by strategically using props. Props add depth and context, making scenes more engaging. Choose items that complement your narrative, creating a cohesive composition that captivates viewers and brings your story to life.
What Post-Processing Techniques Improve Composition in Toy Photography?
You can improve composition in toy photography by using post-processing techniques like cropping for better focus, adjusting contrast for depth, and enhancing colors for vibrancy. These steps help make your images more engaging and dynamic.
At a Glance
Mastering composition in toy photography isn't just about snapping a picture—it's about crafting a story. When you frame effectively, use leading lines, and embrace the rule of thirds, something magical happens. Balancing light and shadow adds drama, enhancing depth perception pulls you into a miniature world. But here's the secret: it's not just the toys coming to life; it's your creativity, waiting to be released, that truly elevates every shot. Are you ready to redefine your art?


