When you're setting up a DIY camera timer, you'll need to focus on several fundamental aspects to guarantee it's both functional and reliable. Start by selecting a versatile timer circuit with adjustable interval settings and precise triggering capabilities. Don't overlook the importance of a robust power supply, especially if you're planning for outdoor use where weatherproofing becomes vital. Compatibility with your camera, including secure connections and a compatible remote shutter release, is another key element. But how do you bring all these pieces together into a cohesive system that performs consistently? Let's explore the steps to achieve this.
Essential Tools and Materials

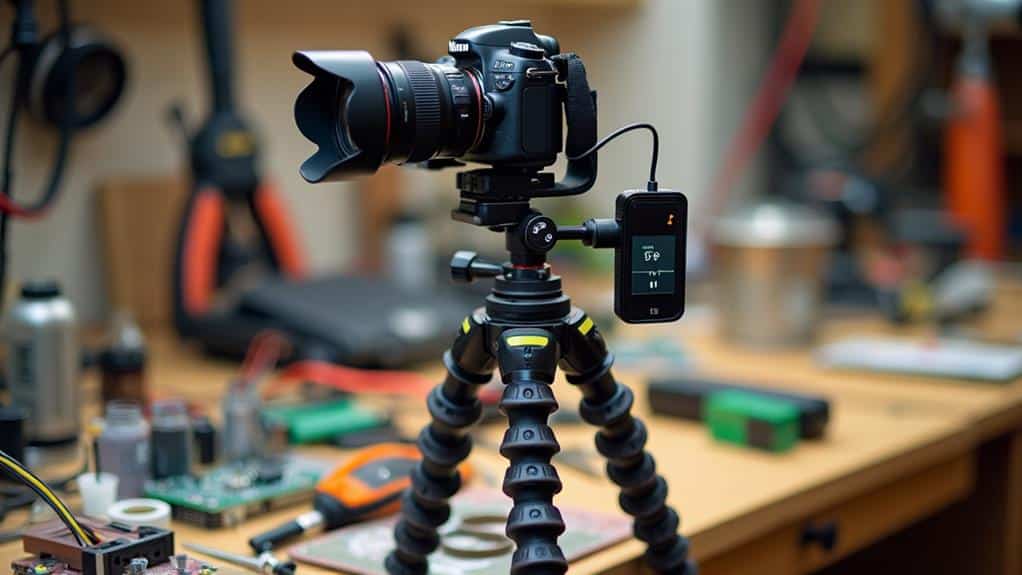
To set up your DIY camera timer, you'll need a few essential tools and materials. First, gather a soldering iron and solder for connecting electronic components. You'll also need a small screwdriver set for assembling and disassembling parts. Pliers, wire cutters, and a multimeter will come in handy for precise adjustments and testing. When working with small components, a stable and level surface is vital, which can be achieved using a tripod with a 360-degree rotatable swivel head Tripod Heads. This flexibility allows for adjustments to be made with ease.
For the electronic components, secure a timer module that fits your project specifications. Look for battery holders that match the type of batteries you plan to use. These holders will guarantee a stable power supply and easy battery replacement. Don't forget to grab some resistors, capacitors, and transistors as they'll be necessary for the timer circuit.
Cable management is vital to keep your setup neat and functional. Use zip ties or cable clips to organize wires and prevent tangling. Heat shrink tubing can also help insulate and protect exposed connections.
Additionally, a project box or enclosure will house your components and protect them from damage. Guarantee it's large enough to fit everything comfortably, including the battery holders and timer module. With these tools and materials, you're well on your way to building an effective DIY camera timer setup. Ensure the enclosure has proper ventilation if needed and consider drilling holes for wires or mounting brackets to keep everything secure. A well-organized project box not only protects your electronics but also enhances the overall aesthetic and functionality of your setup. Whether you’re timing long exposures or crafting wooden props for photography, this DIY project opens up countless creative possibilities for capturing the perfect shot.
Choosing the Right Timer
With your tools and materials ready, the next step is selecting the right timer for your DIY camera setup. A good timer is vital for guaranteeing you capture the perfect shot every time. Start by considering timer accuracy. Precise timers guarantee your camera triggers at precisely the right moments, which is particularly important for capturing time-lapse sequences or long-exposure shots. For capturing intricate details, consider using a macro lens, such as the Canon EF 100mm f/2.8L IS USM Macro Lens, which captures stunning clarity.
Next, think about timer flexibility. A flexible timer allows you to adjust settings easily to suit different photography scenarios. Look for timers that offer a range of intervals and durations. This way, you can experiment with various shooting schedules to find what works best for your project. Additionally, using a remote shutter release can help reduce camera shake, guaranteeing crisp shots.
Additionally, evaluate the timer's ease of use. It should be straightforward to set up and operate, even if you're not an electronics expert. User-friendly interfaces and clear instructions can save you time and frustration.
Lastly, consider the power requirements. Some timers are battery-operated, while others might need a direct power source. Choose one that fits your power availability and the duration of your shoots
Building the Circuit
Building the circuit is a pivotal step in your DIY camera timer setup. Don't worry if you're not an expert; the process can be straightforward with some guidance. When using a DSLR camera with manual control of camera settings, such as in M mode Manual Mode, a well-built circuit is essential for precise timing. A good understanding of the exposure triangle, consisting of shutter speed, aperture, and ISO, will also help you get the most out of your camera timer. Start by using a breadboard, as it offers significant benefits. A breadboard allows you to test and modify your circuit without soldering, making it easier to troubleshoot and adjust as needed.
First, gather all necessary components: resistors, capacitors, a timer IC (like the 555 timer), and any other specific parts your design requires. Pay attention to circuit complexity; a more complex circuit may need additional components and connections. Lay out your components on the breadboard according to your schematic.
Next, connect the components with jumper wires. Verify you follow the schematic precisely to avoid errors. The breadboard's benefits shine here, as you can easily reconfigure the setup if something isn't working right.
After assembling, double-check all connections. A small mistake can cause the entire circuit to malfunction. Once confirmed, you can proceed to test the circuit using a power source. If everything works, you've successfully built the foundation for your camera timer.
Programming the Timer
Now that your circuit is built, let's plunge into programming the timer. Start by selecting a microcontroller-compatible programming environment, such as Arduino IDE. Begin writing code to define the timer's intervals, verifying your logic accounts for code optimization. Efficiently written code will not only run faster but also consume less power—critical for any DIY project. When taking photos with your DIY camera setup, it's vital to think about optical image stabilization (OIS) for better image quality Optical Image Stabilization. Just like a DSLR camera, a well-designed timer can substantially impact the outcome of your photographs.
Next, focus on timer calibration. Accurately calibrating your timer guarantees it triggers at precise intervals. To do this, add functions that calculate elapsed time and compare it to your desired interval. Use built-in timer functions provided by your microcontroller's library to simplify this process, allowing you to avoid complex, error-prone calculations.
While writing your code, remember to test frequently. Upload the code to your microcontroller, then observe how it performs. Make adjustments as needed to correct any discrepancies in timing. Fine-tuning your code will help achieve consistent, reliable intervals.
Lastly, comment on your code for clarity. Well-documented code is easier to troubleshoot and refine. By focusing on code optimization and precise timer calibration, you'll create a robust DIY camera timer ready for action
Connecting to the Camera
Having fine-tuned the timer's programming, it's time to connect it to your camera. First, verify your timer setup matches your camera compatibility. Different cameras may have distinct requirements for remote shutter connections. Check your camera's manual for the specific port type—often a 2.5mm or 3.5mm jack, or even a proprietary connector.
Next, get the right cable to link your timer to your camera. Many DIY timer kits include a standard cable, but if it doesn't fit, you'll need an adapter. Plug one end into the timer's output port and the other into your camera's remote shutter port.
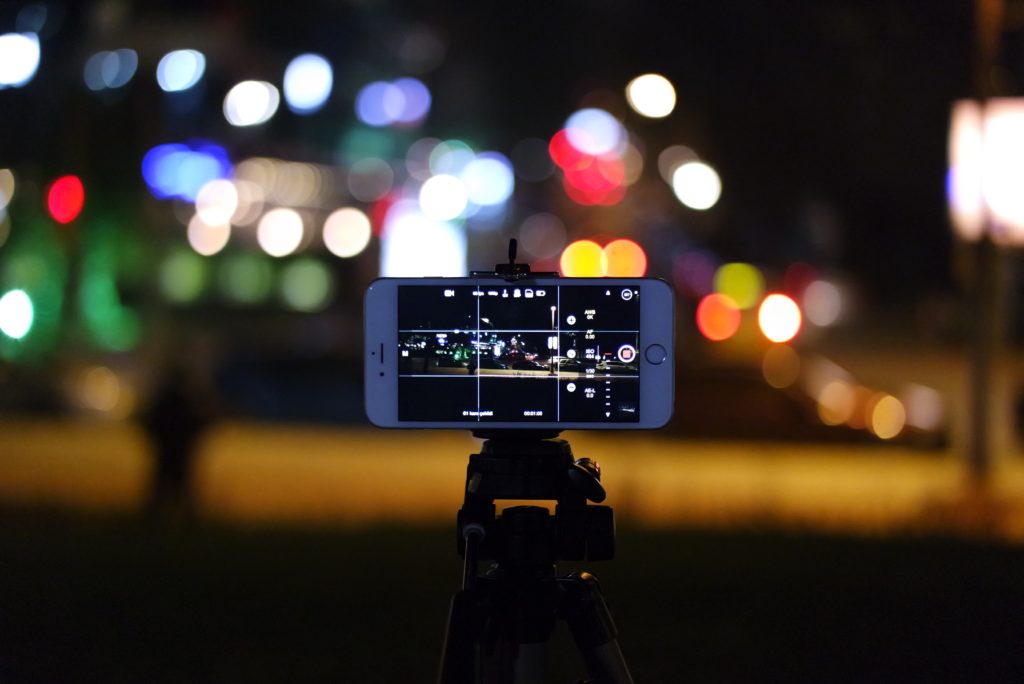
Now, test the connection. Turn on your camera and timer. Set a short interval on the timer to confirm it triggers the camera's shutter. If the camera doesn't respond, double-check the cable connections and compatibility settings. Sometimes, a small adjustment can make all the difference.
Lastly, secure the cables to avoid any accidental disconnections. Use cable ties or Velcro straps to keep everything tidy and in place, guaranteeing a smooth operation during your photography sessions. With a reliable connection, you're now ready to capture those perfect timed shots.
Power Supply Options
Ensuring your DIY camera timer has a reliable power supply is crucial for consistent performance. One common option is using batteries. When selecting batteries, consider their lifespan. Rechargeable batteries can be convenient, but they often need frequent recharging. On the other hand, high-capacity alkaline batteries might last longer but are less environmentally friendly and more costly over time.
For more sustainable power, solar panels are an excellent choice. They can substantially extend battery lifespan by continuously recharging the batteries during daylight hours. If you're setting up your camera timer in a sunny location, solar panels can keep your system running almost indefinitely. Make sure to choose panels with sufficient wattage to meet your camera timer's power requirements.
Another approach involves using an external power source like a USB power bank. These can provide a stable supply of power, especially useful for shorter projects. However, they might not be practical for long-term setups due to the need for regular recharging.
Ultimately, your choice of power supply depends on your specific needs. Balancing battery lifespan, solar panel efficiency, and practicality will help you achieve a reliable and efficient DIY camera timer setup.
Weatherproofing Your Setup
When setting up your DIY camera timer outdoors, protecting it from the elements is essential to guarantee durability and functionality. Exposure to rain, wind, and extreme temperatures can wreak havoc on your equipment. To keep your setup safe, consider implementing environmental shields and moisture barriers.
Here are some practical tips to weatherproof your DIY camera timer:
- Use a Protective Housing: Invest in a sturdy, waterproof casing for your camera and timer. This acts as an environmental shield, safeguarding against rain, dust, and dirt.
- Seal Electrical Connections: Apply waterproof sealant or use heat-shrink tubing on all exposed wires and connectors. This prevents moisture from seeping into your electrical components.
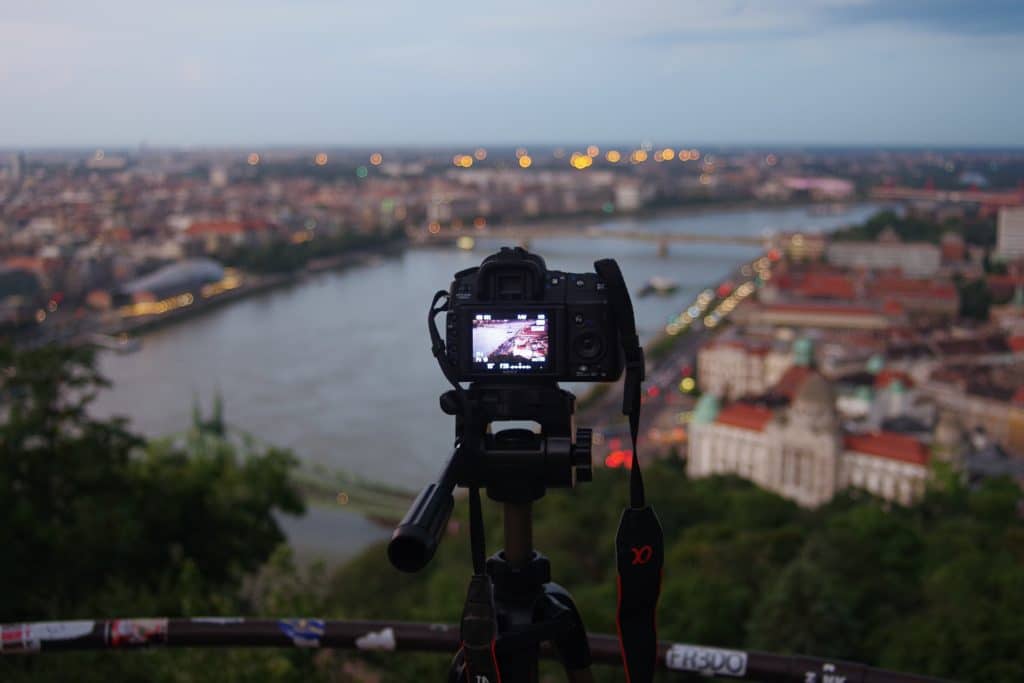
- Elevate Your Setup: Avoid placing your camera timer directly on the ground. Use a tripod or mount to keep it elevated, reducing the risk of water damage from puddles or splashes.
- Add Desiccant Packs: Place silica gel packets inside the housing. These moisture barriers absorb any condensation that might form, keeping your equipment dry.
Testing and Troubleshooting
With your DIY camera timer now weatherproofed, it's important to test and troubleshoot the setup to guarantee it works flawlessly in real-world conditions. Start by setting up your camera and timer in a controlled environment. This allows you to observe and address any issues without external interference.
Begin with timer calibration. Certify the intervals between shots match your intended settings. Use a stopwatch to verify that the timer is accurate. If there are discrepancies, adjust the timer settings accordingly until it aligns perfectly.
Next, employ debugging techniques to identify potential malfunctions. Check all electrical connections and confirm they are secure. Look for any loose wires or faulty connections that might cause intermittent problems. Test the weatherproofing by simulating conditions like rain or humidity to see if the setup remains operational.
Monitor the camera's performance during these tests. Verify that it captures images at the correct intervals and that the quality remains consistent. If you notice any issues, such as missed shots or power failures, troubleshoot and make necessary adjustments.
Creative Time-Lapse Ideas
Capturing the passage of time through your DIY camera timer opens up a world of creative possibilities. You're not just limited to standard day-to-night metamorphoses; you can explore a variety of unique and stunning subjects. Think about the beauty of frozen landscapes. Setting up your camera to capture the gradual thawing of ice or the movement of snow can result in mesmerizing footage.
Consider these creative time-lapse ideas:
- Frozen Landscapes: Capture the thawing process of ice or snow melting, revealing hidden layers and textures.
- Starry Nights: Document the rotation of the earth by photographing the movement of stars across the night sky.
- Urban Jungle: Show the hustle and bustle of city life, from dawn to dusk, highlighting the contrast between busy streets and quiet moments.
- Floral Bloom: Record flowers blooming over several days, showcasing nature's slow but steady growth.
Each idea offers its own set of challenges and rewards. For instance, capturing starry nights requires a clear sky, minimal light pollution, and a lot of patience. Meanwhile, frozen landscapes demand proper gear to protect your equipment from the cold. By experimenting with these time-lapse ideas, you'll release the full potential of your DIY camera timer setup.
At a Glance
To create a high-quality DIY camera timer setup, make sure you have all the necessary tools and materials, choose a reliable timer, and build an exact circuit. Program your timer accurately and verify it connects seamlessly with your camera. Opt for a dependable power supply and weatherproof your setup for outdoor use. Finally, thoroughly test and troubleshoot to guarantee consistent performance. With these steps, you'll capture stunning time-lapse photography effortlessly.