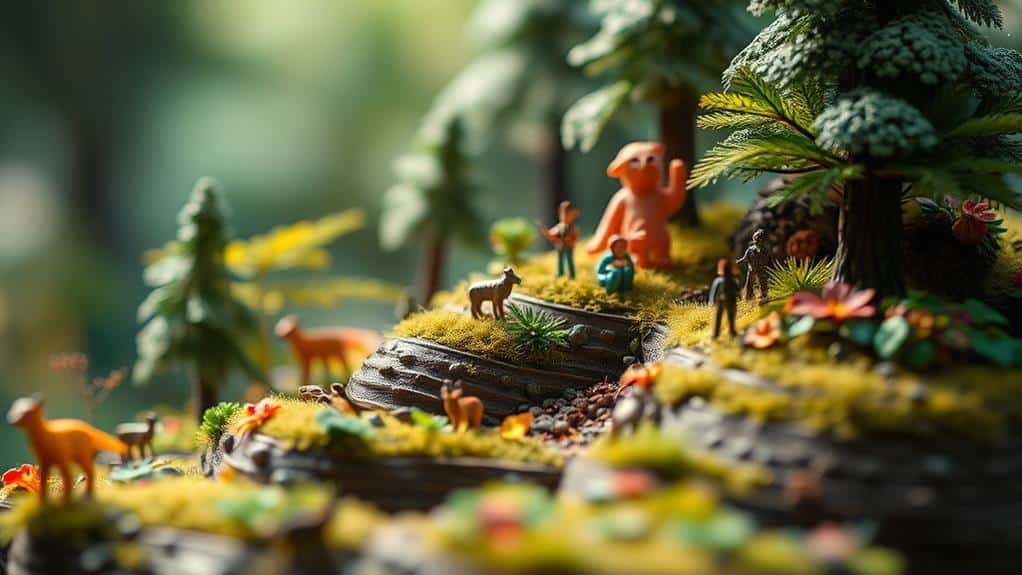
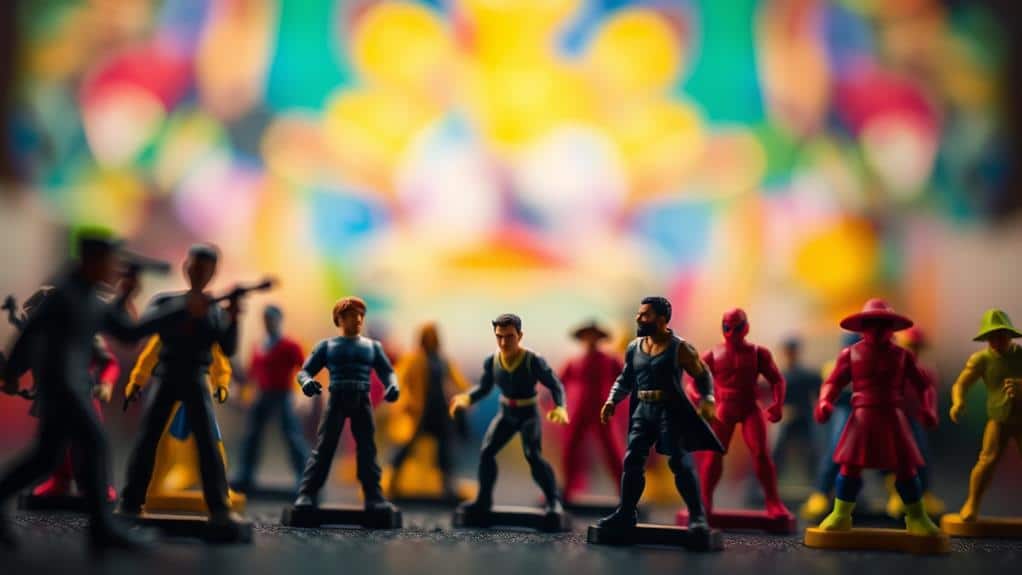
To enhance depth in your figurine photos, start with focus stacking. This technique involves combining multiple images taken at different focus distances, providing sharpness throughout. Equip yourself with a DSLR or mirrorless camera, macro lens, and a sturdy tripod for stability. Set up your scene with a neutral background and natural light to reduce harsh shadows. Capture multiple focus points manually and bracket your shots for varied focus. Finally, merge these images using editing software for a detailed composite photo. These tips will have you creating rich, detailed figurine photos, and there's more to master with continued exploration.
Understanding Focus Stacking
Focus stacking is a technique that can greatly enhance your figurine photography by increasing the depth of field in your images. When you photograph small subjects like figurines, achieving a sharp focus across the entire object can be challenging. Focus stacking solves this by combining multiple images taken at different focus distances. This process results in one image where every part of the figurine appears crisp and detailed.
To start, you'll need to take a series of photos with varying focus points. Begin by focusing on the nearest part of your figurine, then gradually adjust the focus towards the back, capturing each segment in sharp detail. It's crucial to keep the camera steady, as even slight movements can disrupt the series. Each image should overlap slightly with the next so they blend seamlessly later.
Once you've captured your shots, you'll use photo editing software to merge them. The software identifies the sharpest areas from each photo and stitches them together into a single, fully-focused image. This method not only enhances clarity but also adds depth, making your figurine photos stand out. By mastering focus stacking, you elevate your photography skills considerably. Additionally, experimenting with different lighting and backgrounds can complement the focus stacking process, bringing out the intricate details of your figurines. Don’t forget to refine toy photo editing tips by adjusting color balance, contrast, or adding subtle shadows to give your images a professional finish. With practice, these techniques will transform your figurine photography into captivating works of art.
Preparing Your Equipment
After understanding how focus stacking can transform your figurine photography, it's important to prepare your equipment properly to secure success. Start by making sure your camera is set up for detailed shots. A DSLR or mirrorless camera with manual settings will give you control over aperture, shutter speed, and ISO—crucial for focus stacking. Attach a macro lens to capture intricate details of your figurines, allowing you to get close and highlight texture and depth.
Next, stabilize your camera with a sturdy tripod. Shaky hands can ruin focus-stacked images, so a tripod is essential for maintaining consistency across multiple shots. Verify your tripod is adjustable and can handle different angles to accommodate various perspectives.
Consider using a remote shutter release or a camera's timer function to minimize camera shake when taking photos. This guarantees each image in your stack remains sharp and aligned.
Setting Up Your Scene

Creating the perfect scene starts with careful consideration of your background and lighting. Choose a background that complements your figurine without overshadowing it. Neutral tones often work best, allowing your subject to stand out. Consider using a textured surface or a simple pattern to add interest without distraction. Position your figurine so it's the focal point of your scene, and guarantee the background enhances rather than competes with it.
When it comes to lighting, natural light is your best friend. Position your scene near a window to take advantage of soft, diffused sunlight. If you're shooting indoors, avoid direct overhead lights that can cast harsh shadows. Instead, use a lamp or a softbox to create gentle, even lighting. Experiment with the angle and intensity of your light source to see how it changes the mood and depth of your image.
Take the time to arrange elements within your scene thoughtfully. Add props sparingly to provide context or storytelling, but guarantee they don't upstage your figurine. Play with different heights and layers to create a sense of dimension, drawing the viewer's eye naturally through the scene.
Capturing Multiple Focus Points
To truly enhance the depth in your figurine photos, consider utilizing multiple focus points. This technique helps create a sense of dimension and clarity, highlighting various details of your figurine. By shifting focus among different areas, you can draw attention to intricate features that might otherwise go unnoticed.
Here's how you can effectively capture multiple focus points:
- Use Manual Focus: Switch your camera to manual mode to gain precise control over where you want the focus. This allows you to select different parts of the figurine for sharpness, enhancing overall detail.
- Focus Bracketing: If your camera supports it, use focus bracketing. Take a series of shots with varying focus points. This guarantees that all parts of the figurine are captured in sharp detail, ready for further editing.
- Adjust Aperture: A smaller aperture (higher f-stop) increases the depth of field, allowing more of your scene to stay in focus at once. Experiment to find the right balance between background blur and subject clarity.
Merging Images for Depth

Why settle for less when you can enhance your figurine photos by merging images for depth? By combining multiple shots, each with different focus points, you can create a single image where every detail is sharp and clear. This technique, known as focus stacking, allows you to overcome the limitations of shallow depth of field often encountered in macro photography.
Start by taking several photos of your figurine, each focusing on a different part of it. You'll need a steady hand or, better yet, a tripod to guarantee consistency across shots. Once you've captured your images, use photo editing software like Adobe Photoshop or a specialized focus stacking tool. These programs will align and blend your images, selecting the sharpest areas from each to produce a final, composite photo.
Don't forget to adjust lighting and exposure settings uniformly across shots to avoid inconsistencies. The result is a rich, detailed photograph that showcases your figurine in all its glory, with no part left blurry. Merging images for depth not only enhances your photography skills but also elevates the visual impact of your collection.
Frequently Asked Questions
What Is the Best Lighting Setup for Capturing Depth in Figurine Photos?
You should use a three-point lighting setup to capture depth in figurine photos. Position a key light, fill light, and backlight strategically to highlight details and create shadows, enhancing the three-dimensional effect in your shots.
How Can I Prevent Reflections on Glossy Figurine Surfaces?
To prevent reflections, position your lights at an angle rather than directly overhead. Use diffusers to soften the light, and opt for a polarizing filter on your lens to minimize glare on glossy surfaces.
Which Camera Settings Optimize Depth of Field in Figurine Photography?
Get your feet wet by adjusting your aperture. Use a small f-stop number for a shallow depth of field, or a larger one for more depth. Experiment with lighting and distance to make your figurines pop.
Are There Specific Post-Processing Software Recommendations for Enhancing Depth?
You should try Adobe Lightroom or Photoshop for enhancing depth in photos. Both let you adjust clarity and sharpness. Capture One's another great option for detailed editing. Don't forget to explore depth maps in certain software.
What Are Common Mistakes to Avoid When Photographing Figurines for Depth?
When capturing figurines, avoid cluttered backgrounds that steal focus. Don't overuse flash; it flattens your scene. Make certain your lighting highlights contours and avoid harsh shadows. Keep your lens at eye level with the figurine to maintain perspective.
At a Glance
You've revealed the secrets to transforming your figurine photos from flat to fantastically three-dimensional! With focus stacking, your shots will leap off the screen, mesmerizing viewers. Equip yourself like a pro, set your scene with artistic flair, and capture every possible focus point. Then, blend those images into a masterpiece of depth and detail. Your figurine photography will not just stand out—it'll dazzle and astonish, turning every gaze into a look of pure admiration!


