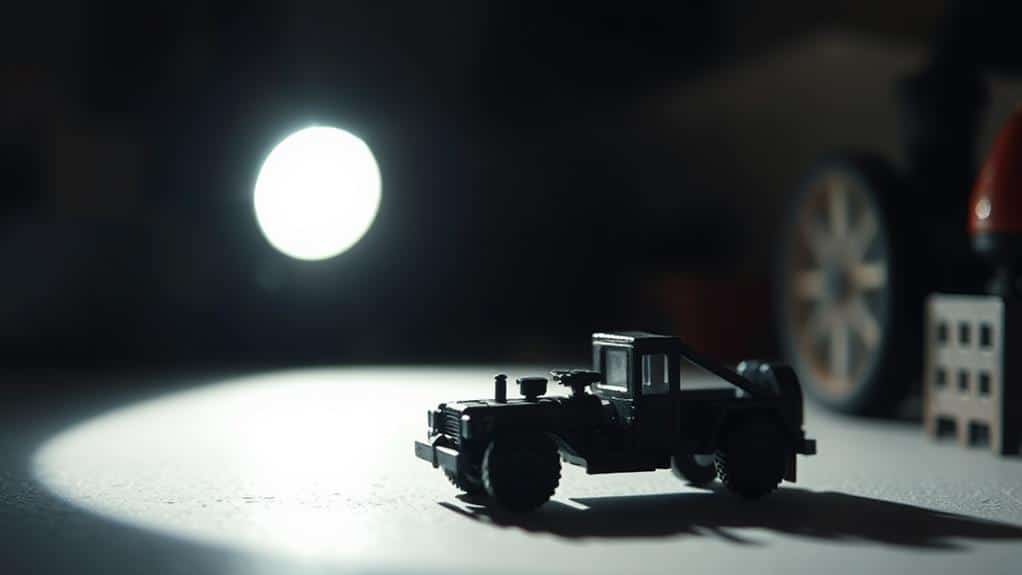
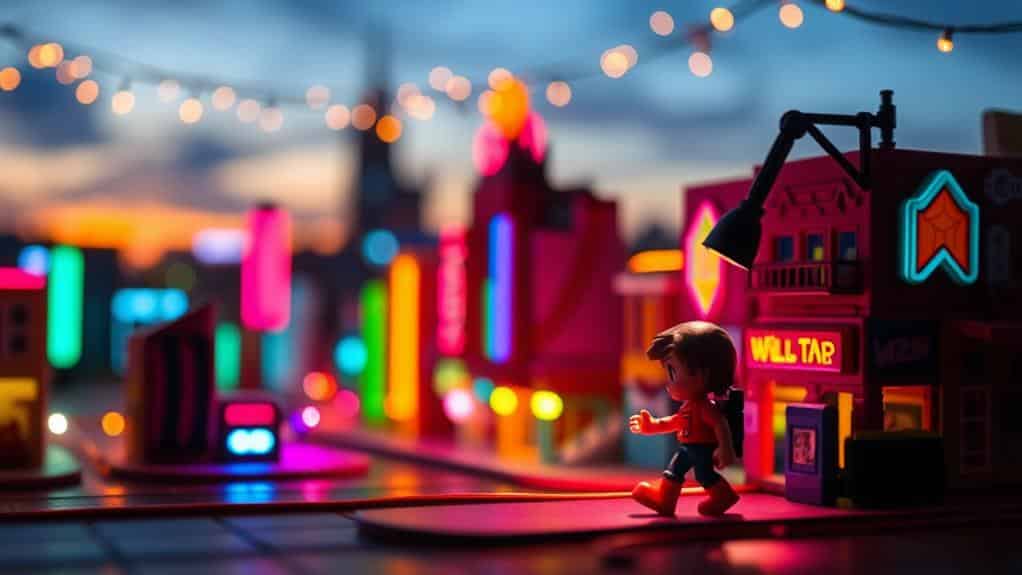
Light up your toy photography with three creative lighting ideas. Start with backlighting to create dramatic silhouettes and long shadows by positioning the light behind your subject. Use colored gels to add vibrant hues and moods; layering them can produce intriguing effects. Adjust the intensity and angles to best capture your toys' colors. Finally, spotlighting lets you focus on intricate details. By using a concentrated beam, you'll balance light and shadow, adding depth and sharpness to your shots. With these techniques, your toy photos will burst with life and intrigue, and there's even more to discover about perfecting your images. Experimenting with these techniques opens the door to endless creative possibilities. Combine these lighting methods or tweak them to suit your unique vision, and don’t forget to explore other lighting tips for toy photography to refine your craft further. With practice and ingenuity, you can transform simple setups into striking scenes that truly tell a story.
Backlighting for Dramatic Effects
Backlighting can transform your toy photography by adding depth and drama to your shots. It creates a silhouette effect, highlighting the outline of your toys and making them stand out against the background. You can achieve this by positioning a light source behind your subject. Try experimenting with the angle and intensity to see how these changes affect the mood of your photo. A low-angle backlight can create long, dramatic shadows that add an intense, cinematic feel.
When you're setting up your scene, consider the placement of your toy and the background. A cluttered background can detract from the silhouette effect you're aiming for, so keep it simple. Use props sparingly, ensuring they don't block the light source. You might also want to think about the time of day if you're using natural light. Early morning or late afternoon offers softer, more diffused sunlight that's perfect for backlighting.
Don't forget to adjust your camera settings. Lowering the exposure can emphasize the silhouette, while a wide aperture lets more light in, softening the edges. With practice, you'll find the perfect balance to make your toy photography striking and memorable.
Colored Gels for Unique Hues
Building on the drama created by backlighting, colored gels offer an exciting way to infuse your toy photography with vibrant hues and moods. By simply placing these gels over your light source, you can transform an ordinary scene into a dynamic, colorful spectacle. Imagine casting a warm sunset glow over a toy landscape or creating a cool, mysterious atmosphere with shades of blue and purple. The possibilities are endless, allowing you to tailor the mood and tone precisely to your vision.
When using colored gels, start by experimenting with different colors and combinations. Layering gels can produce intriguing effects, giving your photos an edge that's hard to achieve with standard lighting. Don't hesitate to mix complementary colors for a harmonious look or bold contrasts for more drama. Be mindful of how the colors interact with the toys' natural hues; sometimes, less is more to avoid overwhelming the scene.
Adjust the intensity of the light to control how the colors appear. A softer light can give a subtle tint, while a stronger light will make the colors pop. Play around with angles and positions to find what best highlights your toys, creating unique and enthralling images.
Spotlighting for Focused Detail

For toy photography that demands attention to detail, spotlighting is your go-to technique. This method allows you to highlight specific features of your toy subject, drawing the viewer's eye exactly where you want it. By using a focused beam of light, you can emphasize intricate details that might otherwise get lost in a broader lighting setup. This technique is especially effective for capturing the textures and nuances that make your toy stand out.
To start, position your light source so it creates a focused beam. You can use a small flashlight or a dedicated spotlight. Aim this light directly at the area you want to emphasize. Adjust the angles until you find the perfect balance between light and shadow. This contrast will bring out the depth and dimension of the toy, adding a dramatic flair to your photos.
Don't forget to experiment with the distance between the light and the subject. A closer light will create sharper shadows, while a bit more distance softens them. Play around with intensity and diffusion as well. A diffused spotlight can offer a softer focus, while an intense beam adds more drama. With practice, you'll master spotlighting, making your toy photography truly enchanting.
Frequently Asked Questions
How Can I Create Realistic Shadows in Toy Photography?
To create realistic shadows in toy photography, position a single light source at an angle. Experiment with distance and intensity to mimic natural lighting. Use reflectors or diffusers for softer shadows, ensuring depth and dimension in your photos.
What Camera Settings Are Ideal for Low-Light Toy Photography?
To capture toys in low light, set your camera to a high ISO, around 800-1600. Use a wide aperture like f/2.8 for more light. Keep your shutter speed slow enough to avoid blur, but steady.
How Do I Prevent Reflections in Toy Photography?
To prevent reflections, adjust your light source angles, use polarizing filters, and opt for diffused lighting. Position yourself carefully to avoid capturing unwanted glare. Experiment with different setups until you achieve the desired reflection-free shot.
Can Natural Light Be Effectively Used for Toy Photography Indoors?
Yes, you can cleverly capture enchanting shots using natural light indoors. Strategically set up near sunny spots or windows, allowing sunlight to softly spotlight your toys. This simple setup showcases stunning shadows and highlights, enhancing your photos beautifully.
What Are Some Budget-Friendly Lighting Tools for Beginners in Toy Photography?
You can enhance toy photography with budget-friendly tools like LED light strips, desk lamps, or DIY diffusers using parchment paper. Experiment with flashlight apps on your phone for versatile lighting options without breaking the bank.
At a Glance
You've explored the magic of backlighting, the wonder of colored gels, and the precision of spotlighting. Remember, lighting isn't just a tool—it's your secret weapon in toy photography. With a flick of a switch or a change of angle, you can transform ordinary toys into extraordinary art. So, go ahead and experiment; let your creativity shine as brightly as your subjects. After all, in the world of toy photography, the right light changes everything.


