
Mastering shadow techniques in toy photography allows you to craft images with depth and intrigue. Use natural light's soft morning or late afternoon glow for rich colors, or experiment with artificial sources like desk lamps to cast striking shadows. Position your toys strategically to enhance the light's effect, and consider household items for creating interesting patterns. Play with backlighting for dramatic silhouettes. Adjust shadows during post-processing for added contrast and mood. Colors in shadows can shift the atmosphere—consider blues for cool vibes or reds for warmth. By exploring these tactics, you'll discover new dimensions in your toy photography journey.
Understanding Light and Shadows
When you explore toy photography, understanding how light and shadows interact is essential for capturing engaging images. By manipulating light, you can create depth and dimension that bring your miniature scenes to life. Start by observing how natural light changes throughout the day. Early morning and late afternoon offer softer lighting, casting longer shadows that add drama and mood to your photos. Midday sun might be harsh, but it can be used creatively to highlight specific features of your toys.
Experiment with artificial lighting too. A simple desk lamp or LED light can be angled to produce striking shadows and highlights. Adjust the distance and angle of your light source to see how shadows shift, adding mystery or focus to your composition. Don't be afraid to use diffusers, like a piece of white paper, to soften harsh light and create subtler shadows.
Consider the direction of your light. Side lighting can emphasize texture and form, while backlighting might produce silhouettes that evoke a sense of scale and intrigue. Remember, shadows aren't just dark areas; they're tools that can transform a simple toy setup into an engaging visual story.
Choosing the Right Backdrop
Mastering the interplay of light and shadows sets the stage for the next vital element in toy photography: the backdrop. Selecting the right backdrop can dramatically transform your toy's narrative, adding depth and context to your scene. First, consider the theme or story you want to convey. A natural setting like a patch of grass or a sandy beach might suit a toy dinosaur or action figure. Conversely, a simple, solid-colored background can sharpen focus on the toy itself, making it pop.
Think about the backdrop's color and texture. Neutral tones often complement complex subjects, while vibrant hues can create striking contrasts. Textured backgrounds, like crumpled paper or fabric, add interesting dimensions but might distract from intricate toys. Always align the backdrop's mood with the toy's character to maintain thematic consistency.
Size is also important. Confirm the backdrop fully encompasses your frame to prevent unwanted elements from creeping into your shot. Use materials like poster boards or fabric sheets for flexibility and ease of transport. Ultimately, the right backdrop doesn't just support your toy; it enhances the entire composition, making your toy photography truly come alive.
Experimenting With Light Sources
Lighting is the magic wand in toy photography, transforming ordinary scenes into extraordinary visual stories. By experimenting with various light sources, you can craft dramatic shadows and highlight intricate details in your figures. Start by exploring different types of artificial lighting. Desk lamps, LED strips, and flashlights are excellent tools for manipulating light angles and intensities. Each source brings a unique character to your photos, allowing you to create the mood you desire.
Consider the following table to understand how different light sources can impact your photography:
| Light Source | Effect on Shadows |
|---|---|
| Desk Lamp | Soft, diffused shadows |
| LED Strip | Even, consistent shadows |
| Flashlight | Sharp, dramatic shadows |
Try positioning your light source at various angles to see how it affects shadow length and intensity. A low angle can produce long, eerie shadows, perfect for creating tension or mystery. Conversely, a high angle might offer softer, subtler shadows, ideal for a more serene setting. Don't hesitate to combine multiple sources to achieve a layered lighting effect. Remember, your aim is to experiment, explore, and enjoy the process, as each setup offers new opportunities to capture your toys in a compelling light.
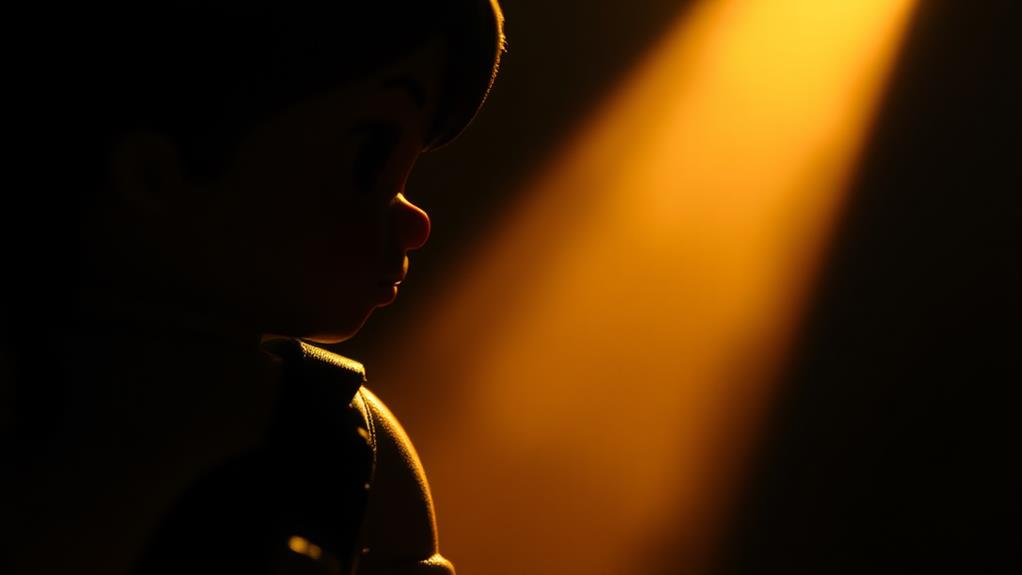
Utilizing Natural Light
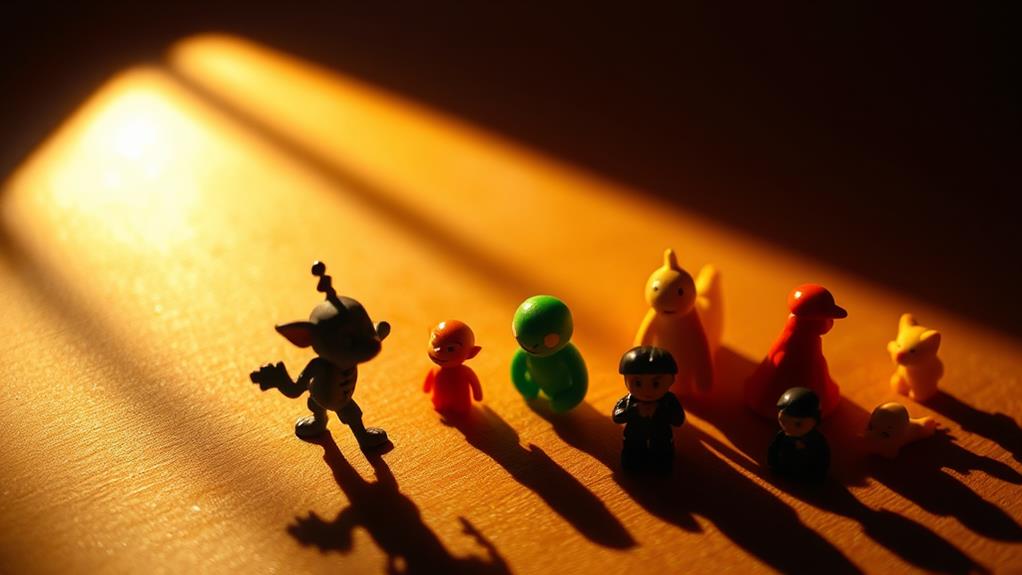
While artificial light sources provide control and versatility, natural light offers a distinct quality that's hard to replicate. When you're using natural light, you tap into the dynamic range of sunlight, which can add depth and authenticity to your toy photography. Pay attention to the time of day. Early morning and late afternoon, known as the golden hours, provide soft, warm light that enhances colors without harshness. Midday sunlight can be intense, so consider using it for strong, defined shadows.
Position your toys strategically to make the most of the light available. The angle of the sun can highlight details you might otherwise overlook. Think about how the light interacts with your subject. Are you capturing the glow on a plastic surface or the shadow cast by a figure's arm? These details can transform a simple setup into an engaging scene.
Don't forget to use natural reflectors like water or white walls to bounce light back onto your subject. This technique helps fill in shadows and create a balanced composition. By observing and adapting to natural light, you'll find a unique way to bring your toy photography to life.
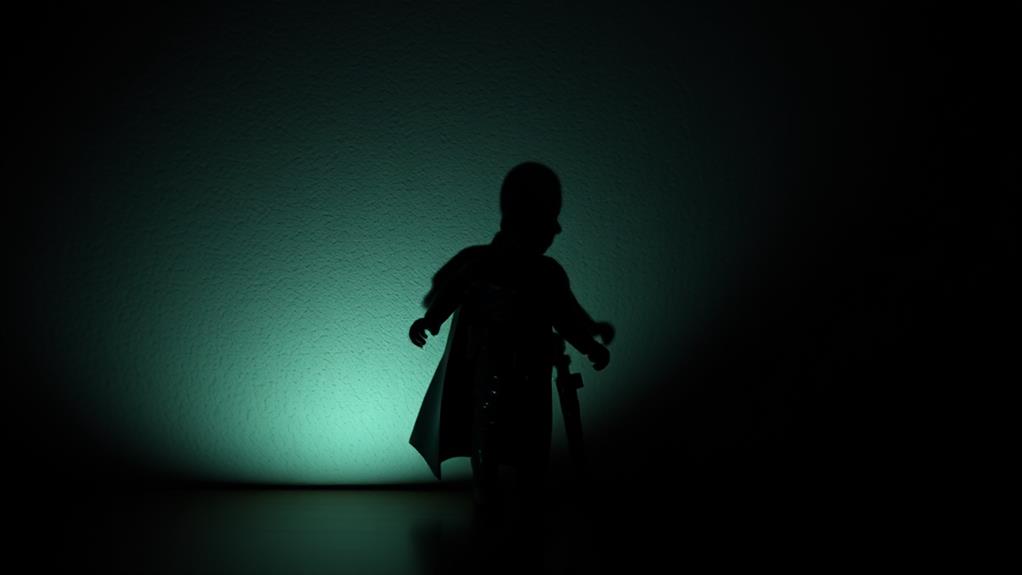
Creating Dramatic Shadows
Shadows can be a powerful storytelling tool in toy photography, adding depth and intrigue to your scenes. By manipulating shadows, you can create mood, highlight your subject, and guide your viewer's eyes. Start by choosing a strong light source, like a desk lamp or flashlight, to cast sharp, defined shadows. Position the light at different angles to see how shadows change in length and intensity.
Experiment with backlighting for a dramatic silhouette effect. Place your toy between the camera and light source, allowing the shadow to become the focal point. This technique works wonders in emphasizing form and creating mystery. Use household items like blinds or textured materials to project patterned shadows onto your scene, adding complexity.
Consider the story you want to tell. Shadows can introduce tension or imply movement. For instance, a toy soldier's long shadow can evoke bravery or isolation. Adjust the shadow's length by moving the light source closer or farther away. Don't forget to adjust your camera settings to capture the right exposure and contrast. A lower ISO and smaller aperture can help maintain sharpness and detail. With practice, shadows can transform your toy photos into enchanting visual narratives.
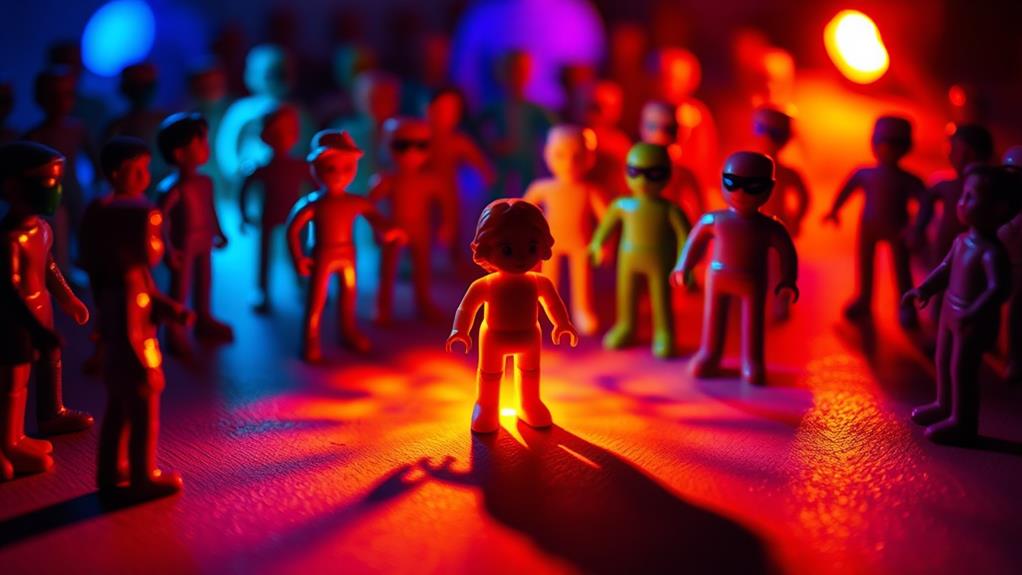
Playing With Scale and Perspective
Toy photography offers a unique opportunity to play with scale and perspective, turning the ordinary into the extraordinary. By cleverly positioning your toys and using shadows to your advantage, you can create scenes that defy reality. Positioning your camera at the right angle can make a tiny toy appear larger than life or shrink your surroundings to toy-sized proportions. This technique invites viewers to enter a miniature world where imagination reigns supreme. Moreover, the art of toy photography allows you to craft stories with toy figurines, breathing life into each character and setting. By incorporating elements like natural light, dynamic poses, and props, you can enhance the narrative, inviting viewers to wonder about the adventures and emotions behind each snapshot. This imaginative approach not only celebrates the charm of toys but also encourages a deeper exploration of storytelling through visual art.
To make the most of scale and perspective in your toy photography, consider these essential tips:
- Choose Your Background Wisely: A cluttered background can distract from the illusion you're trying to create. Opt for simple settings that complement your toy's scale without overwhelming it.
- Experiment with Angles: Shooting from a low angle can make small toys look imposing, while a high angle can give a bird's-eye view, emphasizing their tiny size.
- Use Props Creatively: Incorporate everyday objects to enhance the illusion. A coffee cup can become a giant boulder when placed next to a tiny action figure.
- Control Your Lighting: Shadows can alter perceptions of scale. Use them strategically to enhance depth and create drama in your scenes.
Post-Processing Shadow Effects
In the domain of toy photography, the magic doesn't end once the shot is taken; it continues in the post-processing stage where shadows play a pivotal role in enhancing your images. You'll find that by refining shadows, you add depth and create a more immersive scene. Start by opening your image in a photo editing software like Adobe Photoshop or Lightroom. Use the dodge and burn tools to selectively lighten or darken areas, giving the shadows more contrast and definition.
Pay attention to the direction and intensity of light in your scene. If your shadows seem too harsh, use a soft brush to gently blur the edges, making them appear more natural. Conversely, if they're too soft, increase their sharpness to add drama. Adjusting the opacity of these layers can subtly tweak the mood of your photograph.
You can also experiment with shadow color. Instead of sticking to pure black, try adding blue or purple tones for a cooler feel, or warm them up with subtle reds and oranges. This technique can dramatically alter the atmosphere. By mastering these post-processing techniques, you'll elevate your toy photography to new heights.
Frequently Asked Questions
What Are Common Mistakes to Avoid When Using Shadows in Toy Photography?
When using shadows in photography, avoid overexposing your shots. Don't let harsh lighting create distracting shadows. Balance is key; guarantee shadows enhance, not overwhelm. Experiment with angles and light sources to achieve the desired effect.
How Can I Achieve Consistent Shadow Effects Across Different Photo Sessions?
Think of shadows as a dance partner. Keep your lighting setup consistent, like a choreographed routine. Use the same angles and intensity each time. This consistency lets your shadows tell a seamless story across your photo sessions.
Which Camera Settings Are Optimal for Capturing Detailed Shadows in Toy Photography?
You'll want to use a low ISO to minimize noise, a small aperture for depth of field, and adjustable shutter speed. Experiment with lighting angles. Adjust the white balance for accurate colors, enhancing shadow details.
Are There Specific Toys That Work Better for Shadow-Focused Photography?
You'll find that textured toys like action figures or LEGO sets work best for shadow-focused photography. Their intricate designs cast dynamic shadows, adding depth. Experiment with your collection to see which toys create the most striking effects.
How Do Shadows Impact the Storytelling Aspect of Toy Photography?
Shadows enhance storytelling by adding depth and mystery to your photos. They can highlight emotions, create tension, or imply unseen elements. Use them strategically to guide viewers' attention and evoke a stronger emotional response in your toy photography.
At a Glance
By mastering shadow techniques, you'll transform your toy photography into enchanting art. Imagine capturing a beloved childhood toy, like a teddy bear, enveloped in dramatic shadows. The bear's familiar, comforting shape is suddenly mysterious, evoking nostalgia and wonder. With the right backdrop and lighting, you create a scene that tells a story beyond the toy itself. Experiment with light and shadow to evoke emotions and transport viewers back to their cherished memories. Your creativity knows no bounds.


