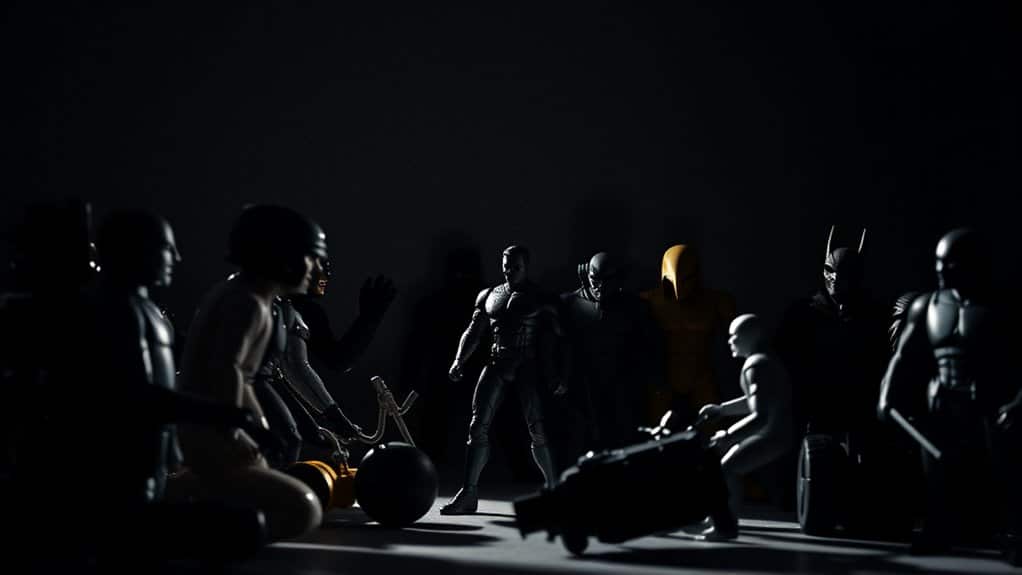
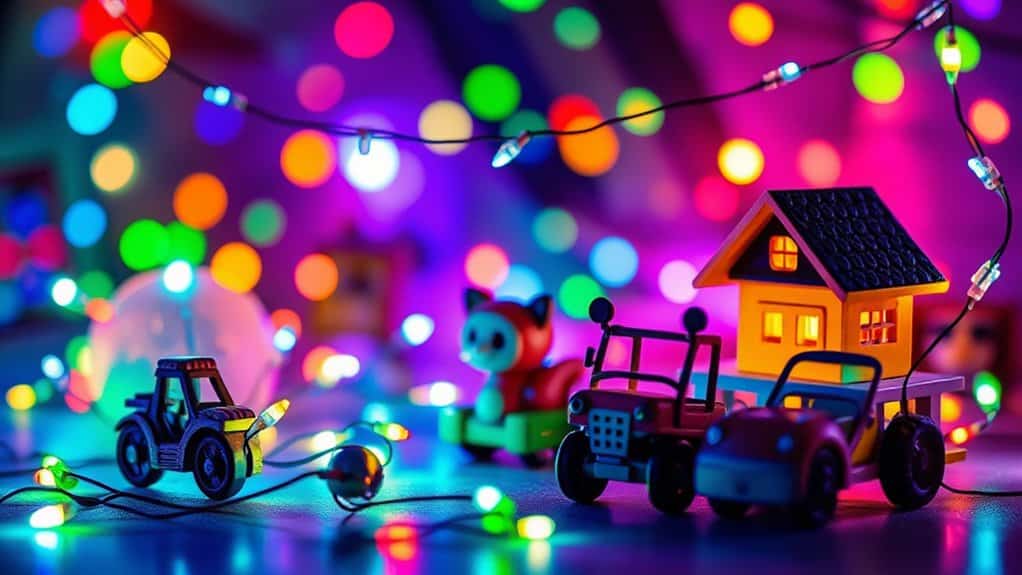
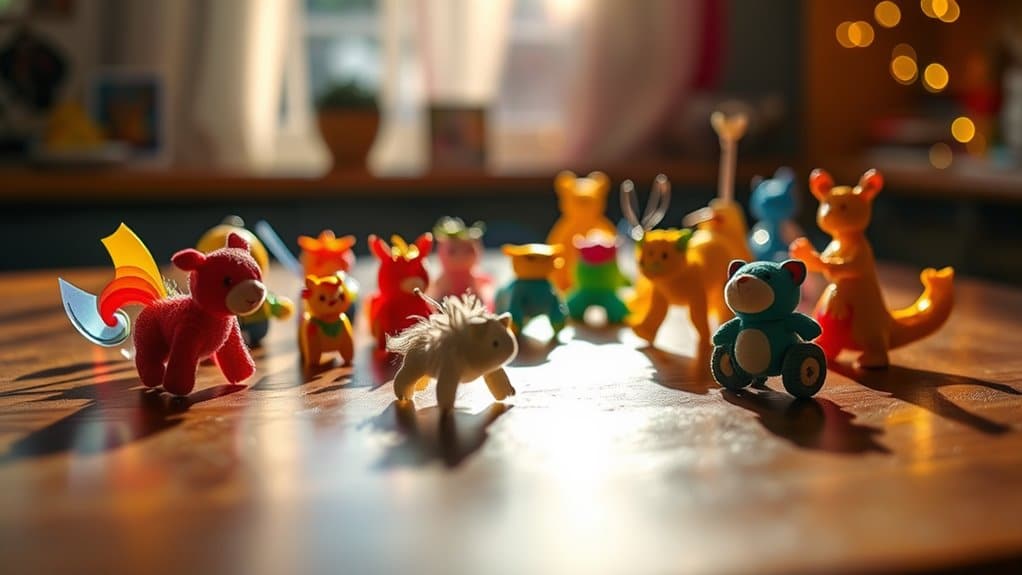
Illuminate your toy photography by harnessing natural light, especially during the golden hours. Use reflectors like white foam boards to enhance toy details and add depth with shadows by positioning light sources strategically. Experiment with LEDs and off-camera flash for dynamic effects, while colored gels can introduce unique tones. Use backlighting to highlight silhouettes and light tents for even illumination. Immerse yourself in creative lighting, and you'll uncover these techniques in greater detail.
Mastering Natural Light for Toy Photography
How can you elevate your toy photography with the magic of natural light? Start by selecting the ideal time of day. Early morning and late afternoon, known as the golden hours, provide soft, warm light that adds depth and warmth to your photos. Position your toys near a window or outdoors to make the most of this natural illumination. Observe how shadows fall and adjust your angle to create dynamic compositions. Experiment with backlighting to highlight outlines and textures, giving your toys a magical glow. Don't hesitate to move around and find the best light direction. Embrace cloudy days too, as they offer diffused lighting that reduces harsh shadows. With practice, you'll capture stunning, naturally-lit toy scenes.
Utilizing Reflectors to Enhance Toy Details
Building on the enchanting qualities of natural light, you can further enhance toy details by introducing reflectors into your photography setup. Reflectors help bounce light onto specific areas, highlighting intricate features and adding depth to your images. You can use simple materials like white foam boards or aluminum foil as makeshift reflectors. Experiment by placing them at various angles to see how they affect the toy's appearance. Notice how the light fills in shadows and accentuates textures, giving the toys a more lifelike and engaging presence. Adjust the reflector's position to control the intensity and direction of the light. This technique lets you manipulate the overall mood and focus, making your toy photographs pop with detail and vibrancy.
Creating Dramatic Shadows With Off-Camera Flash

To create dramatic shadows with off-camera flash, start by positioning the flash at an angle that emphasizes your subject's contours. You can modify the flash's light using diffusers or grids to control shadow softness and direction. Experiment with different angles and modifiers to achieve the desired mood and impact.
Positioning for Optimal Shadows
Achieving ideal shadows in your photography can dramatically transform the mood and depth of an image, particularly when using off-camera flash. Start by positioning the flash at a 45-degree angle to your subject. This angle creates dynamic, longer shadows that add interest and dimension. Experiment with different heights; placing the flash above eye level can mimic natural sunlight, casting more natural shadows.
Modifying Flash Light
While mastering the art of off-camera flash, modifying the light is key to creating dramatic shadows that can elevate your photography. By shaping light, you highlight textures and add depth to your toy photos. Here's how you can do it:
- Use a Softbox: Diffuse harsh light to soften shadows and create a gentle shift between light and dark areas. This adds a professional touch.
- Employ a Grid: Focus the flash to control light spill, directing it exactly where you want and preventing unwanted highlights.
- Try Gels: Add color to your scene. Transform a simple flash into a burst of creativity with vibrant hues.
- Bounce Light: Reflect light off walls or ceilings to fill in shadows and provide a natural, even illumination.
Experimenting With Colored Gels for Unique Effects
Ever wondered how photographers create those mesmerizing, colorful effects in their images? They often use colored gels, and you can too! By placing these translucent films over your light source, you transform ordinary lighting into vibrant hues. Start by selecting a few gels in colors that complement your toy's theme or mood. Attach them securely to your light source, ensuring they cover it completely. Experiment by mixing different gels or layering them for unique shades and effects. Adjust the intensity of the light to see how it interacts with the colors. Move your light around the toy to explore how shadows and highlights change. This playful approach lets you craft stunning, mood-rich photos, showcasing your toys in a new, exciting light.
Crafting Miniature LED Setups for Toys

After exploring the vibrant world of colored gels, let's illuminate your toys with a different approach: miniature LED setups. Imagine tiny lights bringing your models to life, adding depth and intrigue. You can easily craft these setups to create dynamic displays. Here's how you can start:
- Select the Right LED: Choose LEDs that fit your toy's scale. Go for subtle whites or vibrant colors depending on the effect you want.
- Power Source: Opt for coin cell batteries for portability and ease. They're small and fit discreetly within or underneath toys.
- Placement: Position LEDs thoughtfully. Highlight unique features or create a sense of motion.
- Diffusion: Use thin paper or plastic to diffuse the light, softening harsh glows.
These steps will transform your toys into enchanting illuminated pieces.
Backlighting Techniques to Highlight Silhouettes
Backlighting can dramatically enhance the silhouette of your subjects, creating a striking visual effect. When you position a light source behind your toy, it casts shadows towards the viewer, emphasizing its shape and contours. To achieve this, place the light directly behind your toy, keeping it out of direct view to avoid glare. Adjust the distance and intensity to control shadow crispness. For a more dramatic silhouette, use a brighter light and a darker background. Experiment with different angles and positions to find the most compelling silhouette. You can use small LED panels or even a flashlight to achieve this effect. Remember, the key is to highlight the outline, allowing the toy's unique form to stand out beautifully.
Using Light Tents for Even Illumination
A light tent is a fantastic tool for achieving even illumination in your photography, especially when photographing small subjects like toys. You'll find it's perfect for minimizing shadows and creating a soft, diffused light. To use it effectively, follow these steps:
- Set Up: Place your light tent on a stable surface. Ascertain your background is clean and free of wrinkles for a seamless look.
- Position Lights: Use two or more external lights. Position them on both sides of the tent to ascertain even light distribution.
- Adjust the Subject: Place your toy inside the light tent. Adjust its position until you're satisfied with the angle and composition.
- Capture the Shot: Use a tripod for stability. Fine-tune your camera settings for sharp, well-lit images.
Incorporating Practical Lights for Realistic Scenes
When you're aiming for realism in your scenes, start by choosing light sources that naturally fit the environment, like lamps or streetlights. These practical lights not only provide authenticity but also help you enhance depth by casting natural shadows. Embrace these elements to create a scene that's both visually compelling and believable.
Choosing Appropriate Light Sources
How does one infuse a scene with authenticity and depth? It all starts with choosing the right light sources. You want to aim for lighting that mirrors the real world, making scenes believable and engaging. Consider these options:
- Lamps: Small table lamps or floor lamps can add a cozy, intimate feel to any setting. Use them to create a warm, inviting atmosphere.
- Fairy Lights: Ideal for whimsical or magical themes, these tiny bulbs can drape around objects, adding sparkle and charm.
- Candles: Perfect for romantic or eerie scenes, candlelight introduces a flickering, soft glow that enhances mood.
- Sunlight: Harness natural light for a fresh, dynamic look. Position toys near windows to capture the sun's changing angles.
Choosing the right light transforms your scenes dramatically!
Enhancing Depth With Shadows
After selecting the right light sources, it's time to shape your scene with shadows, adding depth and realism. Position your lights strategically to cast natural shadows, enhancing the three-dimensional illusion. Use smaller, focused lights to create sharp shadows, emphasizing details and contours of your toys. For softer shadows, diffuse the light with materials like parchment paper or fabric, creating a gentler shift between light and dark.
Experiment with different angles and distances to find what works best for your scene. Shadows can guide the viewer's eye, highlighting specific areas or creating a mood. Incorporating practical lights, like desk lamps or LEDs, can offer more control and flexibility. Remember, the key is balance—too much shadow can overwhelm, while too little may flatten the scene.
Frequently Asked Questions
How Do I Choose the Right Camera Settings for Toy Photography?
You should start by setting your camera to a low ISO to avoid grain in detailed shots. Use a wide aperture for blurred backgrounds and adjust the shutter speed to achieve the desired lighting effect for your toy photography.
What Are the Best Toys for Experimenting With Lighting Techniques?
Imagine capturing unexpected beauty. You should try using action figures with dynamic poses, translucent LEGO blocks, or intricate dolls. These toys offer endless possibilities, letting you play with shadows, reflections, and highlights to create stunning visual effects.
How Can I Prevent Glare When Photographing Shiny Toy Surfaces?
To prevent glare when photographing shiny toy surfaces, adjust your lighting angle and use diffusers. Try positioning lights at a 45-degree angle. Use a polarizing filter on your lens to minimize reflections and enhance the toy's details.
What Post-Processing Techniques Enhance Lighting Effects in Toy Photos?
You might think post-processing is too complex, but it's not. Use software like Lightroom to adjust highlights and shadows, boost contrast, and apply selective dodging and burning. This will enhance lighting effects and make your toy photos pop.
How Do I Manage Power Sources for LED Setups in Toy Scenes?
You're managing power sources for LED setups by choosing rechargeable batteries or USB power options. Keep cables organized and use power strips to prevent clutter. Make certain you have backups for long shoots to avoid interruptions.
At a Glance
You've now opened up the universe of toy photography lighting, where your creativity knows no bounds. With techniques like harnessing natural light and crafting miniature LED setups, you're not just capturing toys; you're breathing life into them. Your newfound skills with reflectors and dramatic shadows will transform simple scenes into epic tales. So go forth and illuminate your tiny worlds—your camera is now a wand, capable of casting the most magical light on your creations.


