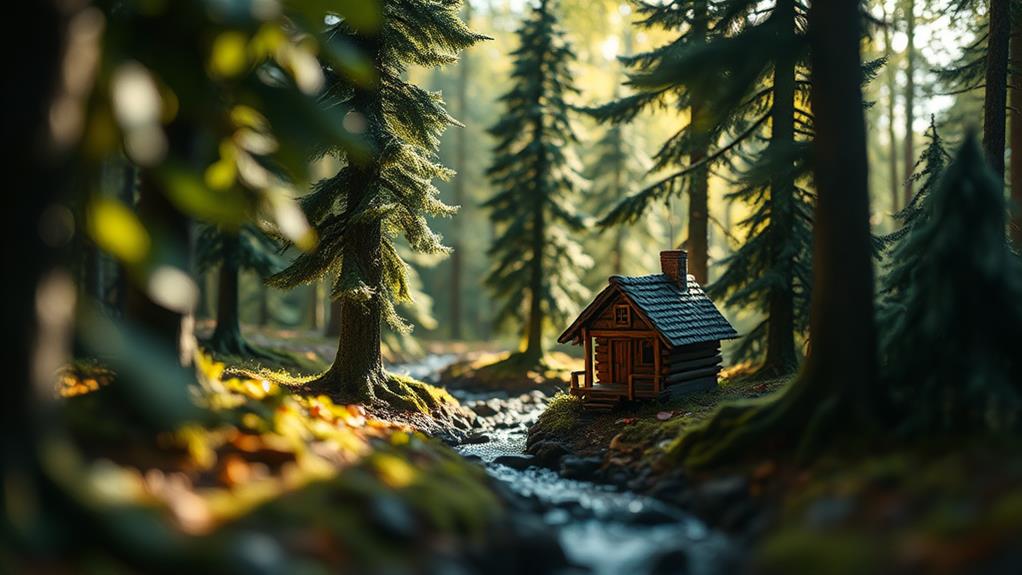
To achieve realistic depth in miniature photography, start by manipulating scale to create life-sized illusions. Use wider apertures to blur backgrounds, making your subjects pop. Choose figurines and props that maintain consistent scale and detail to enhance visual storytelling. Pay attention to your composition, using leading lines to guide the viewer's eye and create a layered, three-dimensional effect. Experiment with camera angles to add drama, and use natural lighting to seamlessly blend background and foreground elements. Shadows and perspectives can further enhance depth perception. Mastering these techniques will transform your miniature scenes into enchanting visual narratives. Discover more techniques to elevate your photography.
Understanding Scale and Depth
When it comes to capturing the essence of miniature photography, understanding scale and depth is essential. You need to create an illusion that draws viewers into a world where small objects appear life-sized. Start by mastering the concept of scale, which involves manipulating the size relationship between different elements in your frame. You can achieve this by carefully composing your shot, ensuring that the miniature subject contrasts effectively with its surroundings.
Depth, on the other hand, adds layers to your image, making it appear three-dimensional. To enhance depth, play with the aperture settings on your camera. A wider aperture creates a shallow depth of field, blurring the background and emphasizing your subject. This technique can make your miniature appear larger and more prominent. Also, consider using leading lines in your composition to guide the viewer's eye across the image, adding a sense of perspective.
Lighting plays a significant role in both scale and depth. Use shadows strategically to accentuate textures and contours, giving your miniature a more realistic look. By mastering these techniques, you’ll transform simple miniatures into fascinating scenes that tell a story. Additionally, incorporating highlights can further enhance the three-dimensional feel of your miniatures, drawing the viewer’s eye to focal points. The careful placement of light and dark areas can create an illusion of scale that helps make miniatures look lifesized, allowing them to engage viewers on a deeper level. Experimenting with different light sources and intensities will enable you to discover unique ways to bring your miniature scenes to life.
Choosing the Right Figurines
Selecting the perfect figurines is essential in miniature photography as they become the focal point of your scene. The right figurines add personality and story to your photographs, drawing viewers into the tiny world you've created. Consider scale, detail, and theme when choosing figurines to guarantee they complement your overall composition. Figurines should match the scale of your environment to maintain realism. A 1:12 scale is common, but guarantee consistency throughout your scene.
When considering detail, opt for figurines with defined features and textures. These details will stand out in close-up shots, enhancing the depth and realism of your scene. Thematic choices also matter. Your figurines should fit the narrative you're trying to convey, whether whimsical, historical, or contemporary.
Here's a simple table to guide your selection:
| Criteria | Importance | Tips for Selection |
|---|---|---|
| Scale | Guarantees realism | Match with other scene elements |
| Detail | Enhances visual appeal | Look for intricate features |
| Theme | Supports story narrative | Align with the overall scene's concept |
Choosing your figurines wisely sets the stage for a compelling and immersive miniature photograph, inviting viewers to explore every detail.
Background and Foreground Elements
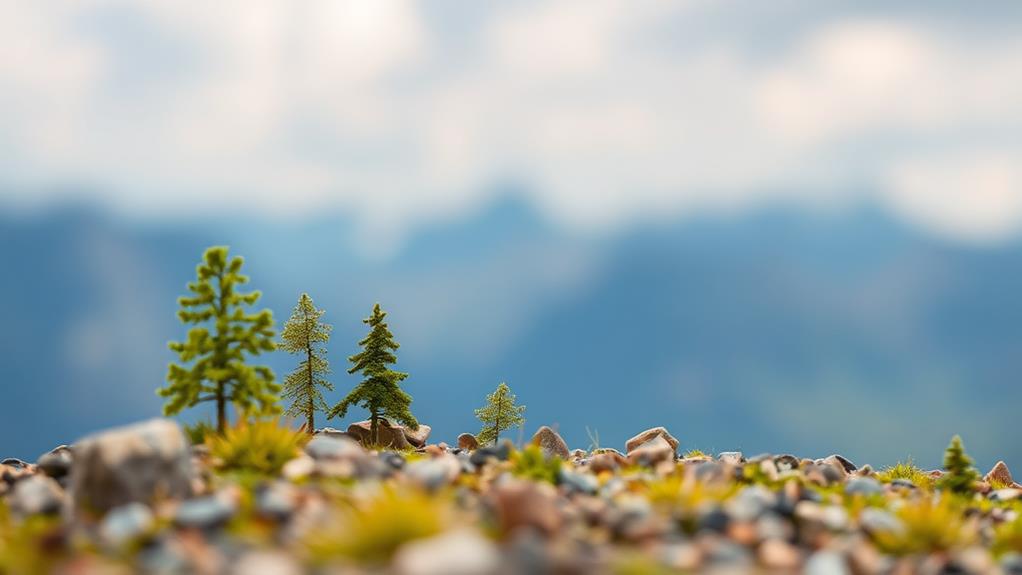
After choosing the right figurines, it's crucial to focus on the background and foreground elements that will complete your miniature photography scene. Start by selecting a background that complements your figurines, enhancing the story you're trying to tell. Consider using textured surfaces like rocks, sand, or grass to add realism and depth. A printed backdrop can also work wonders—choose a design that matches your theme, whether it's a cityscape or a serene forest.
Incorporating foreground elements is just as important. These elements guide the viewer's eye into the scene, creating a sense of depth. Small stones, twigs, or even bits of moss can serve as effective foreground pieces. Make sure they're proportionate to your figurines to maintain the illusion of scale.
Lighting plays a crucial role in tying these elements together. Use natural light when possible, positioning it to cast shadows that create depth. This helps blend the layers of your scene seamlessly. Experiment with different angles and intensities to see how they affect your composition. By carefully balancing your background and foreground, you'll craft a scene that draws viewers in and makes your miniature world feel expansive and lifelike.
Mastering Depth of Field
To truly elevate your miniature photography, mastering depth of field is essential. Depth of field (DoF) controls the sharpness of your image both in front and behind the subject, creating that sought-after blurred background effect known as bokeh. By adjusting the aperture setting on your camera, you can manipulate the DoF to highlight your miniature subjects effectively.
Start by setting your camera to aperture priority mode, often marked as "A" or "Av." This mode lets you control the aperture while the camera handles other settings. A larger aperture (represented by a smaller f-number like f/2.8) results in a shallower depth of field, perfect for focusing attention on your miniature while blurring the background. Conversely, a smaller aperture (larger f-number like f/16) increases the depth of field, keeping more of the scene in focus.
Consider your shooting distance and focal length as well. Moving closer to your subject or using a longer lens can naturally reduce DoF. Practice experimenting with different combinations to see how they affect your image. Don't forget to use a tripod for stability, especially when working with slower shutter speeds due to smaller apertures.
Camera Angles and Positioning
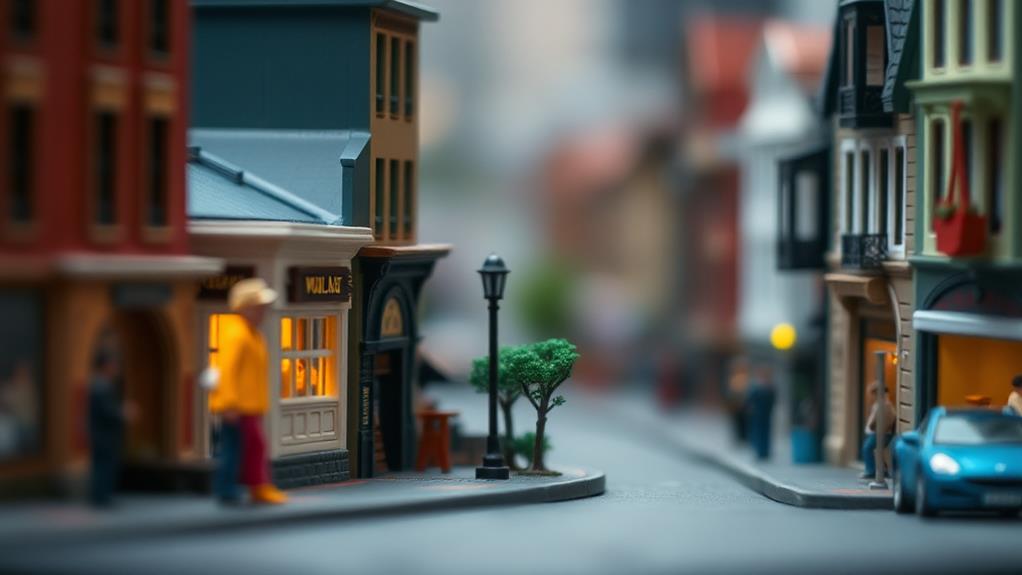
One of the most powerful tools in your miniature photography arsenal is the camera angle you choose. By adjusting your camera's position, you can transform a simple scene into a engaging image that draws viewers in. Low angles can create a sense of grandeur, making your miniatures appear larger than life. Positioning your camera at eye level with your subjects often results in a more engaging and immersive experience, as it mimics how you'd view real-life scenes.
Think about the story you want to tell. For example, a high angle might evoke vulnerability or provide a thorough view of a small world. Experiment with different angles to see how they change the narrative and feel of your photograph. Remember, the goal is to create a sense of depth and realism.
Don't be afraid to move around. Sometimes, the best angle is found by getting closer or stepping back. Changing your camera's elevation or distance can add layers to your composition. Use your environment creatively; shooting through leaves or other objects can add a foreground element that enhances depth. Through thoughtful positioning, you'll make your miniature scenes come alive.
Lighting for Realism
While camera angles set the stage for your miniature scenes, lighting becomes the brush that paints them with realism. It's crucial to use lighting to mimic the natural light sources that would illuminate a full-sized scene. Start by choosing a light source that matches your scene's narrative. For instance, a warm, soft light mimics the sun and adds a comforting glow, while a cooler, harsher light can create a dramatic effect, like moonlight or streetlights.
Position your lights to create depth and dimension. Play with shadows to add visual interest and highlight details. Direct lighting can be intense, so consider diffusing it with materials like tracing paper or a softbox to soften shadows and create a more natural look. This helps to avoid harsh contrasts and keeps the scene balanced.
Don't forget to adjust the intensity of your light. Too bright, and you lose detail; too dim, and the scene lacks clarity. You might need to experiment with different light angles, intensities, and colors to achieve the desired effect. Remember, the goal is to make your viewers feel like they're looking at life-sized scenes, not miniatures.
Utilizing Props Effectively
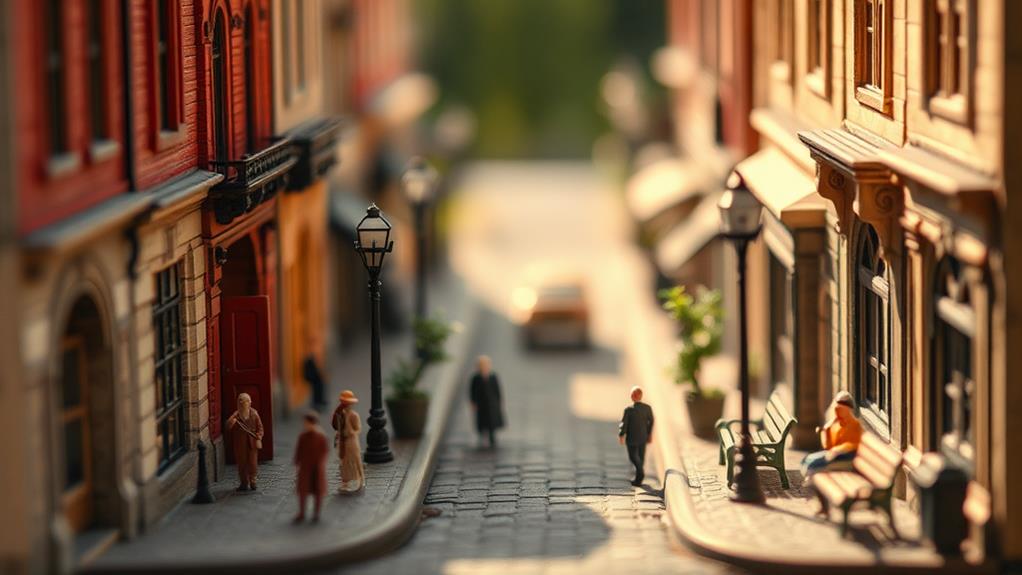
Props play a pivotal role in bringing your miniature scenes to life. They provide context, helping viewers understand the story you're trying to tell. When selecting props, choose items that match the scale and theme of your scene. A tiny table in proportion to the miniature figures will create a more believable environment.
Don't limit yourself to traditional props. Everyday objects like bottle caps or buttons can transform into barrels or wheels with a little creativity. Keep an eye out for materials with textures that mimic real-world surfaces; sandpaper can simulate rough roads, while a piece of fabric might resemble a grassy field.
Placement is essential. Arrange props to guide the viewer's eye and add layers to your composition. Position larger items in the foreground to create a sense of depth, and make sure smaller items are further back. This technique helps establish a natural perspective and enhances the overall realism of your photograph.
Experimenting with different props and arrangements will allow you to find unique combinations that enhance your scene. Ultimately, your choice of props will make your miniature world feel immersive and engaging, inviting viewers to explore every tiny detail.
Creating Illusions With Shadows
As you select and arrange props to craft your miniature scene, harnessing the power of shadows can dramatically enhance the depth and realism of your composition. Shadows are more than just dark areas; they're storytellers that can bring your miniature world to life. By strategically placing light sources and objects, you can create a sense of scale and depth that tricks the viewer's eye. Here's how you can evoke emotion and create illusions with shadows:
- Mystery: Use long, stretching shadows to add an element of mystery. This can make simple scenes appear intriguing and invite viewers to explore further.
- Drama: Intensify the scene with bold, contrasting shadows. This can emphasize the miniature's features and create a dramatic atmosphere that captivates the audience.
- Nostalgia: Soft, diffused shadows can evoke feelings of warmth and nostalgia. Position your light source to mimic the gentle glow of a setting sun for a timeless effect.
- Depth: Layer shadows to simulate depth. Place objects at varying distances from the light to create overlapping shadows, adding a three-dimensional feel to your scene.
With these techniques, shadows become powerful tools to transform your miniature photography.
Post-Processing Tips
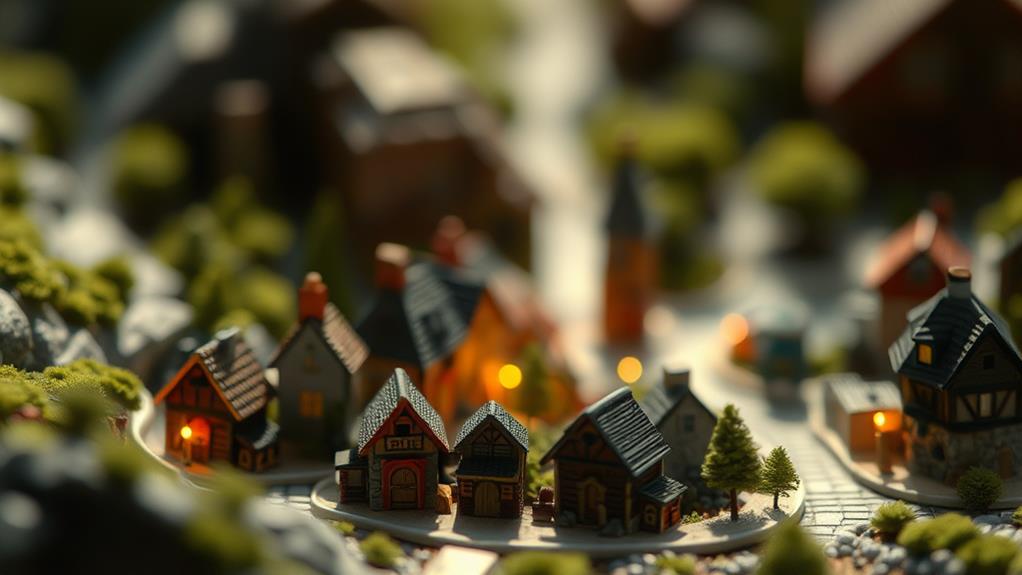
Post-processing is an essential step in elevating your miniature photography from good to great. It's where you can fine-tune details, enhance colors, and make certain the depth appears as realistic as possible. Start by adjusting the contrast to bring out details in your scene. A well-balanced contrast can create a more three-dimensional look, making your miniatures pop.
Next, focus on sharpening. Miniature photos often lack the sharpness found in larger-scale images, so use sharpening tools to highlight intricate details without going overboard. Be cautious, though—too much sharpening can create an unnatural appearance.
Consider using the blur tool to selectively soften areas in the background, enhancing the depth of field. This technique draws the viewer's eye to the focal point, simulating a more natural depth perception.
Don't neglect color grading. Subtle tweaks in saturation and hue can drastically change the mood of your image, making it more lifelike. Pay attention to the lighting and shadow adjustments as well, making sure they enhance rather than detract from the realistic effect.
Experimenting With Perspectives
Exploring different perspectives can dramatically transform your miniature photography, offering fresh and enchanting views of your subjects. By shifting angles, you breathe life into your miniatures, capturing unique scenes that tell a story. Don't hesitate to kneel, lie down, or climb higher to discover new ways of seeing. These small actions can make a big difference, allowing your audience to connect emotionally with the tiny world you've created.
To truly captivate your viewers, consider the following:
- Low Angles: By shooting from below, you make your miniatures appear grand and imposing. This perspective highlights details that might otherwise remain unnoticed, creating a sense of wonder.
- High Angles: Looking down can evoke a sense of vulnerability or dominance, depending on your subject. It can also provide a bird's-eye view, showcasing the entire scene.
- Eye Level: Meeting your subject at eye level can create an intimate connection, fostering empathy and a deeper emotional response.
- Tilted Frames: Tilting your camera adds dynamic tension and energy, drawing the viewer into the action and making them feel part of the scene.
Experiment with these perspectives and watch your miniature worlds come alive with depth and emotion.
Frequently Asked Questions
How Do I Maintain Consistency in Color Tones for Miniature Scenes?
To maintain color consistency, adjust your camera's white balance settings to match ambient lighting. Use a color checker for reference, ensuring uniformity. Edit in post-processing software to fine-tune tones. Consistent lighting conditions greatly help achieve desired results.
What Are Common Mistakes to Avoid in Miniature Photography?
Ironically, you might think overexposing shots or ignoring backgrounds enhances your art. Yet, these mistakes turn masterpieces into mediocre attempts. Guarantee stable lighting, avoid clutter, and use proper focus to elevate your miniature photography to impressive heights.
How Can I Protect My Miniatures During a Photoshoot?
Guarantee your miniatures' safety by setting them on a stable surface, using gentle clamps or supports, and keeping liquids and heavy equipment away. Handle them with clean hands or gloves to prevent damage or stains during your photoshoot.
What Budget-Friendly Tools Can Enhance Depth in Miniature Photography?
You can use inexpensive tools like LED lights, colored paper for backdrops, and magnifying glasses to enhance depth. Experiment with angles and distances. It's amazing how small changes can make your miniatures pop with realism.
How Do I Choose the Best Location for Shooting Miniature Scenes?
Choose a location with natural light and diverse textures. Avoid cluttered backgrounds that distract. Experiment with angles to enhance depth. Consider the story you want to tell and if the location complements your miniature scene's narrative.
At a Glance
You've got all the tools to achieve realistic depth in miniature photography. Don't worry if it seems overwhelming at first; practice makes perfect. By carefully choosing figurines, mastering depth of field, and playing with camera angles, you'll create stunning scenes. Remember, shadows and props are your friends, adding layers and realism. Post-processing will polish your work, so don't skip it. Immerse yourself, experiment with perspectives, and enjoy the process—your creativity will bring your tiny worlds to life!

