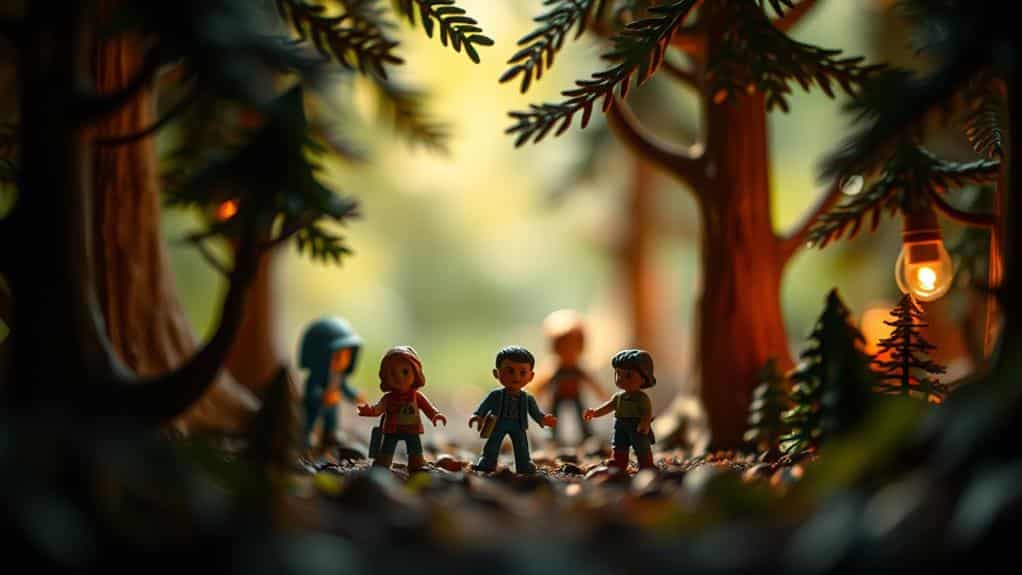
To add depth to your toy photography, start with natural light for its soft illumination, especially near windows. Experiment with shadows by adjusting the light source for dramatic effects. Use backlighting for striking silhouettes and reflectors to fill in shadows, maintaining detail. Add diffused lighting with softboxes for a natural look. Layer multiple light sources to tell a story, manipulating angles to create texture and balance. Introduce ambient light to soften the scene. Incorporate spotlights and colored gels for drama and mood. Utilizing these techniques will enhance your ability to create enchanting and intricate toy photography setups. Keep exploring for more. To further elevate your toy photography, pay attention to composition and focus. Experiment with depth of field in photography to isolate your subject and blur the background, drawing attention to intricate details. Combining these techniques with thoughtful framing will ensure your scenes captivate and resonate with viewers.
Use Natural Light
Natural light is one of the best tools for toy photography because it provides a soft, even illumination that enhances detail and color. When you use natural light, your toy photos capture the essence and vibrancy of the toys, allowing their features to shine. Position your setup near a large window or an outdoor area to take full advantage of this light source. Morning and late afternoon are ideal times, as the sunlight is diffused and gentle, minimizing harsh shadows and glare.
To maximize the effect of natural light, consider the angle at which it hits your subject. You can move the toy or adjust your camera angle to emphasize different elements. Don't hesitate to experiment with different times of day to see how the changing light affects your photos. If you're shooting indoors, use sheer curtains to filter the light, creating a more controlled and softer environment.
Remember to turn off any artificial lights, as they can clash with the natural light and alter the colors in your photos. By embracing natural light, you're setting the stage for vivid and true-to-life toy photography.
Experiment With Shadows
To add depth and drama to your toy photography, experiment with shadows. Shadows can transform a simple scene into a compelling narrative, adding layers of mystery and intrigue. Start by choosing a light source—whether it's natural sunlight or a lamp—and observe how it interacts with your toys. Adjust the angle and distance to create different shadow effects. These variations can emphasize textures, forms, and even emotions within your scene.
Here are some ideas to get you started:
- Position Your Light Source: Move the light around to cast long, dramatic shadows or short, subtle ones.
- Use Props: Place objects between the light and your toy to create unique shadow patterns.
- Play with Angles: Tilt your light source slightly to see how it changes shadow shapes and sizes.
- Create Silhouettes: Use shadows to outline your toy's shape for a striking silhouette effect.
- Layer Shadows: Introduce multiple light sources to create overlapping shadows for added complexity.
Experimenting with shadows is an art that requires patience and creativity. Take your time to explore different setups and discover how shadows can enhance your toy photography, creating depth and a sense of wonder in every shot.
Play With Backlighting
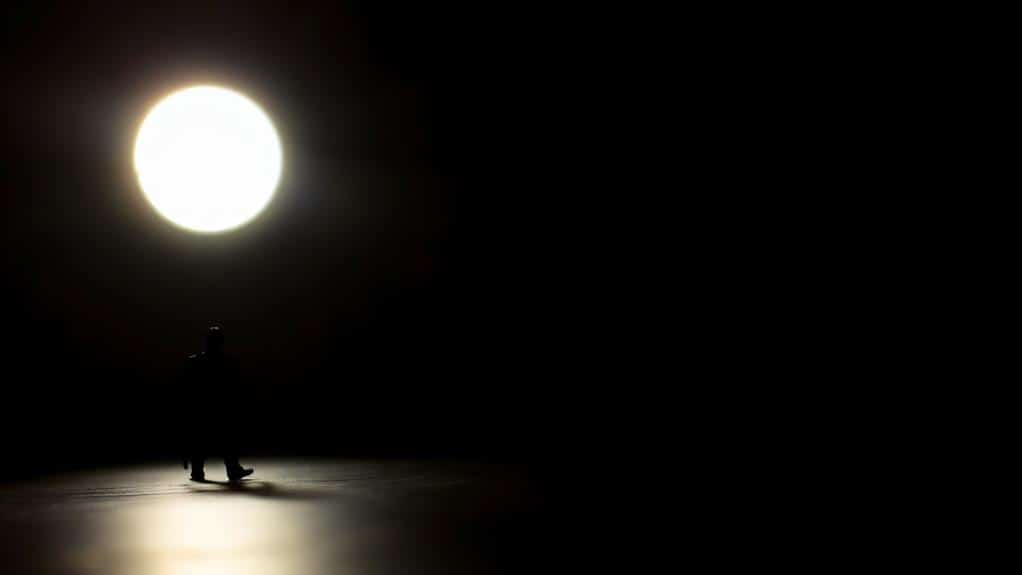
Building on the enchanting effects of shadows, backlighting offers another exciting dimension to your toy photography. By positioning your light source behind the toy, you create a striking silhouette that highlights the toy's outline while adding a sense of depth and intrigue. This technique can transform an ordinary scene into something dramatic and mysterious, drawing viewers in with the contrast between light and dark.
To start, choose a simple light source like a lamp or even natural sunlight streaming through a window. Place your toy between the light source and your camera. Experiment with angles and distances to discover how different positions affect the mood and composition. A lower light angle can cast long, dramatic shadows, while a higher angle might soften the silhouette.
Keep an eye on your exposure settings, as backlighting can sometimes lead to overexposed highlights or underexposed subjects. Adjust your camera settings or use manual mode to maintain the desired balance. You might also try using a translucent surface like frosted glass or thin fabric to diffuse the light, creating a softer and more even backlight.
Backlighting not only defines shapes but also enhances the storytelling aspect of your toy photography.
Utilize Reflectors
Reflectors can bring a touch of brilliance to your toy photography by bouncing light onto your subject and filling in shadows. They're an essential tool for enhancing the depth and dimension of your shots. When you're working with small subjects like toys, controlling the lighting can make all the difference. Reflectors help you achieve that control without needing complex setups.
Here's why you should use reflectors:
- Fill Shadows: Reflectors help lighten shadows, ensuring details aren't lost in darkness.
- Add Contrast: By bouncing light, they can add subtle contrast, making colors pop.
- Direct Light: They allow you to direct light precisely where you want it, highlighting important features.
- Portable: Most reflectors are lightweight and easy to carry, perfect for on-the-go shooting.
- Budget-Friendly: You don't need expensive gear; even a piece of white cardboard can work wonders.
To use a reflector, position it opposite your main light source. Adjust it to catch and redirect the light onto your toy. Experiment with different angles to see how the light changes the mood and depth. Remember, the key is subtlety; even a small adjustment can have a significant impact.
Add Diffused Lighting
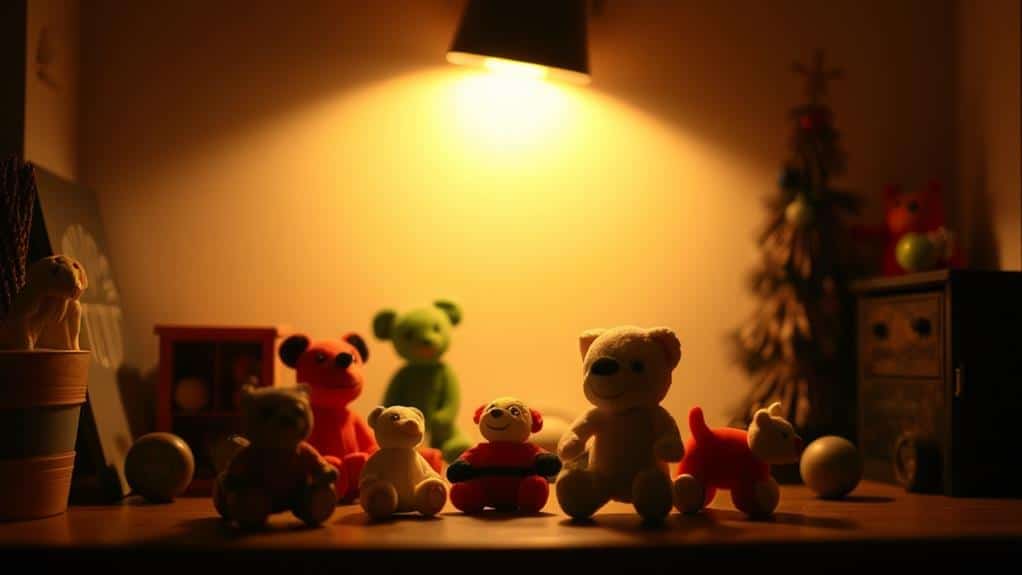
While reflectors enhance your toy photography by controlling light direction, adding diffused lighting can create softer, more natural-looking images. Diffused lighting scatters light, reducing harsh shadows and giving your toys a gentle glow. You can achieve this effect by placing a translucent material like a softbox, diffuser panel, or even a plain white sheet between your light source and the subject. This setup spreads the light evenly, making your toy appear more three-dimensional and less flat.
To start, position your light source at a slight angle to your toy. This technique will help define the toy's features and add depth without casting sharp shadows. If you're shooting indoors, utilize natural light from a window, softened with a sheer curtain. For artificial lights, invest in a softbox or use DIY solutions like parchment paper. Remember, the goal is to mimic natural light's subtlety.
Experiment with different diffuser materials and distances to find the right balance for your scene. By mastering diffused lighting, you'll notice an immediate improvement in your images, adding a professional touch to your toy photography and making your subjects stand out beautifully.
Explore Colored Gels
Colored gels can transform your toy photography by adding vibrant hues and creative flair to your images. They're a fantastic tool for setting the mood, highlighting certain features, or even creating an entirely new atmosphere. By placing gels over your light source, you can easily manipulate the color and intensity of the light, which can drastically enhance the depth and dimensions of your toy photos.
Here's how you can make the most out of colored gels:
- Choose the right color: Select gels that complement your subject. Warm colors like reds and oranges can evoke energy, while blues and greens may create a calming effect.
- Experiment with placement: Position gels at different angles to see how they change the lighting and shadows.
- Mix and match: Don't hesitate to layer different colored gels to achieve a unique look.
- Control light intensity: Adjust the strength of your lights to see how it affects the outcome when paired with colored gels.
- Use multiple light sources: Incorporate gels with different lights to illuminate your scene from various directions.
Create Light Layers
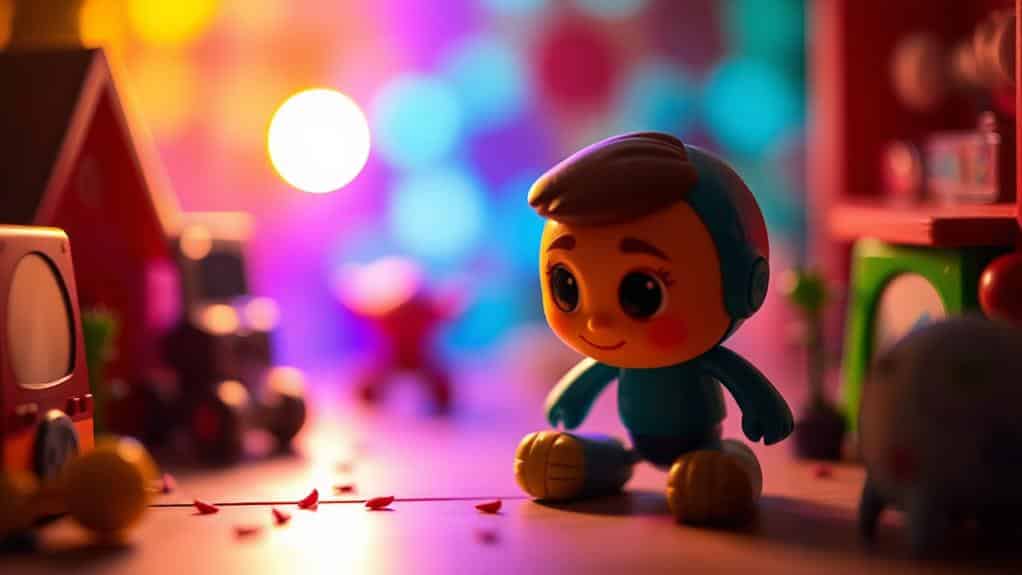
Layered lighting is a powerful technique that can bring your toy photography to life by adding depth and complexity. By strategically using multiple light sources, you can highlight different parts of your scene, creating a dynamic and engaging composition. Start by selecting a primary light source to act as your main illumination. This light will set the overall mood and direction of your image.
Next, introduce secondary lights to enhance specific details or areas of your toys. For instance, a backlight can create a striking silhouette or add a halo effect, while a side light can emphasize textures and contours. Make sure to adjust the intensity of each light to maintain balance and avoid overpowering your main source.
You can also experiment with fill lights to soften shadows and add subtle nuances to your scene. These can help bring out hidden details that might otherwise be lost in the dark. Remember, the key is to layer your lights thoughtfully. Each source should complement the others, contributing to the depth and storytelling of your image. By mastering layered lighting, you'll transform your toy photography into something truly enchanting and professional-looking.
Manipulate Light Angles
Angles can make or break your toy photography lighting setup. By manipulating light angles, you can create dramatic shadows, highlight textures, and add depth to your scene. Start by experimenting with different angles to see how shadows and highlights affect your subject. Don't be afraid to move your light source around until you find what works best for your composition.
Here are some tips to guide your exploration:
- Side Lighting: Position your light source to the side of your toy to create strong shadows and reveal texture.
- Backlighting: Place the light behind the subject for a silhouette effect or to highlight translucent elements.
- Top Lighting: Use overhead lighting to cast even shadows, ideal for flat-lay setups or to emphasize height.
- Low Angle Lighting: Point the light upwards from below to create an ominous or dramatic effect, perfect for creating tension.
- 45-Degree Angle: This angle is a classic choice that provides balanced lighting with gentle shadows.
Introduce Ambient Light
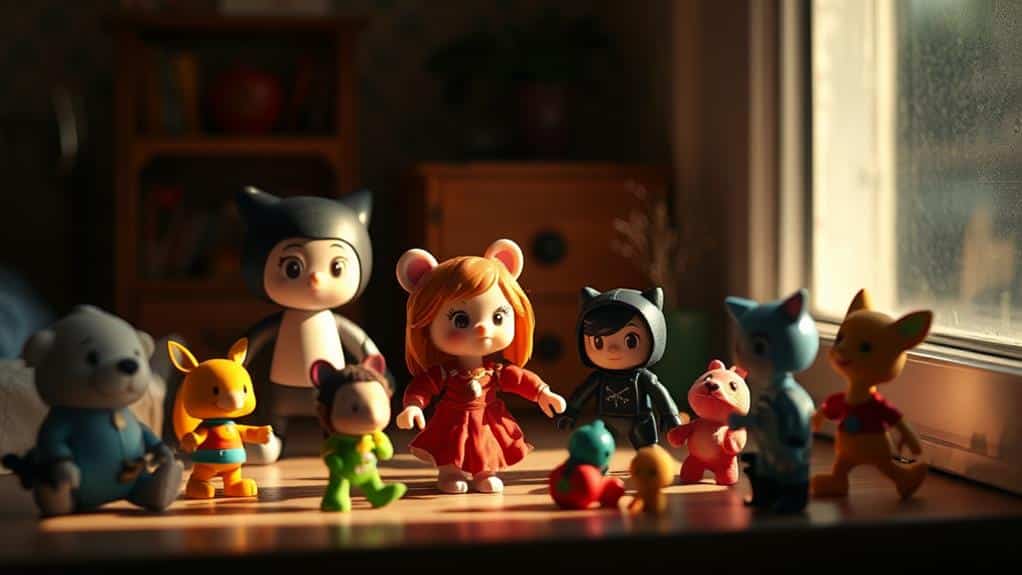
Adding ambient light to your toy photography can transform your scene by providing a natural and balanced illumination that complements your primary light source. This secondary light spreads evenly, reducing harsh shadows and creating a softer, more inviting atmosphere. Imagine how a diffused light on a cloudy day wraps around everything, adding warmth and depth to your image.
To effectively introduce ambient light, consider using a white reflector or a large diffuser. These tools scatter light, ensuring it fills the gaps and evens out the contrast without overpowering your main light source. You can also strategically bounce light off walls or ceilings to achieve a similar effect. This can be particularly useful indoors, where you have more control over your environment.
Another technique involves using natural light sources, like windows, to create ambient effects. Position your toys near a window for a gentle fill light that enhances features without creating stark lines. Remember, the goal of ambient light is subtlety; it should enhance, not dominate, your scene. By mastering ambient lighting, you'll bring more life and realism to your toy photography, helping your subjects stand out in a beautifully lit environment.
Incorporate Spotlights
While ambient light creates a soft and inviting atmosphere, spotlights can inject drama and focus into your toy photography. By directing a beam of light onto a specific part of your scene, you emphasize details that might otherwise go unnoticed. This technique helps you create a dynamic image with depth and interest. To get started, place a spotlight at a strategic angle to highlight your toy's best features or create a dramatic shadow effect.
Here are some practical tips on how to effectively use spotlights in your toy photography:
- Choose the right spotlight: A small LED light or a flashlight works well. Look for adjustable brightness settings.
- Experiment with angles: Try placing the light above, below, or to the side of your toy to see how shadows and highlights change.
- Use colored filters: Colored gels can transform the mood of your scene, adding an extra layer of creativity.
- Focus on details: Direct the light to accentuate textures, such as fabric or fur, to make them stand out.
- Combine with ambient light: Use spotlights in conjunction with ambient light to balance the scene's overall illumination.
Incorporating spotlights will elevate your toy photography, making your images more engaging and visually compelling.
Frequently Asked Questions
How Can I Use Fairy Lights to Enhance Toy Photography?
Use fairy lights to create a magical atmosphere in your toy photography. Wrap them around the scene or position them strategically to highlight key elements. Experiment with colors and intensity for dynamic, eye-catching effects in your shots.
What Are the Best Camera Settings for Low-Light Toy Photography?
You'll want to set your camera to a low ISO, around 100-400, and use a wide aperture like f/2.8. Adjust the shutter speed to capture enough light, typically between 1/60 to 1/125 seconds.
How Do I Prevent Glare on Shiny Toy Surfaces?
Did you know 90% of toy photographers struggle with glare? To prevent it, angle your light source or use a diffuser. Adjusting your camera's position helps too. Experiment with different setups until you achieve the perfect shot.
What Are Some Budget-Friendly Lighting Tools for Beginners?
You can start with affordable options like LED ring lights or clip-on lamps. Use household items like white paper or plastic to diffuse light. Consider using natural light strategically to enhance your shots without extra cost.
How Can I Achieve a Dramatic Effect With Minimal Lighting Equipment?
To achieve a dramatic effect with minimal lighting, position a single light source at an angle to create shadows. Use household items like a flashlight or desk lamp. Experiment with distances and angles for varied intensity and mood.
At a Glance
You've got the power to transform your toy photography from flat to fabulous by mastering these lighting tips. Remember, the magic lies in how you harness light's dance—shadows, reflections, and angles work together like a symphony. So, don't just capture a scene, create an experience. Experiment boldly, because with each click, you're not just photographing toys; you're crafting stories. Isn't it time your toys took center stage under your newfound lighting prowess?

