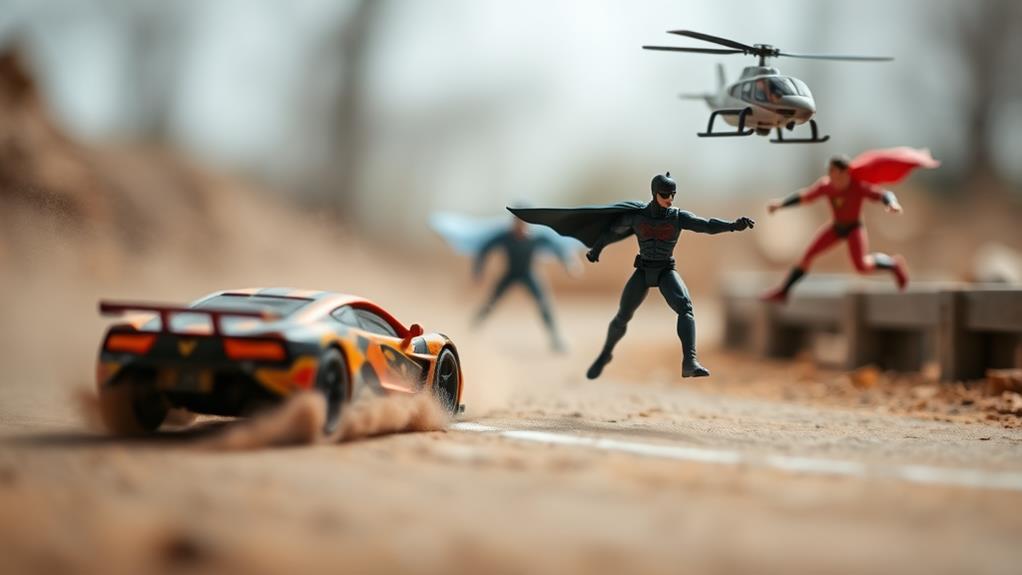
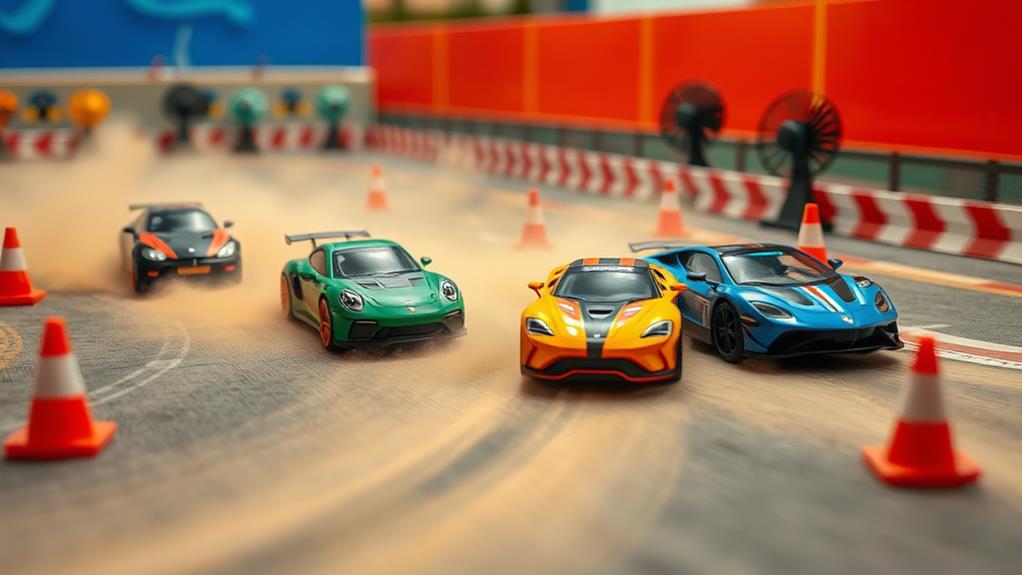
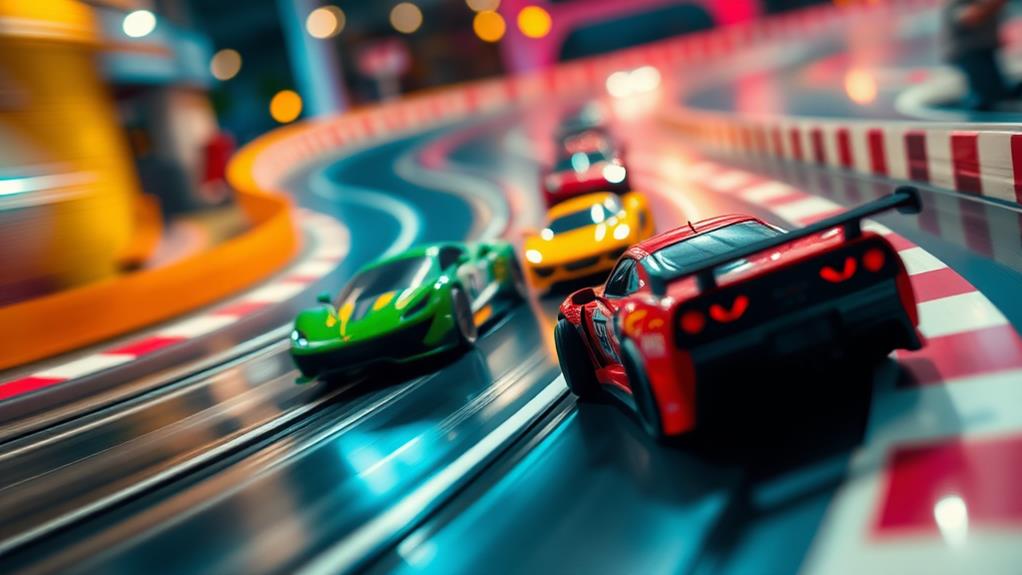
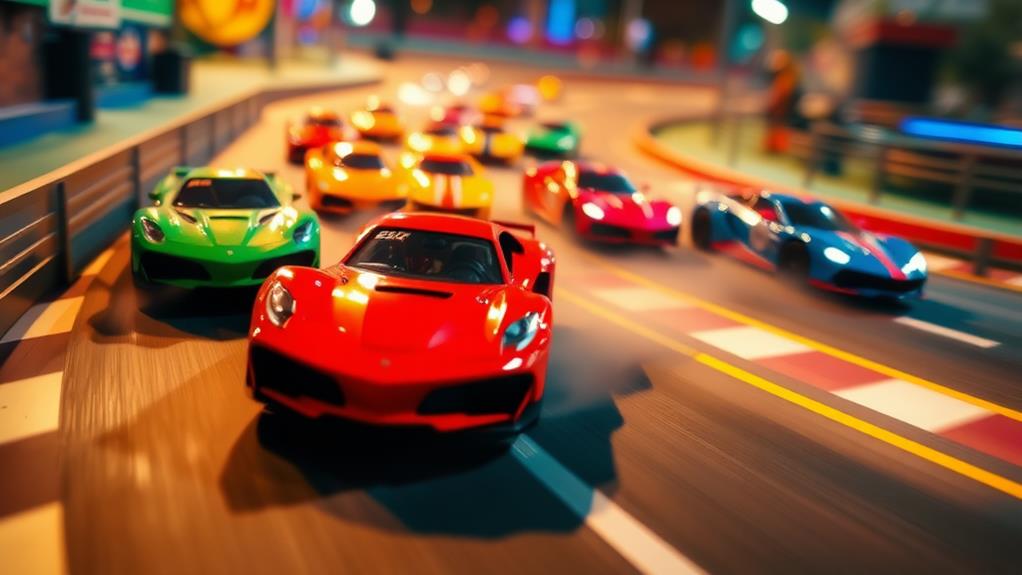
To capture motion in toy photography, start with action figures that have multiple articulation points for dynamic posing and good balance. Use slower shutter speeds to add motion blur, making scenes appear more realistic. Experiment with lighting techniques, like backlighting for silhouettes, to suggest movement. Choose a background that enhances your action narrative without being distracting. Play with camera angles, such as low angles to amplify scale or Dutch tilt for an off-balance effect. Incorporate props like capes or strings to simulate movement. Post-process carefully for sharpness and color grading. Exploring these methods opens a world of storytelling opportunities.
Choosing the Right Action Figures
Selecting the perfect action figures is vital when capturing motion in toy photography. You'll want to focus on figures that have multiple points of articulation. This flexibility allows you to pose them in dynamic ways, making it easier to convey movement. Check the joints and see how fluidly they move. A well-articulated figure can be positioned to replicate running, jumping, or fighting stances with ease.
Next, consider the figure's balance. It should be able to stand steadily on its own without additional support, which is important when you're trying to capture a mid-action shot. Figures with wider feet or a lower center of gravity tend to offer better stability, especially outdoors or on uneven surfaces.
Look at the character's features and attire. Bright colors and distinct detailing often stand out in photos, adding vibrancy and personality to your shots. Confirm the figure's clothing and accessories don't restrict movement or obscure articulation points.
Understanding Motion Dynamics
Capturing the essence of motion in toy photography requires a solid grasp of motion dynamics. You need to understand how movement flows and the visual impact it creates. When you photograph toys, you're translating their static form into dynamic narratives. This isn't just about positioning; it's about conveying energy and life.
Consider these motion dynamics essentials:
- Direction and Trajectory: Determine where the action is heading. Is your toy leaping forward, dodging sideways, or perhaps descending from above? This shapes your composition and tells a story.
- Speed and Blur: A touch of motion blur can add realism. Experiment with slower shutter speeds to simulate speed and movement, making your shots more compelling.
- Weight and Balance: Understand how toys interact with gravity. A figure mid-flight might have a different center of gravity than one standing firmly. This affects how you position and capture them.
- Tension and Release: Capture the moment before or after the peak action. The anticipation or aftermath can evoke more drama and engagement than the action itself.
Mastering motion dynamics elevates your toy photography, turning static figures into dynamic storytellers. Keep these concepts in mind to breathe life into your creations, illustrating movement with precision and flair.
Setting Up a Dynamic Scene

In order to create a dynamic scene in toy photography, start with a compelling background and setting that complement the action. Choose a backdrop that enhances the story you're trying to tell. If your toys are engaged in an epic battle, consider a rugged landscape or an urban setting. The background should not distract from the subjects but rather amplify the narrative.
Next, think about the props you'll use. These items should add depth and context to the scene. For example, if you're photographing a race, small rocks or leaves can simulate debris on a track. Make sure the props are proportionate to the toys to maintain realism.
Lighting is essential for a dynamic scene. Experiment with different sources of light to highlight movement and create shadows that add drama. Natural light can offer soft, diffused effects, while artificial light can be directed precisely for more intensity.
Mastering Camera Angles
Once you've set up a dynamic scene, the camera angles you choose will greatly impact the story you're telling. Choosing the right angle can emphasize action, highlight expressions, or create dramatic effects. You can make your toy photography come alive by experimenting with various perspectives. Different angles offer unique views and emotions, so don't hesitate to try new ones.
- Low Angle: This makes toys appear larger and more powerful, creating an epic feel. It's perfect for heroes or dramatic transformations.
- High Angle: Provides a bird's-eye view, making characters seem small and vulnerable. It's great for capturing a sense of scale or tension.
- Dutch Tilt: By tilting the camera, you introduce a dynamic, off-balance effect that heightens tension or excitement. Use it in action-packed scenes.
- Close-Up: Focus on details like facial expressions or intricate movements. This angle draws viewers into the moment, adding intimacy and intensity.
Consider how each angle changes the mood and focus of your photograph. Move around your scene, crouch, stand on something, or even lie down to find that perfect shot. By mastering camera angles, you can transform your toy photography into a mesmerizing visual story.
Utilizing Props for Movement

Props act as the unsung heroes in toy photography, breathing life and motion into your scenes. They're not just accessories; they're dynamic tools that can transform a static setup into an action-packed narrative. To effectively use props, start by selecting items that naturally suggest movement. Think of a cape billowing in the wind, a small fan creating gusts, or a splash of water adding a dramatic effect.
You can also use strings or wires to suspend toys mid-air, creating the illusion of jumping or flying. Position them carefully to keep the prop invisible or easy to edit out. Don't hesitate to experiment with household items: a hairdryer can simulate wind, while a piece of cardboard can act as a ramp for vehicles.
Consider the story you want to tell. Does your hero need a sword mid-swing, or does your race car require a plume of dust behind it? Props can enhance these stories, adding depth and excitement. By thoughtfully integrating these elements, you'll capture motion in a way that feels authentic and engaging. Remember, props are more than just additions—they're catalysts for creativity and energy in your toy photography.
Incorporating Background Elements
Capturing motion in toy photography isn't just about the foreground; background elements can play a pivotal role too. They add depth, context, and drama to your scene, enhancing the sense of motion you're aiming to capture. To effectively incorporate background elements, consider the following:
- Urban Settings: Use cityscapes or alleyways to suggest speed and movement. The blurred lines of buildings or streetlights create a dynamic backdrop.
- Natural Elements: Wind-blown trees or rushing water can convey a sense of movement and lend an organic feel to your composition.
- Textures and Patterns: Incorporate brick walls, wooden fences, or textured fabrics to add layers and contrast, amplifying the toys' motion.
- Action-Based Backgrounds: Fireworks, racing tracks, or even a bustling crowd can infuse energy into your shots, making the motion more believable.
When selecting your background, think about how it complements the toys' movement. A busy background might overwhelm small details, so keep it balanced. Position your toys to engage with the background, whether they're leaping off a ledge or zooming past a wall. This interaction creates a cohesive narrative, making your toy photography not just a simple capture, but a story in motion.
Experimenting With Shutter Speed

In toy photography, experimenting with shutter speed is key to capturing the illusion of motion. By adjusting the shutter speed, you can create dynamic images that make your toys appear as if they're in the middle of an action-packed scene. A slower shutter speed will blur movement, giving a sense of speed or chaos, perfect for situations like a toy car racing or an action figure in mid-leap.
Start by setting your camera to shutter priority mode. This lets you control how long the shutter stays open, while the camera adjusts other settings to guarantee a well-exposed shot. Try different speeds to see how they affect the image. For a subtle blur, use a speed of around 1/30th of a second. For more pronounced motion, go even slower.
Don't forget to use a tripod to keep the camera steady, as any unintended movement can ruin your shot. Alternatively, if you want to freeze action, opt for a fast shutter speed, like 1/1000th of a second, which captures every detail without blur. Experimentation is key—each scene may require a different approach to achieve the desired effect.
Using Lighting to Convey Action
Lighting acts as a powerful tool in toy photography to convey action and emotion. With the right lighting, you can create dynamic, energetic scenes even with static subjects. The key is understanding how different lighting setups influence the perception of motion.
First, consider the direction of your light source. By angling your light from the side or behind, you introduce dramatic shadows and highlights, giving the illusion of movement. You can also experiment with varying light intensities to enhance this effect.
- Backlighting: Create a silhouette of your toy to suggest a forward rush or leap.
- Side lighting: Cast long shadows to imply swift movement or tension.
- Colored gels: Use bold colors to add energy and drama to the scene.
- Spotlights: Focus on specific parts of the toy to mimic fast-paced action.
Remember to adjust your camera settings to complement the lighting. A fast shutter speed captures crisp movements, while a slower one can blur lights, adding a sense of speed. Most importantly, keep experimenting. Each small adjustment can make a significant difference in how action and emotion are perceived in your frame.
Post-Processing Techniques

After capturing your toy photographs, post-processing becomes essential for refining and enhancing the action you've aimed to convey. Start by importing your images into editing software like Adobe Lightroom or Photoshop. Adjust exposure and contrast to guarantee your subject stands out, enhancing the illusion of movement. Use the crop tool to focus attention on the action, removing any distracting elements.
Next, consider sharpening your image to make details pop, which can emphasize motion. Be cautious not to overdo it, as too much sharpening can introduce noise. Utilize the clarity slider to add depth, making the scene more dynamic.
Color grading plays a significant role in setting the mood. Experiment with vibrance and saturation to highlight colors that convey energy and excitement. You can also adjust temperature to add warmth or coolness, depending on the emotion you want to evoke.
For a more dramatic effect, try using motion blur filters to enhance the sense of speed or direction. Additionally, use layers and masks in Photoshop to selectively apply effects, guaranteeing the final image feels cohesive. Finally, always review your edits, guaranteeing they enhance rather than overpower the original shot.
Telling a Story Through Motion
Toy photography isn't just about capturing static figures; it's about weaving a narrative through motion. By incorporating dynamic elements into your shots, you can create stories that captivate and engage. Start by thinking about the scene you're setting. Is your action figure leaping into battle or escaping a perilous situation? Motion can convey emotion and direction, so plan your narrative accordingly.
To illustrate motion effectively, consider these elements:
- Blurred Backgrounds: Use a shallow depth of field to keep your subject in focus while creating a sense of speed or motion around them.
- Action Poses: Position your figures in dynamic poses that suggest movement, like jumping, running, or dodging.
- Prop Interaction: Incorporate small props like water splashes, sand, or leaves to demonstrate interaction with the environment.
- Sequential Shots: Capture a series of images that show progression, like a figure preparing, acting, and then completing an action.
Frequently Asked Questions
How Do I Prevent Dust From Appearing in My Toy Photography?
To prevent dust in your toy photography, regularly clean your toys and workspace. Use a microfiber cloth or compressed air to remove dust. Verify your camera lens is spotless. Double-check everything's clean before shooting to avoid retakes.
What Are Some Budget-Friendly Equipment Options for Beginners?
Don't worry about breaking the bank. You can start with a smartphone, a cheap tripod, and basic lighting like desk lamps. These tools will help you explore creativity without a hefty investment, proving quality doesn't always mean expensive.
How Can I Maintain Consistency in a Series of Motion Shots?
Focus on using the same lighting, background, and camera settings for each shot. Consistent angles and framing are key. Practice timing your shots to capture motion fluidly, and review each image to guarantee uniformity across your series.
What Are Common Mistakes to Avoid in Toy Motion Photography?
Don't forget to stabilize your camera; shaky shots ruin your work. Avoid poor lighting—ensure it's even. Don't overlook background distractions. Plan your scene thoroughly. Keep focus sharp; blurred subjects can defeat the purpose of motion photography.
How Do I Store My Action Figures to Prevent Wear and Tear?
You're about to become an action figure guardian! Store them in a climate-controlled vault, away from sunlight's wrath. Use acid-free boxes and bubble wrap to cushion your treasures, ensuring they remain pristine and battle-ready for generations.
At a Glance
You've become a toy photography maestro, capturing motion with the finesse of a thousand lightning bolts. By choosing the right figures and understanding motion dynamics, you set the stage for drama. Your mastery of camera angles and shutter speed breathes life into every scene. Props, lighting, and post-processing are your secret weapons. Now, go forth and tell stories that leap off the screen, enchanting hearts and minds with every frame you capture.


