
To capture eye-catching toy figure photos, start by using natural light near windows during the morning or late afternoon for softer effects, or try overcast days for even lighting. Soft shadows add depth, so use white fabric or translucent paper as diffusers with lamps or softboxes. Backlighting can craft dramatic silhouettes, and light boxes reduce harsh shadows. LED lights offer control over color temperature and intensity, enhancing vibrancy. Experiment with reflectors to soften contrast and bounce light into shadows. DIY solutions like desk lamps and aluminum foil reflectors also work. Explore these strategies to elevate your toy photography game further.
Natural Light Utilization
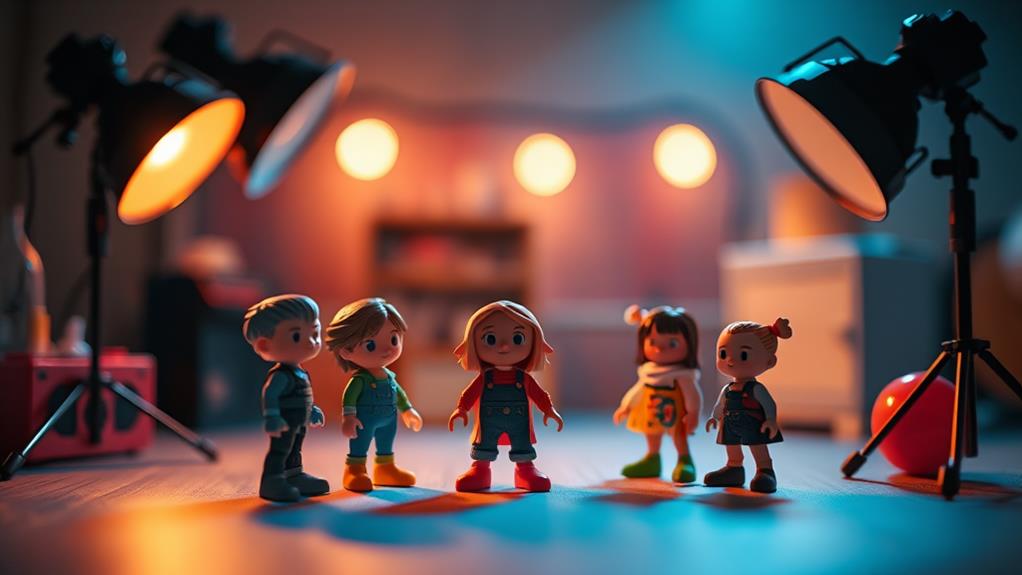
When photographing toy figures, harnessing natural light can greatly enhance your images. Start by positioning your figures near a window where the sunlight streams in. Morning or late afternoon light works best, as it's softer and warmer, casting gentle shadows that add depth without overwhelming your scene. Move your toys around to find the perfect spot where the light naturally highlights their details.
To avoid harsh shadows, try shooting on overcast days. The clouds act like a natural diffuser, spreading light evenly across your setup. You might also find the golden hour—shortly after sunrise or before sunset—gives your photos a magical quality with its warm, golden hues. Experiment with different angles to see how the light interacts with your figures, creating interesting patterns and textures.
Diffused Lighting Techniques
One effective way to elevate your toy figure photography is by mastering diffused lighting techniques. Diffused lighting softens harsh shadows and reduces glare, creating a more balanced and flattering light for your figures. To achieve this, you can use materials like white fabric, translucent paper, or specialized diffusers over your light sources. These materials scatter the light evenly, ensuring your toy figures are well-lit without harsh contrasts.
Start by placing a lamp or softbox a few feet away from your setup. Cover the light source with a diffuser to soften it. If you're using a window as your light source, hang a sheer curtain or white sheet to diffuse the natural light. This technique works especially well for capturing delicate details and textures on your toy figures, making them the focal point without distracting shadows.
Experiment with different angles and distances to see how the light interacts with your figures. Try moving the diffuser closer or farther away to achieve the desired effect. Remember, the goal is to create a soft, even illumination that accentuates the features of your toy figures, bringing them to life in your photos.
Backlighting Effects

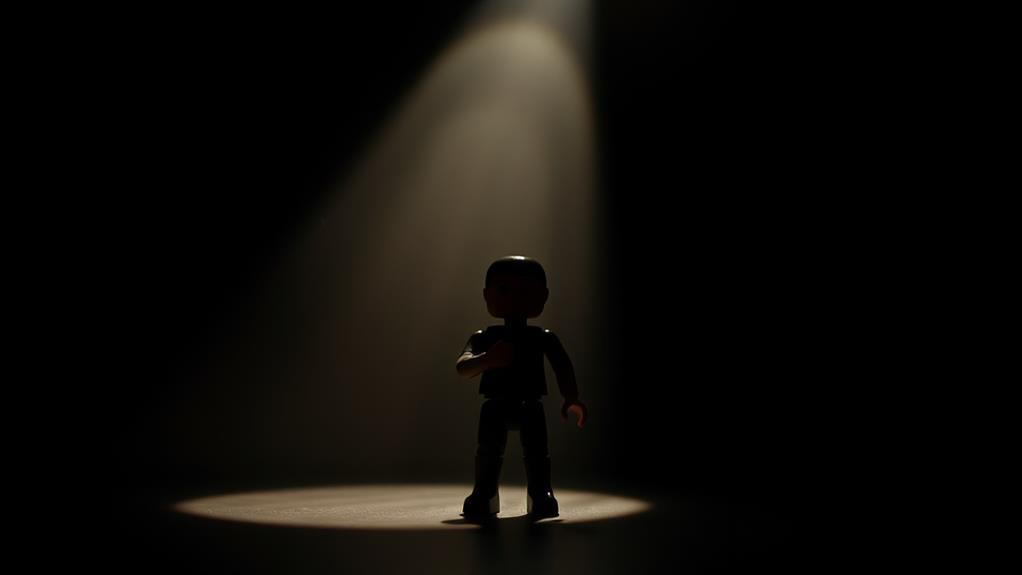
Backlighting effects can add a dramatic flair to your toy figure photography, transforming ordinary shots into eye-catching compositions. By placing a light source behind your subject, you create striking silhouettes and emphasize the figure's outline, adding depth and intrigue. This technique highlights details like textures and contours, making them stand out against a contrasting background, perfect for bringing attention to specific features of your toy figure.
To achieve effective backlighting, start by positioning a bright light, such as an LED panel or even natural sunlight, directly behind your figure. Adjust the angle to play with shadows and highlights until you find the perfect balance. If you want to soften the light, consider using a diffuser, like a translucent sheet or thin fabric, to prevent harsh lines while maintaining the dramatic effect.
Using Light Boxes
While backlighting adds drama to your shots, using light boxes can offer a more controlled and evenly lit environment for capturing your toy figures. With a light box, you can minimize harsh shadows and emphasize details that might otherwise get lost. It's perfect for small subjects like toy figures, where even lighting guarantees every detail shines through.
Start by placing your toy figure inside the light box. You'll notice the walls are designed to diffuse light, creating a soft glow around your subject. This eliminates harsh shadows and highlights, giving a balanced exposure. Adjust the light sources surrounding the box until you achieve the desired effect, whether it's a bright, crisp look or a softer, more subdued tone.
Experiment with different backgrounds inside the box. A plain white background is classic, but trying out various colors and textures can add personality to your photos. Keep your camera settings in mind; a tripod can help maintain stability, assuring sharp images. With a light box, you've got a versatile tool that lets you experiment and refine your skills—capturing your toy figures in just the right light every time.
LED Lighting Benefits
LED lighting offers a range of benefits that can elevate your toy figure photography. First off, LEDs are energy-efficient, so you can keep shooting for longer periods without worrying about excessive energy consumption or high electricity bills. They also produce less heat compared to traditional bulbs, which means you can work comfortably without overheating your setup or damaging delicate toys.
With LEDs, you've got great control over color temperature, allowing you to adjust the warmth or coolness of your lighting to suit the mood you want. This flexibility helps you highlight the intricate details and vibrant colors of your toy figures. Plus, many LED options come with dimming features, so you can easily manage the intensity of your light to avoid harsh reflections or unwanted glare.
LEDs are available in various forms, such as panels, strips, or even portable ring lights, offering versatility in your setups. They're lightweight and easy to position, which means you can experiment with angles and lighting positions without hassle. And don't forget their long lifespan—LEDs last much longer than traditional bulbs, saving you money and time on replacements. Embrace LEDs to enhance your toy figure photography effortlessly!
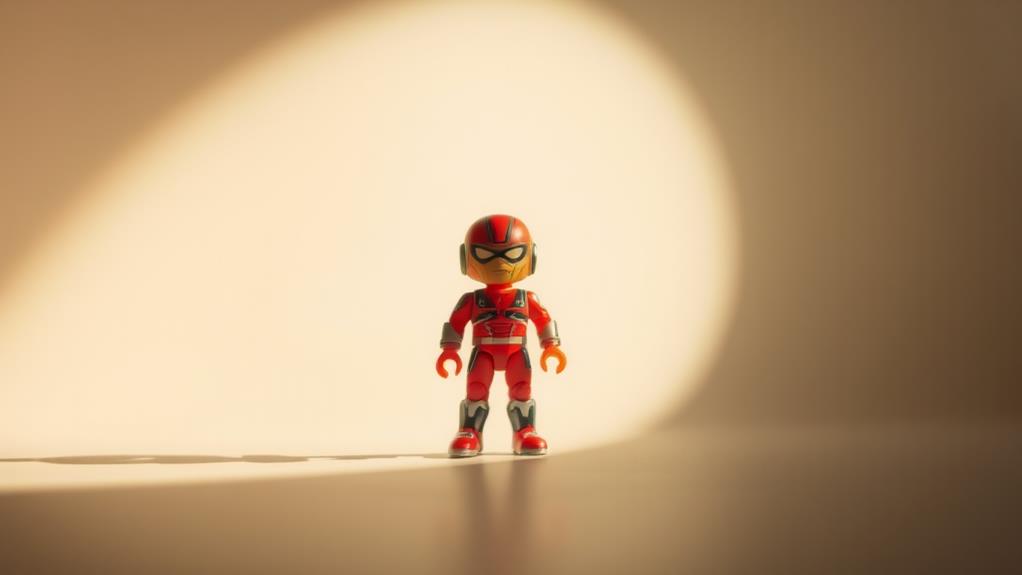
Soft Shadows Creation
When you're aiming for a professional look in your toy figure photos, creating soft shadows is key. Soft shadows add depth and dimension without harsh lines that distract from your subject. To achieve this, you can start by using a diffuser. A simple white sheet or a commercially available diffuser will scatter the light, softening shadows effectively.
Position your light source at an angle to your toy figure, not directly above or in front. This angle helps in casting subtle, soft shadows that enhance the contours and details of your figures. Adjusting the distance between the light and your subject also affects shadow softness. The closer the light, the softer the shadow. Experiment with different angles and distances until you find the perfect balance.
Using multiple light sources can further soften shadows. Place additional lights at different angles around your toy figure to fill in heavy shadows. Reflectors can also be useful here. Simply bounce light back onto your toy using a reflective surface like a white card or foil.
Contrast Management
Mastering contrast in your toy figure photography can dramatically enhance the visual appeal of your shots. High contrast can make your figures pop, giving them a vivid, three-dimensional look, while low contrast can create a more subtle, dreamy atmosphere. To manage contrast effectively, you need to balance light and shadow with precision.
Here's how you can manage contrast in your photos:
1. Use a Reflector
Positioning a reflector opposite your light source can help bounce light into the shadows, softening the contrast without losing detail. This technique is especially useful for capturing intricate details on your toy figures.
2. Adjust Lighting Angles
Experiment with different lighting angles to find the perfect balance. Side lighting can increase contrast by highlighting textures, while front lighting tends to reduce it, creating a flatter look. Adjusting your light source can make a significant difference in how contrast appears.
3. Post-Processing Techniques
Use editing software to fine-tune contrast levels. Adjusting the contrast slider or using curves can help you achieve the desired effect, whether you want more drama or a softer tone.
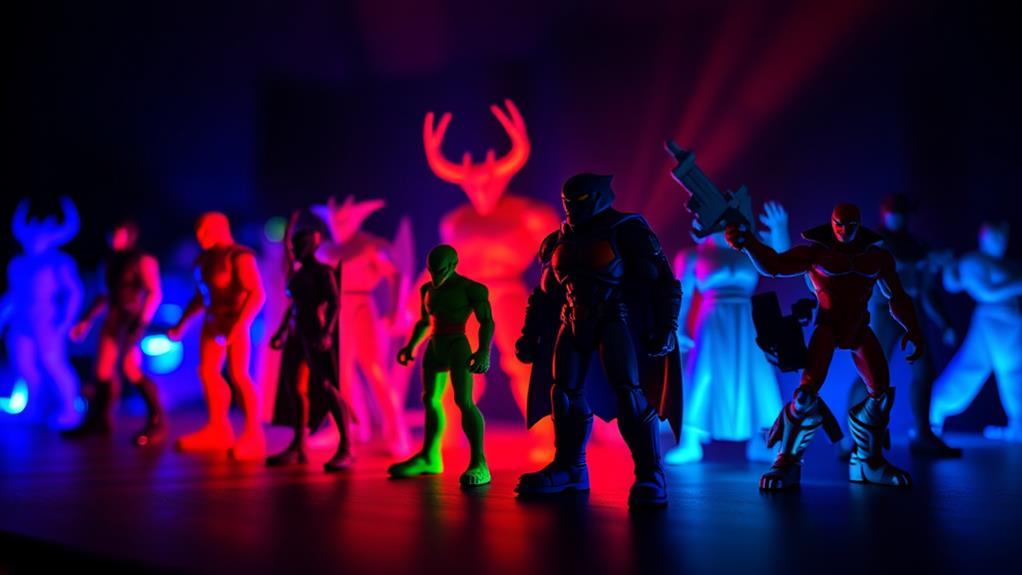
Color Temperature Control
Achieving the right color temperature in your toy figure photos can profoundly affect the mood and authenticity of your images. Start by understanding that color temperature is measured in Kelvin (K), with lower numbers indicating warmer tones and higher numbers indicating cooler tones. You'll want to decide on the mood you're aiming for. Warm tones (around 2000K-3000K) can evoke a cozy, nostalgic feel, while cool tones (5000K-6500K) create a clean, modern look.
First, assess your light sources. Natural daylight usually sits around 5500K, providing a neutral baseline. If you're using artificial lights, check their color temperature and adjust accordingly. Many LED lights allow you to control the temperature, making them a versatile choice for toy photography. If your lights aren't adjustable, consider using gels or filters to modify the temperature.
White balance settings on your camera are vital, too. Most cameras let you manually set the Kelvin value, which helps maintain consistency across shots. Experiment with different settings to see how they affect your colors. Don't forget to review your photos on a calibrated monitor, ensuring the colors match your creative vision.
Light Reflectors Use
While color temperature sets the mood, light reflectors play a pivotal role in shaping the overall lighting dynamics of your toy figure photos. They help bounce light onto your subject, reducing harsh shadows and creating a more balanced exposure. With the right reflectors, you can control light intensity and direction, ensuring your toy figures stand out in the best possible way.
Here's how you can effectively use light reflectors:
- Choose the Right Size and Color: Smaller reflectors are great for fine details, while larger ones cover more area. Silver reflectors provide a cooler, more reflective light, whereas gold adds warmth. White reflectors offer a soft, neutral bounce.
- Positioning is Key: Place the reflector opposite your light source to fill in shadows. Experiment with angles to see how the light changes on your toy figures. Holding it at different distances can also vary the light's intensity.
- Use Multiple Reflectors: You don't need to stick to just one. Use multiple reflectors to illuminate from different angles, creating depth and dimension in your photos. This technique can bring out textures and details you might otherwise miss.
DIY Lighting Solutions
Transform your toy figure photography with DIY lighting solutions that won't break the bank. You don't need expensive equipment to create stunning photos. Start by using household items to manipulate light effectively. A simple desk lamp can serve as a key light. Adjust the lamp's position to achieve the right intensity and shadow effects. If the light is too harsh, diffuse it with a white plastic bag or a sheet of parchment paper for softer illumination.
Aluminum foil is an excellent reflector. Tape it to a piece of cardboard and angle it to bounce light onto your figure, highlighting details without needing additional lights. For backlighting, grab a flashlight or your phone's flashlight. Place it behind the figure to create a dramatic silhouette effect or to accentuate the background.
Colored tissue paper can add a creative twist. Place it over your light source to introduce colored lighting, setting different moods and atmospheres in your photos. Finally, consider using a smartphone or tablet screen as a background light or to add interesting reflections. With these DIY tricks, you can elevate your toy figure photography without splurging on high-end gear.
Frequently Asked Questions
How Can I Prevent Unwanted Reflections on Glossy Toy Figures?
To prevent unwanted reflections, position a diffuser between the light source and the toy figure. Use soft, indirect lighting and adjust angles to minimize glare. Consider a polarizing filter to control reflections on glossy surfaces effectively.
What Is the Best Way to Photograph Small Details on Toy Figures?
To capture small details on toy figures, use a macro lens for close-ups. Make certain you have adequate lighting to highlight textures and features. Adjust your camera settings for sharper focus, and experiment with different angles for the best results.
How Do I Achieve a Dramatic Effect With Lighting for Toy Figure Photos?
Why not experiment with shadows to create drama? Position a single light source at an angle to cast intriguing shadows. Adjust the intensity and direction, and use reflectors to highlight details. Your figures will look enchanting!
What Camera Settings Are Ideal for Capturing Toy Figures in Low Light?
To capture toy figures in low light, set your camera to a high ISO for sensitivity. Use a wide aperture to let in more light, and slow down the shutter speed to prevent underexposure. Experiment for best results.
How Can I Create a Realistic Environment for Toy Figures Using Lighting?
To create a realistic environment, use directional lighting to mimic natural sunlight. Experiment with shadows and depth using backlighting. Use diffusers to soften harsh lights, and adjust color temperatures to match the setting you're recreating.
At a Glance
You've explored the art of lighting toy figures, discovering how to harness natural light, master diffused lighting, and experiment with backlighting for dramatic effects. You've seen the benefits of light boxes and LEDs, learned to manage contrast and control color temperature, and even ventured into DIY solutions. Now, test these theories yourself. Will the right lighting truly transform your toy photography? Immerse yourself and see if your captures can tell a more vibrant story.


