
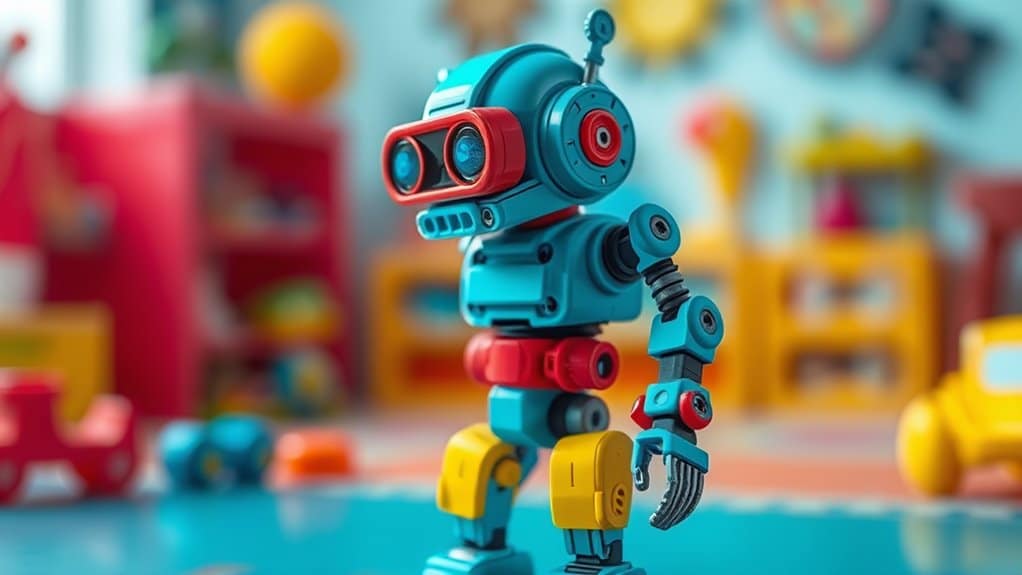
Choosing the right ISO for toy photography is essential because it directly affects your images' clarity and detail. You'll want a lower ISO setting, around 100-200, in bright conditions for sharp photos, while higher ISO levels, such as 800-1600, help in dim settings. Keep in mind that higher ISO can introduce noise or graininess. By selecting the right ISO, you'll find a balance between light sensitivity and image quality. Curious about how to adjust it perfectly?
Understanding ISO and Its Impact on Toy Photography
When you're diving into toy photography, understanding ISO is essential to capturing the perfect shot. ISO measures your camera's sensitivity to light. A lower ISO setting, like 100 or 200, is ideal for bright environments, ensuring crisp, clear images without noise. In contrast, a higher ISO, such as 800 or 1600, can be beneficial in low-light situations, allowing you to capture details without a flash. However, beware: higher ISO levels can introduce graininess, which might obscure the fine details of your toys.
Experimenting with ISO settings helps you understand your camera's capabilities and limitations in different lighting conditions. Play around with various settings to find the sweet spot that maintains detail while controlling noise. Mastering ISO will elevate your toy photography, making every shot count.
Balancing Light Sensitivity and Image Quality
Having grasped the fundamentals of ISO, it's time to strike a balance between light sensitivity and image quality in your toy photography. When you increase ISO to capture toys in low light, you make the sensor more sensitive, allowing you to maintain faster shutter speeds and smaller apertures. However, higher ISO can introduce noise, reducing image quality. To achieve the best results, start by setting your ISO as low as possible to minimize noise. Then, adjust according to the lighting conditions. If you're in a dim environment, gradually increase ISO, checking your camera's preview to guarantee the image quality remains acceptable. Remember, each camera handles ISO differently, so practice to find the sweet spot that balances light sensitivity with crisp, detailed images.
Choosing the Right ISO for Indoor Toy Photography

Capturing the perfect indoor toy photograph requires careful attention to ISO settings. When shooting indoors, lighting can be less than ideal, so choosing the right ISO is essential to avoid grainy images. You should start by setting your ISO as low as possible to maintain image quality, typically around ISO 100 or 200. However, if the lighting is dim, you might need to increase it slightly.
Consider these factors:
- Lighting Conditions: Evaluate the available light sources. Natural light through windows can be helpful.
- Camera Stability: Use a tripod to minimize camera shake when using slower shutter speeds with low ISO.
- Noise Levels: Higher ISO can introduce noise. Find a balance that maintains detail.
- Post-Processing: A bit of digital noise reduction can help without sacrificing image quality.
Optimal ISO Settings for Outdoor Toy Shots
Shifting focus from indoor settings, outdoor toy photography presents its own set of challenges and opportunities. Natural light can be your best friend, but it also means you need to adapt quickly to changing conditions. Start with a low ISO, around 100 to 200, to take advantage of bright daylight and capture sharp, vibrant images. This setting reduces graininess, ensuring your toys look crisp against their natural backdrop. However, if you're shooting during golden hour or under overcast skies, consider increasing the ISO to 400 or 800. This adjustment compensates for lower light while maintaining detail. Remember, always review your shots and tweak settings as needed. With practice, you'll find the perfect ISO balance for stunning outdoor toy photography.
Managing Noise Levels With ISO Adjustments

When you're adjusting ISO settings, understanding how it impacts noise levels is essential for any photographer. High ISO settings can introduce graininess, which might detract from the clarity of your toy photos. To manage noise levels effectively, consider a few strategies. First, always aim for the lowest ISO setting that suits your lighting conditions. This helps maintain image detail and color accuracy.
- Use noise reduction software: Post-processing can greatly reduce noise while preserving details.
- Leverage natural light: Shooting in well-lit environments allows you to keep ISO low, minimizing noise.
- Test different ISO settings: Experiment to find the sweet spot between noise levels and exposure.
- Consider camera capabilities: Some cameras handle high ISO better than others, so understand your gear's limits.
Experimenting With ISO for Creative Toy Photos
As you explore experimenting with ISO for creative toy photos, consider how different ISO settings can dramatically alter the mood and feel of your images. Lower ISOs, like 100 or 200, provide sharper, more detailed shots in well-lit conditions, perfect for capturing intricate toy details. On the other hand, a higher ISO, such as 1600 or 3200, introduces grain, which can add a unique, vintage vibe or convey action in low light.
Don't hesitate to break traditional rules. Play with ISO to introduce intentional noise for a gritty effect or to emphasize motion blur. Experimenting with ISO opens up creative avenues, allowing you to inject personality into your shots. Remember, there's no wrong way to use ISO—just what feels right for your artistic vision.
Frequently Asked Questions
How Does ISO Affect the Color Accuracy in Toy Photography?
ISO directly impacts color accuracy in toy photography. At high ISO settings, you risk introducing noise, which can distort colors. Keeping ISO low guarantees cleaner images and true-to-life colors, helping you capture your toys authentically.
Can ISO Settings Influence the Depth of Field in Toy Photos?
While ISO primarily affects sensitivity to light, you might think it influences depth of field, but it doesn't. Depth of field depends on aperture and distance to the subject, so adjust those for sharper toy photography.
Do Different Camera Brands Impact ISO Performance for Toy Photography?
Yes, different camera brands can impact ISO performance for toy photography. You'll notice variations in noise levels, color accuracy, and dynamic range. Experiment with your camera to find the best ISO settings for your style.
How Does ISO Relate to Shutter Speed in Capturing Toy Movement?
You'll find that ISO and shutter speed work together to capture toy movement effectively. Increasing ISO lets you use a faster shutter speed, reducing motion blur. However, higher ISO can introduce noise, so balance them carefully.
What Role Does ISO Play in Post-Processing Toy Photographs?
In post-processing, you'll find ISO affects noise levels in your toy photos. A higher ISO can lead to graininess, reducing image quality. Choosing the right ISO guarantees you won't spend hours correcting noise in editing.
At a Glance
In the whimsical world of toy photography, selecting the right ISO is your secret handshake with light. As you dance between shadows and brilliance, remember that a gentle touch on ISO can reveal hidden wonders or, at times, whisper a soft graininess that adds character. Embrace this artistic journey, where every click is a step toward mastery. Trust your instincts, experiment boldly, and let each captured moment tell its own delightful tale.


