To capture striking toy figurine photos, start with an aperture setting like f/2.8 for a dreamy background blur or go narrow like f/11 if you want more detail in your scene. Use a fast shutter speed, such as 1/125s, to keep images sharp. Adjust ISO based on light conditions; low ISO (100) minimizes noise in bright spaces, while higher ISO settings help in low light. Verify colors are true by setting the appropriate white balance. Finally, use manual focus or single-point autofocus for precision and clarity. Master these settings and your toy photography skills will truly shine. Discover more insights just ahead!
Aperture for Depth of Field
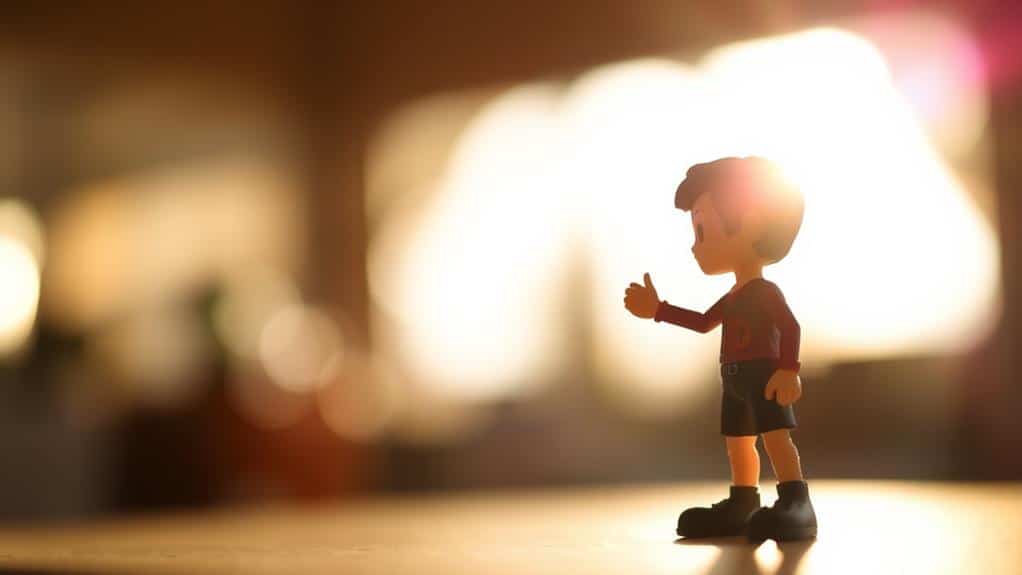
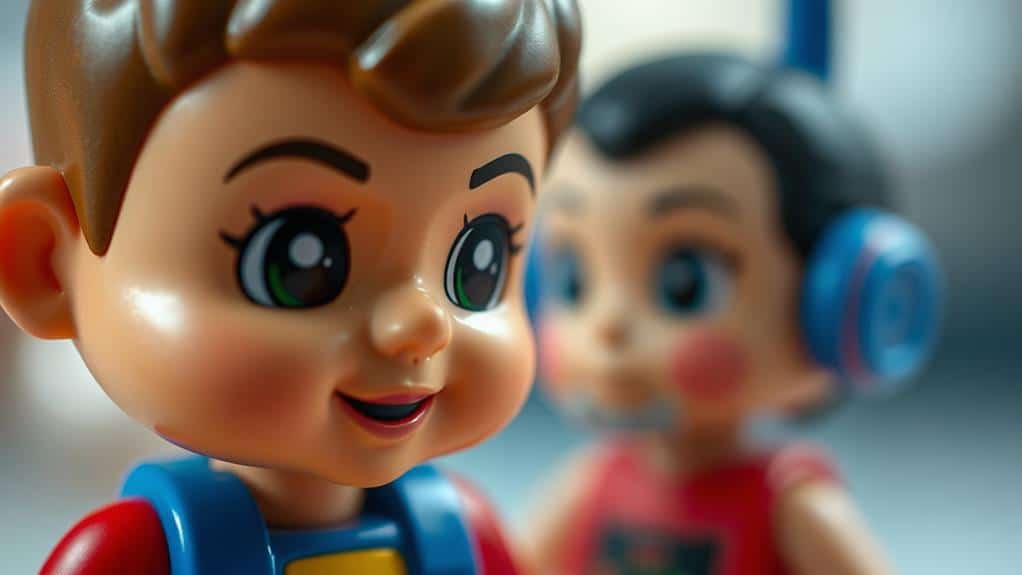
When you're photographing toy figurines, the aperture setting plays an essential role in controlling the depth of field, which determines how much of your image is in sharp focus. By adjusting the aperture, you influence how much background blur, or bokeh, appears in your photo. A wider aperture (like f/2.8) creates a shallow depth of field, keeping your figurine sharply in focus while beautifully blurring the background. This technique can make your subject stand out, adding a professional touch to your photos.
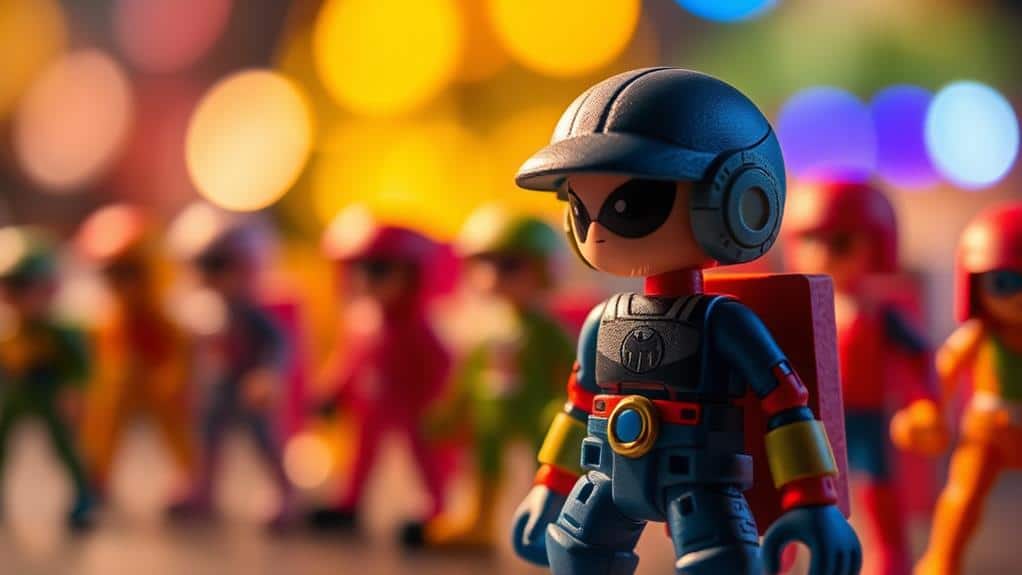
On the other hand, if you want more of your scene in focus, choose a narrower aperture (like f/11 or f/16). This setting increases your depth of field, capturing more detail from foreground to background. When shooting multiple figurines or complex scenes, a narrower aperture guarantees that everything remains crisp and clear.
Shutter Speed for Sharpness
While aperture settings shape the depth of field, the shutter speed controls sharpness and captures motion. When photographing toy figurines, you want to guarantee your images are crisp and free from any unintended blur. To achieve this, set your shutter speed according to the stability of your camera and the presence of any movement. A fast shutter speed, like 1/125s or faster, helps freeze motion, which is ideal if you're shooting handheld or if there's any slight movement, such as vibrations.
If you're using a tripod, you can experiment with slower shutter speeds without introducing blur, as long as your subject is completely still. Keep in mind that your lighting conditions will also influence your shutter speed choice. In low light, you might need to slow down the shutter to allow more light in, but be cautious, as this increases the risk of blur if the camera or subject isn't stable.
To find the sweet spot, try different shutter speeds and review your images for sharpness. Use your camera's preview to zoom in and check details. This way, you'll guarantee that your toy figurine photos are as sharp as possible.
ISO for Light Sensitivity

Adjusting the ISO setting on your camera is vital for managing light sensitivity, especially when photographing toy figurines. ISO determines how sensitive your camera's sensor is to light. A low ISO is ideal in bright conditions, reducing noise and capturing fine details. However, in low light, a higher ISO can help illuminate your figurines, though it may introduce some graininess.
To find the perfect balance for your shots, consider the following ISO settings based on different lighting conditions: To find the perfect balance for your shots, consider the following ISO settings based on different lighting conditions: In low light, opt for higher ISO settings, but be cautious of potential noise in the image. In well-lit environments, lower ISO levels often result in cleaner, more detailed shots. Additionally, pairing your camera with the best camera stabilizers for filmmaking can help ensure smooth and professional footage, even in challenging conditions or dynamic shooting scenarios.
| Lighting Condition | Suggested ISO Setting |
|---|---|
| Bright sunlight | 100 |
| Overcast or indoor | 400 |
| Soft light or shadow | 800 |
| Low light environments | 1600 |
| Very low light | 3200 or higher |
It's important to test various ISO settings to see which one complements your specific lighting setup. A tripod can also stabilize your camera if you opt for a lower ISO in dimmer conditions, helping reduce potential blur from longer exposure times. Remember, higher ISO settings can capture more details in shadows, but always keep an eye on noise levels. By mastering ISO adjustments, you'll make certain your toy figurine photos are consistently well-lit and vibrant.
White Balance for Accurate Colors
Capturing the true colors of your toy figurines hinges on getting the white balance right. White balance guarantees your photos reflect the actual colors of your subjects by compensating for the color temperature of the light source. When you're shooting indoors, artificial lighting can cast a yellow or blue tint on your photos. Outside, different times of day can shift colors toward the warm or cool end of the spectrum. Adjusting the white balance helps you eliminate these unwanted tints and accurately represent the figurine's colors.
Start by setting your camera to Auto White Balance (AWB). While AWB is convenient, it's not always perfect, especially under mixed lighting conditions. Try experimenting with preset options like Daylight, Cloudy, Tungsten, or Fluorescent to see which one gives you the most realistic colors. If you're comfortable, use the manual white balance setting to fine-tune your results. This involves taking a picture of a white or neutral gray card under the same lighting and adjusting your camera settings accordingly.
Don't overlook the importance of white balance. It's an essential step in making sure that the vibrant colors of your toy figurines pop and stay true to life in every shot.
Focus Mode for Clarity

Perfecting the white balance sets the stage for the next essential step: achieving crisp, clear images with the right focus mode. To capture the intricate details of toy figurines, selecting the proper focus mode is vital. Start by choosing between manual focus and autofocus. Manual focus grants you complete control, allowing you to pinpoint the precise part of the figurine that needs to be sharp. This is particularly useful when dealing with shallow depth of field or when your subject is stationary.
Autofocus, on the other hand, offers convenience, especially if you're dealing with a more dynamic setup or if your camera has reliable focus points. Opt for single-point autofocus to guarantee your camera locks onto the exact spot you want in focus. This prevents the camera from choosing a less ideal focus point on its own.
If your camera offers it, use focus peaking. This feature outlines the in-focus areas, helping you see exactly what's sharp. It can be a lifesaver in manual mode. Finally, always zoom in on your camera's LCD screen to double-check the focus before snapping the shot. This step guarantees you're capturing the figurine with maximum clarity.
Frequently Asked Questions
What Type of Lighting Setup Is Best for Toy Figurine Photography?
You'll want soft, diffused lighting to avoid harsh shadows on your toy figurines. Use a lightbox or natural light with a diffuser. Position lights at different angles to highlight details and create depth in your photographs.
How Can I Reduce Reflections on Shiny Toy Surfaces?
To reduce reflections on shiny surfaces, use a polarizing filter on your lens. Position your light source at an angle, and diffuse it with a softbox or white cloth. Experiment with angles until reflections disappear.
What Background Works Best for Highlighting Toy Figurines?
Imagine your toy as a hero; place them against a neutral backdrop, like a dramatic stage. Choose soft colors or textured fabrics to let their story shine. Avoid busy patterns; simplicity lets the figurine's tale take center stage.
How Do I Achieve a Miniature Effect in Toy Photography?
To achieve a miniature effect, use a tilt-shift lens or simulate it in post-processing. Focus on emphasizing depth of field. Lower the camera angle and adjust lighting to create realistic shadows, enhancing the illusion of miniaturization.
What Are Recommended Post-Processing Tips for Enhancing Toy Figurine Images?
Think of post-processing as polishing a diamond. You sharpen details, adjust contrast, and enhance colors to make figurines pop. Use selective focus and subtle vignettes to draw attention. Don't forget to experiment with light effects for depth.
At a Glance
Capturing the perfect toy figurine photo is like painting with light; it requires a careful balance of settings. By adjusting the aperture, you create a dreamy depth of field, while the right shutter speed guarantees every detail is razor-sharp. Don't let low light steal your thunder—use ISO wisely. Set your white balance for true-to-life colors and choose the right focus mode for crystal clarity. With these settings, you'll transform simple snapshots into miniature masterpieces.


