
Starting on toy photography? Begin by mastering your camera's settings like aperture, shutter speed, and ISO for precise light control. Choose toys with expressive features and create engaging backdrops to enhance your storytelling. Play with lighting; natural light offers softness, while artificial options add drama. Capture unique angles by shooting at toy eye level or using high perspectives for dynamic effects. Boost your creativity with post-processing software to refine colors and contrast. Share your masterpieces on platforms like Instagram, and engage with communities to inspire and learn. There are more details to discover and challenges to explore ahead.
Understanding Your Camera
Before diving into toy photography, it's vital to understand your camera and how it works. Start by familiarizing yourself with the basic functions, like aperture, shutter speed, and ISO. These settings control how light interacts with your camera sensor, which is significant for capturing detailed shots of your toys. Set your camera to manual mode so you can practice adjusting each setting individually to see how they affect your photos.
Next, focus on learning about white balance. This feature helps you manage color temperatures in your images, ensuring your toys appear as vibrant and true-to-life as possible. Experiment with different white balance settings to see how they change the mood of your photos.
Additionally, get comfortable with your camera's focus modes. For toy photography, using manual focus can give you more control, allowing you to emphasize specific details of your toys. Practice focusing on various parts of the toy to see what works best for your creative vision.
Lastly, don't forget about the importance of composition. Learn the rule of thirds and experiment with framing your toys in different ways. As you master your camera's features, you'll gain confidence in capturing stunning toy photography.
Choosing the Right Toys
Having grasped the fundamentals of your camera, it's time to focus on selecting the right toys to photograph. The toys you choose can greatly influence the mood and story of your photos. Start by considering the size and detail of the toys. Larger toys or those with intricate designs tend to capture more attention and offer a wider range of angles to explore.
Think about the theme or narrative you want to convey. Are you aiming for a whimsical, adventurous, or dramatic story? Characters with expressive faces or movable parts can be particularly effective in creating dynamic shots. If you're a fan of a particular genre, like superheroes or fantasy, integrating such themed toys can add a personal touch to your photography.
Don't overlook the color and texture of the toys. Bright colors can make your photos pop, while unique textures can add depth. Also, consider the toy's condition. A well-maintained toy will photograph better than one with visible wear and tear.
Lastly, experiment with different types of toys. Mix action figures with plush toys or incorporate miniatures to add variety. The right selection can bring your creative vision to life.
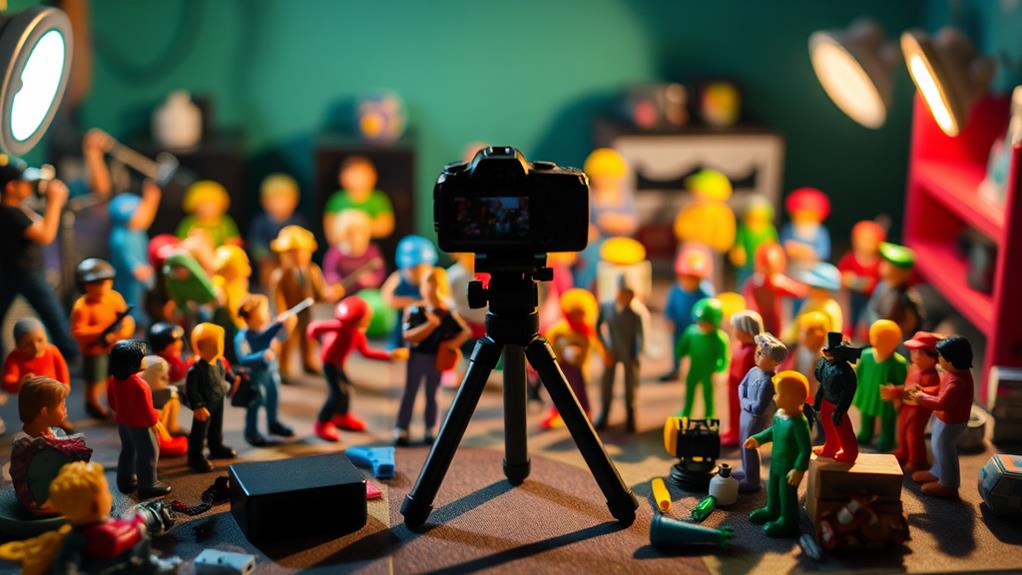
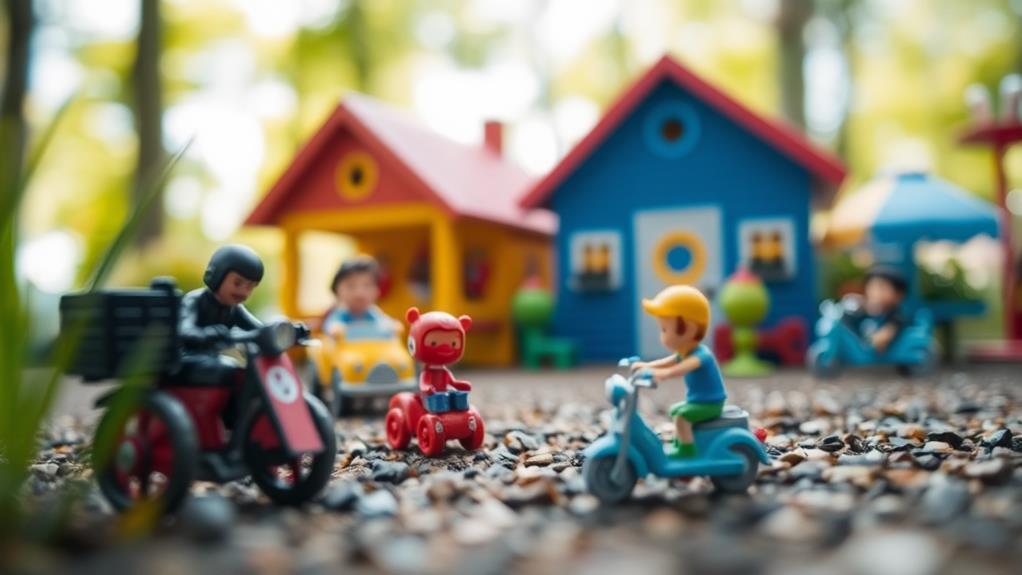
Setting Up Your Scene

Creating your scene's perfect backdrop is essential in toy photography. It sets the mood and tells your story. Start by considering the setting that complements your toy. Is it a bustling cityscape or a serene forest? Use materials like paper, fabric, or printed backgrounds to craft this environment. Pay attention to scale—your backdrop should match your toy's size to maintain realism.
Next, think about props. These can enhance the scene and add depth. For example, tiny furniture pieces or plants can transform a simple setup into a lively miniature world. Place props thoughtfully to create a sense of balance and guide the viewer's eye through the photo.
Position your toy strategically within the scene. Experiment with angles and perspectives to find the most dynamic composition. A low angle can make your toy look heroic, while a high angle might convey vulnerability. Don't hesitate to move things around until it feels just right.
Lastly, consider the background's color and texture. Neutral tones often work best, allowing your toy to stand out. Avoid overly busy patterns, as they can be distracting. With a well-thought-out scene, your toy photography will truly shine.
Mastering Lighting Techniques
Lighting is one of the most essential elements in toy photography, transforming your scene from average to extraordinary. It sets the mood, highlights textures, and emphasizes the details of your toys. Start by using natural light. Place your toys near a window where soft, diffused light can illuminate them. Avoid harsh direct sunlight, as it can create unwanted shadows and blow out highlights.
Experiment with artificial lighting if you're shooting indoors or at night. A simple desk lamp can work wonders. Use it to create dramatic shadows or highlight specific areas of your scene. Adjust the angle and distance of the light source to see how it affects your composition.
Consider investing in a lightbox for consistent, even lighting. It's especially useful for capturing small details and creating a professional look. Don't forget about reflectors; a simple piece of white paper can bounce light back onto your toys, softening shadows and adding depth.
Exploring Perspectives
Invariably, exploring different perspectives can greatly enhance your toy photography. By changing your viewpoint, you can transform ordinary shots into enchanting images. Try crouching down to eye level with the toy, giving it a life-like appearance. This viewpoint often creates a sense of intimacy and connection with the subject. Alternatively, shooting from above can make the toy appear small and vulnerable, which adds an interesting dynamic.
Don’t hesitate to play around with angles. Tilting your camera can introduce a sense of motion or drama. You can also experiment with extreme close-ups to highlight intricate details or textures, turning the toy into a world of its own. Wide shots can also be effective for setting scenes, especially if you’ve created an elaborate background. Additionally, consider varying your perspective by shooting from above or below your subject, as this can dramatically alter the viewer’s perception of the toy. It’s also important to pay attention to lighting; natural light can enhance colors and textures, while controlled artificial lighting can help eliminate harsh shadows. Ultimately, finding the best angles for indoor toy photography will allow your creations to come to life in captivating ways.
Remember to move around your subject. Sometimes, the best perspective isn't immediately obvious. Walk around, kneel, or even lie on the ground. Each new angle may reveal a unique composition or story. Keep in mind the rule of thirds as you explore; it can help guide your framing decisions. By constantly challenging yourself to view your toys from fresh angles, you'll enrich your photography and storytelling skills.
Adding Creative Effects
As you explore various perspectives in your toy photography, introducing creative effects can further elevate your images. These effects add depth, intrigue, and a touch of magic to your shots, making your toys come alive in unexpected ways. Here are some simple yet effective techniques to try:
- Lighting Tricks: Use flashlights, fairy lights, or colored gels to create shadows, highlights, and mood lighting. Play with the direction and intensity to see how it changes the scene's atmosphere.
- Perspective Illusions: Incorporate forced perspective to make your toys appear larger or smaller than they are. This technique adds a whimsical, larger-than-life feel to your photos.
- Motion Blur: Capture a sense of action by gently shaking your camera during the shot or using slow shutter speeds. This adds movement and energy, perfect for dynamic scenes.
- Smoke and Fog: Use a smoke machine or dry ice to introduce an eerie or mystical effect. It adds layers to your image, making it more immersive and engaging.
Experimenting with these creative effects will help you develop your style and bring your toy photography to the next level. Remember, the key is to have fun and let your imagination run wild!
Post-Processing Basics
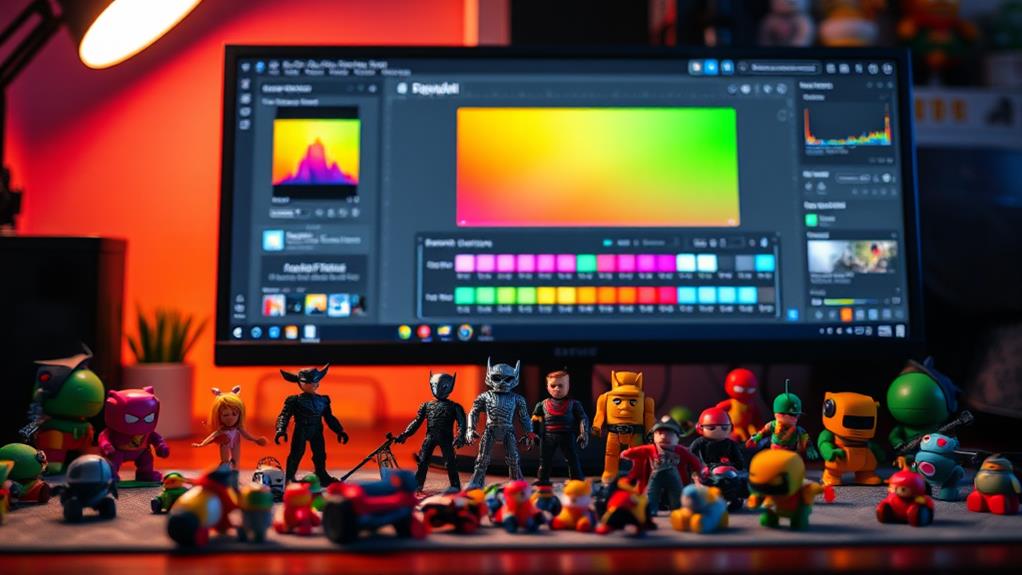
How do you take your toy photography from good to great? The answer often lies in post-processing. This step can enhance colors, adjust lighting, and bring out details that might be lost in the raw image. Start by choosing a photo editing software that suits your needs, like Adobe Lightroom or Photoshop. These tools offer a range of features from basic adjustments to advanced effects.
Begin with the basics: cropping and straightening your image. This helps focus the viewer's attention on the toy and eliminates any distracting elements. Next, work on exposure and contrast. Adjusting these settings can make your subject pop and give depth to your image. Keep an eye on the histogram to guarantee you're not losing detail in shadows or highlights.
Now, fine-tune the colors. Play with saturation and vibrancy to make the colors more appealing without going overboard. Use selective color adjustments to highlight specific areas or features of your toy. Finally, sharpen the image to enhance details. Be cautious, though, as over-sharpening can introduce noise.
Sharing Your Work
Once you've perfected your toy photography, it's time to share your work with the world. Doing so not only showcases your artistic journey but also opens doors for feedback and connection. To effectively share your toy photography, consider these key strategies:
- Choose the Right Platform: Instagram is a popular choice for photographers, but don't overlook other platforms like Flickr, Pinterest, and even dedicated photography forums. Each has its unique audience and features.
- Create an Engaging Caption: A compelling story or context behind your photo can captivate viewers. Share your shooting process, the inspiration behind the scene, or any challenges you faced. This not only adds depth but also invites interaction.
- Use Relevant Hashtags: Hashtags can increase the visibility of your work. Research trending and niche-specific tags related to toy photography to reach a broader audience. This can help your work be discovered by like-minded enthusiasts.
- Consistent Posting Schedule: Regularly updating your followers keeps them engaged and enthusiastic for more. Determine a schedule that suits your lifestyle and stick to it, whether it's weekly or bi-weekly.
Start sharing your creations today and watch your audience grow!
Engaging With the Community

Engaging with the toy photography community is a rewarding way to enhance your skills and build meaningful connections. By participating actively, you can learn from others, gain new perspectives, and improve your techniques. Start by joining online forums, social media groups, or local meetups focused on toy photography. These platforms offer a space to share your work, ask questions, and receive constructive feedback.
Don't hesitate to comment on others' photos, offering genuine compliments or asking about their process. Engaging in conversations helps you learn and shows support for fellow photographers. Participate in community challenges or themed projects, which can spark creativity and push your boundaries. These activities often promote collaboration and inspire fresh ideas.
Frequently Asked Questions
How Can I Create a Consistent Style Across My Toy Photography Portfolio?
Focus on a specific theme or mood, use consistent lighting, and stick to a particular color palette. Develop a recognizable editing style and stay true to your vision. Experiment, but guarantee each photo aligns with your desired aesthetic.
What Are Some Budget-Friendly Alternatives for Toy Photography Backdrops?
Use poster boards, fabric remnants, or printed paper as backdrops. Transform cardboard boxes into dioramas. Repurpose household items creatively. Experiment with natural settings outdoors. Embrace simplicity, embrace creativity, embrace resourcefulness to craft stunning toy photography scenes.
How Do I Ensure My Toys Remain Stable During Outdoor Shoots?
To keep your toys stable during outdoor shoots, use sticky tack or putty to anchor them. Choose flat surfaces and consider using small weights or pebbles for balance. Always check for wind that might topple them.
What Are Some Tips for Photographing Toys in Extreme Weather Conditions?
When photographing toys in extreme weather, protect them with waterproof covers. Use a sturdy tripod for stability. Capture dynamic shots by embracing rain or snow as part of the scene. Confirm your camera's settings match the lighting conditions.
How Can I Prevent Dust and Fingerprints From Affecting My Toy Photos?
Think of your lens as a clean window to the toy's world. Wipe toys with a microfiber cloth to remove dust. Use gloves when handling them to avoid fingerprints. Keep your shooting area tidy for the best results.
At a Glance
You've now got the tools to plunge into toy photography with confidence. Remember, practice makes perfect, so keep experimenting and refining your skills. Did you know that over 65% of photographers say community engagement boosts their creativity? Share your work and connect with others to gain inspiration and feedback. Your unique perspective can bring these miniature worlds to life. So grab your camera, pick your favorite toy, and start capturing those imaginative scenes!


