
To master backlighting in toy photography, start by choosing the right light source. Natural light during golden hours gives a soft glow, while LED panels offer adjustable brightness. Experiment with light angles; placing lights behind toys creates depth, and using low angles adds drama. Control the intensity with dimmers and gels, which add warmth or coolness. Diffuse the light with sheets or paper for softer shadows. Play with colored gels to set the mood, and experiment with shadows to create unique effects. Finally, post-processing tweaks in software can enhance your images. Explore more for stunning transformations of your toy photos.
Choose the Right Light Source
When you're setting up for toy photography, choosing the right light source is vital. The quality of light can dramatically alter the mood and detail of your images, so picking the right type is important. Natural light is ideal if you're aiming for a soft, diffused glow. Position your setup near a window during golden hours—early morning or late afternoon—to capture that warm, inviting illumination.
If natural light isn't an option, consider using LED panels or softboxes. They provide consistent, controllable light, allowing you to adjust intensity and direction to suit your needs. LEDs are energy-efficient and often come with adjustable color temperatures, giving you flexibility in creating the desired atmosphere for your toys.
Pay attention to the light’s angle. Backlighting, where the light comes from behind the subject, can create striking effects, highlighting the toy’s edges and creating depth. To avoid harsh shadows and maintain even exposure, consider using reflectors. They bounce light back onto your subject, filling in shadows and enhancing details. Experimenting with different angles and heights can also influence the mood of your photographs. Utilizing top photography lighting techniques allows you to manipulate the scene further, ensuring that each shot captures the toy’s unique features. Moreover, incorporating additional light sources, such as LED panels or softboxes, can help achieve a professional-looking finish and elevate your images to the next level.
Experiment with different sources and angles to see what works best. With the right light, your toy photos can transform from ordinary to extraordinary.
Utilize Silhouettes Effectively
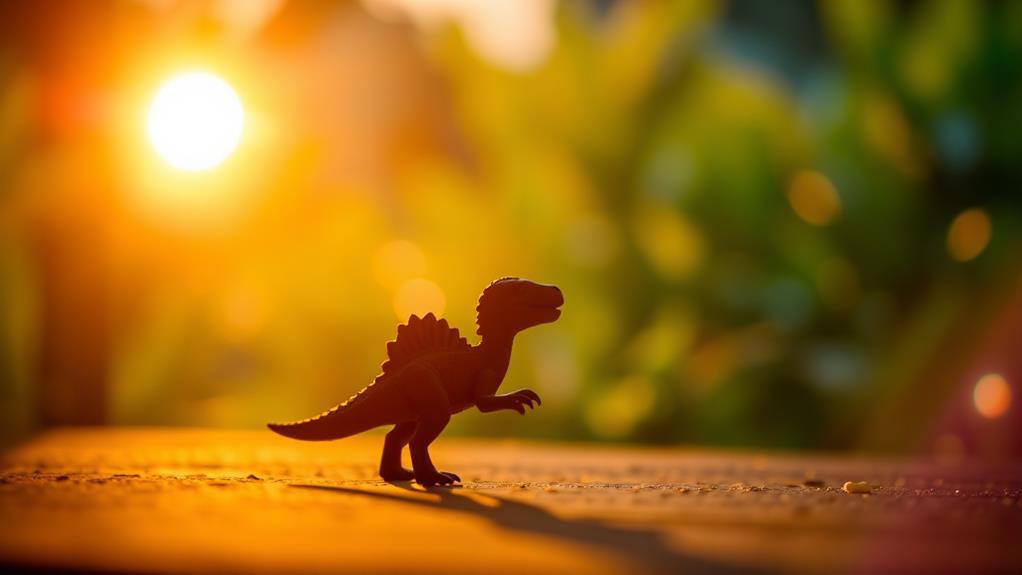
Silhouettes can add a dramatic flair to your toy photography, capturing the imagination and sparking intrigue. By using silhouettes, you highlight the toy's shape, creating a sense of mystery and storytelling. To achieve this, position your light source behind the toy, ensuring it's brighter than the foreground. This contrast helps define the edges of your subject, making the silhouette stand out against the background.
When setting up your shot, consider the toy's pose. Dynamic or recognizable shapes work best as silhouettes. Experiment with different angles to find the most striking outline. Keep the background simple, as a cluttered scene can distract from your subject's silhouette. A plain sky or a softly lit backdrop often works well.
Make sure your camera settings are appropriate for capturing silhouettes. You'll want to expose for the brightest part of the scene, usually the background. Use manual mode to control exposure, ensuring the toy remains dark. Adjusting the aperture can help you achieve a sharp silhouette while maintaining background details. Finally, don't hesitate to experiment with different toys and settings. Each setup may offer unique challenges and rewards, enhancing your skills in creating enchanting toy silhouettes.
Play With Light Angles
Capturing the perfect silhouette is just the beginning of your creative journey in toy photography. To truly elevate your images, you need to experiment with different light angles. By shifting the angle of your light source, you can dramatically change the mood and impact of your photograph. Start by positioning the light at varying heights and directions to see how shadows and highlights transform the scene.
Consider the following tips:
- Side Lighting: This creates depth and texture, emphasizing the toy's details and contours. Side lighting is perfect for highlighting intricate features that might otherwise go unnoticed.
- Low Angle Lighting: Place the light source low and behind the toy to create a dramatic, larger-than-life effect. This can add an element of power and intensity, making your subject appear more dynamic.
- Top-down Lighting: This angle works well for creating a soft, natural look, often mimicking sunlight. It can make the toy appear more realistic, lending a sense of authenticity to your scene.
Experiment with these angles until you find the one that best conveys your artistic vision. Remember, it's all about how light interacts with your subject, and playing with angles is key to mastering backlighting in toy photography.
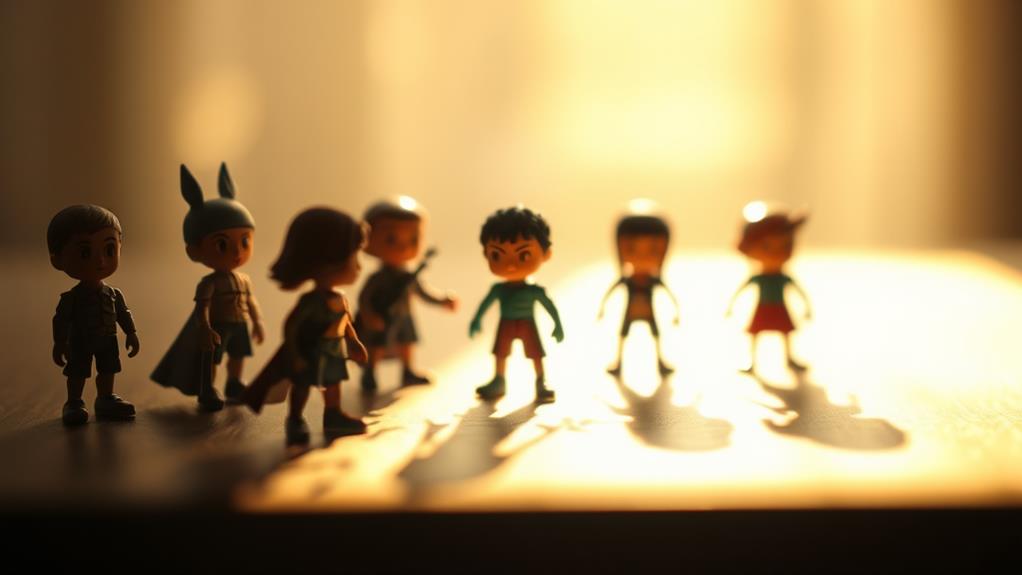
Diffuse the Backlight
Diffusing the backlight is a game-changer for toy photography. It softens harsh shadows and creates a dreamy, more natural look. You can use simple tools like a white sheet, a diffuser panel, or even parchment paper to scatter the light. This spread of light reduces the stark contrast between the subject and the background, allowing the toy's details to shine through without sharp edges. By doing so, you enhance the toy's features, giving it a more lifelike appearance.
To diffuse the backlight effectively, position your chosen diffuser between the light source and the toy. Make certain it's close enough to the light to spread the light evenly, but not so close that it blocks too much of it. Experiment with distances to find the sweet spot where the light gently wraps around the toy, highlighting its textures and colors. You can also play with different materials, as each will offer a unique diffusion effect, altering the mood and feel of your photo.
Control Light Intensity

Managing light intensity is essential in toy photography, as it directly impacts the mood and detail of your shots. You want to create a balance where your subject stands out without getting lost in overpowering brightness or drowning in shadows. One effective way to control light intensity is by adjusting the distance between your light source and the toy. Moving the light closer will increase the intensity, while pulling it back will soften the glow.
You can also use dimmers or gels to fine-tune the light. Dimmers allow you to adjust the brightness levels precisely, while gels can add warmth or coolness, enhancing the overall ambiance. Keep in mind that controlling light intensity doesn't just affect brightness, it also influences the texture and color representation of your subject.
Consider these factors when adjusting light intensity:
- Mood creation: Decide if you want a dramatic scene or a gentle, dreamy effect.
- Highlighting details: Adjust intensity to bring out intricate details without washing them out.
- Color accuracy: Verify that the true colors of the toy are preserved and not altered by too much light.
Experiment With Shadows
How can shadows transform your toy photography? Shadows can add depth, drama, and intrigue to your images, creating a narrative that enhances the overall impact. By experimenting with shadows, you can shift the mood and tone of your photos, turning a simple setup into a mesmerizing scene. Shadows have the power to emphasize certain features of your toys, making them appear more lifelike and dynamic.
Start by positioning your light source strategically. Move it around to see how shadows change and interact with your toy. Notice how the angle and distance of the light affect the length and intensity of the shadows. A low angle can create long, dramatic shadows, while a high angle might produce subtler, softer ones.
Consider using props to cast interesting shadows. Objects like leaves, lace, or cut-out shapes can throw unique patterns onto your scene, adding complexity and interest. Play around with multiple light sources to create overlapping shadows, which can add a layer of sophistication.
Incorporate Color Gels
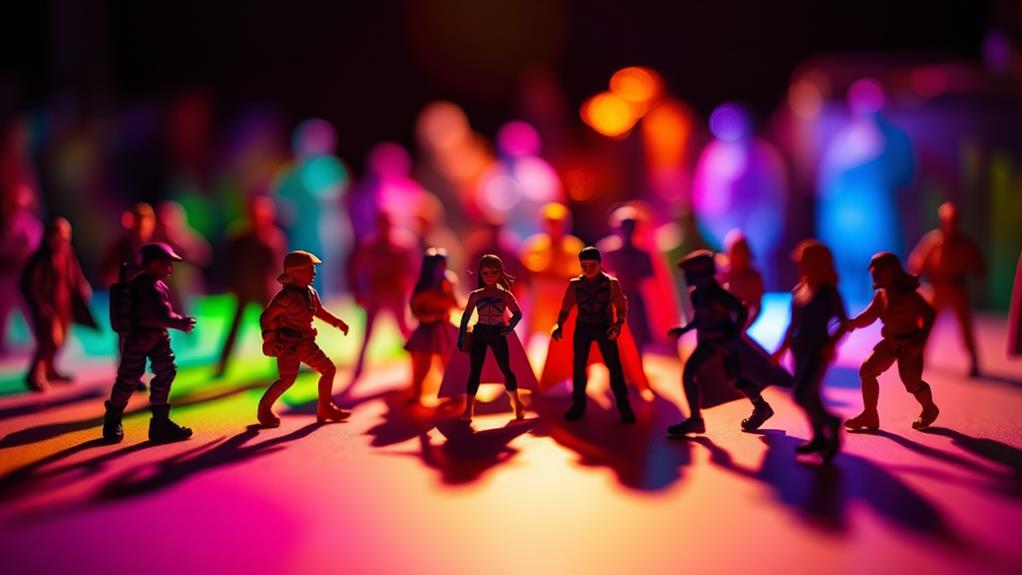
While natural light has its charm, incorporating color gels into your toy photography can elevate your images to new creative heights. Color gels are thin, colored sheets that you place in front of your light source. They can transform your lighting, adding mood and drama that pure white light just can't deliver. You can use them to create vibrant scenes or subtle undertones that enhance the story your toys are telling.
When using color gels, consider these elements to maximize their potential:
- Mood Setting: Choose colors that align with the emotion you want to convey. Warm colors like red and orange can create excitement, while cool colors like blue and purple evoke calmness or mystery.
- Contrast and Balance: Mix different gel colors for contrast, but be mindful of balance. Too many colors can overwhelm your composition, so start simple and build.
- Focus and Depth: Use gels to highlight specific areas or create depth by differentiating background and foreground lighting.
Experiment with positioning and intensity. Move the light source closer or further, and adjust the angles to see how the gels affect your scene. With practice, you'll craft compelling, color-rich images that captivate viewers.
Post-Processing Techniques
Editing your toy photography in post-processing can greatly enhance the final image, bringing out details and correcting imperfections. You'll want to use software like Adobe Lightroom or Photoshop to refine your shots. Start by adjusting the exposure to guarantee your backlit subjects aren't too dark or washed out. Next, tweak the contrast to define edges and make your toys pop against the backdrop.
Utilize the saturation slider to emphasize colors without going overboard. You can selectively enhance colors to make certain elements stand out, like the vibrant hues of a superhero cape or a toy car. Sharpening is another vital step to give your image clarity, highlighting those small, intricate details that make your toys unique.
For a quick visual guide, consider this table:
| Technique | Purpose |
|---|---|
| Exposure | Balance light and shadow |
| Contrast | Define edges and add depth |
| Saturation | Enhance colors and vibrancy |
| Sharpening | Highlight details and clarity |
Always remember to save different versions of your edits so you can compare and choose the best look. With these post-processing techniques, your toy photography will shine, capturing viewers' imaginations and highlighting your creative vision.
Frequently Asked Questions
How Can I Prevent Unwanted Reflections in Toy Photography?
To prevent unwanted reflections, adjust your angle and position the light source behind the toy. Use diffusers to soften light, and consider polarizing filters to reduce glare. Experiment with matte backgrounds to minimize reflective surfaces in your shots.
What Camera Settings Work Best for Backlit Toy Photography?
Imagine you've got a tiny action figure against a sunset. Use a low ISO to minimize noise, a narrow aperture like f/8 for depth, and adjust your shutter speed for the perfect silhouette effect. Experiment and adjust as needed.
How Do I Achieve a Realistic Scale in Toy Photos?
To achieve a realistic scale in toy photos, adjust the camera's angle to match eye-level perspective. Use props that mimic real-world size and guarantee proper depth of field. Experiment with natural lighting to enhance the scene's authenticity.
What Props Can Enhance Backlit Toy Scenes?
To enhance backlit toy scenes, use props like miniature trees, tiny furniture, or small fabric pieces for atmosphere. You could experiment with colored gels and diffusers to adjust the light and create dynamic, visually appealing compositions.
How Can I Create Depth in Backlit Toy Photography?
You can create depth by positioning toys at varying distances from the light source. Use props to cast shadows, and adjust your camera's aperture to blur backgrounds, emphasizing the subject's foreground position. Experiment with angles and perspectives.
At a Glance
You've now got the tools to transform your toy photography with stunning backlighting. Picture your favorite action figure bathed in a halo of light, casting dramatic silhouettes and vibrant shadows. By adjusting angles, diffusing light, and experimenting with colors, you breathe life into static scenes. Don't forget, post-processing is your magic wand, allowing you to enhance and perfect your masterpiece. So, pick up your camera, and let the backlight be your muse in this creative adventure.


