
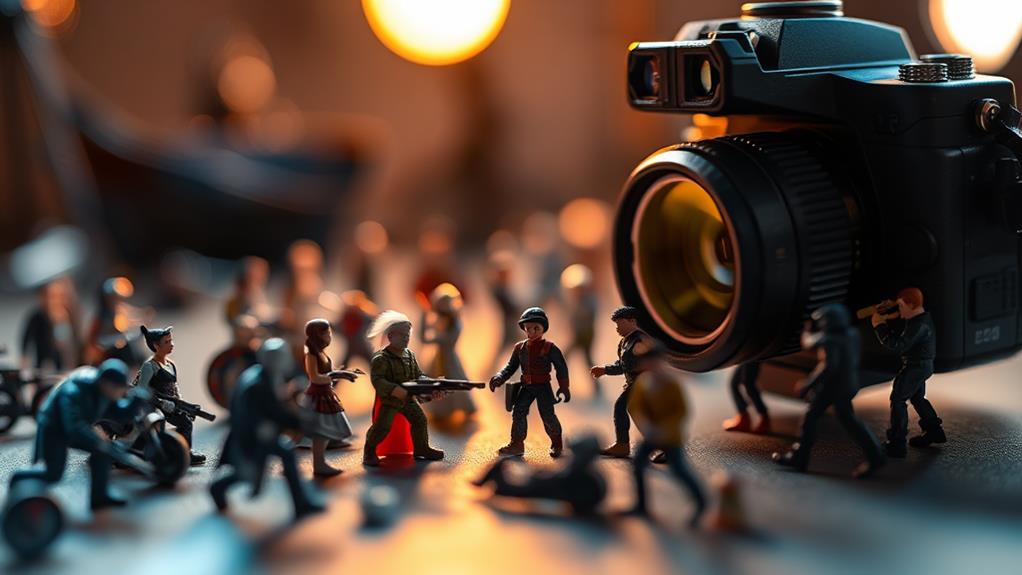
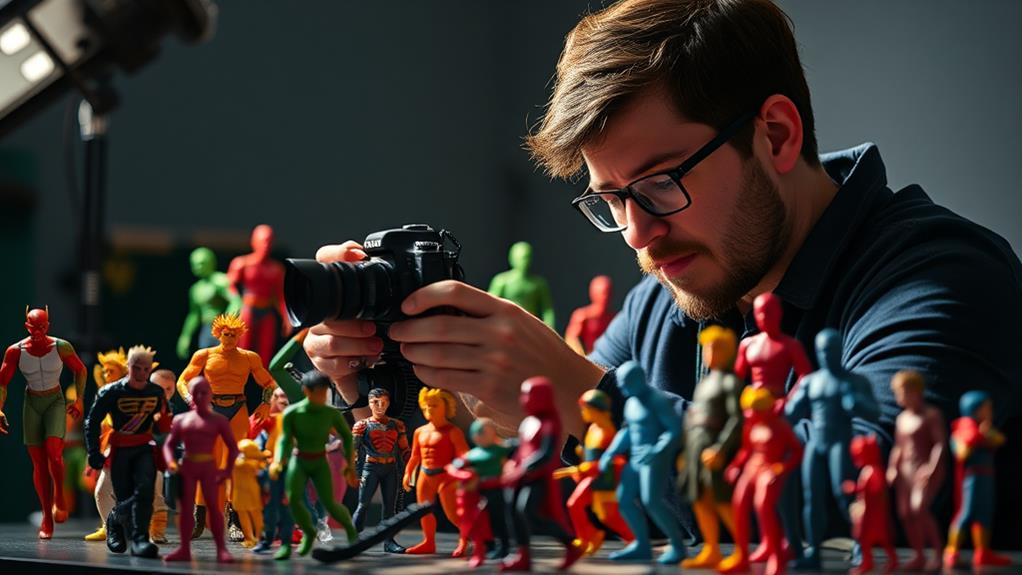
To capture toy figurines like a pro, start by experimenting with different aperture settings. Use a low f-stop for a blurry background or a high f-stop for full focus. Adjust your shutter speed to freeze movement or create motion blur, depending on your style. Keep your ISO low for clear images but don't hesitate to increase it in low light. Manual focus guarantees sharp detail, while proper white balance maintains true colors. Enhance your photos by tweaking contrast and saturation. Understanding exposure compensation and checking the histogram can greatly improve your shots. There's so much more to elevate your toy photography!
Mastering Aperture Settings
When you're diving into toy photography, mastering aperture settings is essential for capturing the perfect shot. The aperture, which is the opening in your camera lens, controls how much light reaches the sensor. By adjusting it, you can influence the depth of field, which is the area in focus in your image. In toy photography, where tiny details matter, this becomes vital.
Start by setting a low f-stop number, like f/1.8 or f/2.8, to achieve a shallow depth of field. This makes your toy stand out sharply against a blurred background, adding depth and focus to your subject. It's perfect for isolating the toy from its surroundings, drawing the viewer's eye directly to it.
Alternatively, if you want everything in the scene to be sharp, increase the f-stop number to f/8 or higher. This is useful when you're shooting a scene with multiple toys or intricate dioramas and you want all elements to be clear.
Experiment with different f-stop settings to discover what works best for your desired effect. Remember, the right aperture can transform your toy photography, making your images more engaging and professional-looking.
Shutter Speed Control
Often, controlling shutter speed is essential for capturing dynamic toy photography shots. Shutter speed determines how long your camera's sensor is exposed to light, affecting motion and exposure. For fast-moving scenes, like a toy car racing or an action figure leaping, a fast shutter speed (around 1/1000 of a second) freezes motion, ensuring sharp images. On the other hand, slower shutter speeds (like 1/30 or 1/15) capture motion blur, which can add a sense of movement to static toys, making them appear more lifelike.
Experiment with different speeds to achieve the effect you desire. If you're working in a well-lit environment, faster shutter speeds won't be an issue. However, in low light, you'll need to find a balance. Slower speeds allow more light but require a tripod to avoid camera shake. Always check your camera's settings, as some models offer image stabilization features that help with handheld shots at slower speeds.
Utilizing ISO for Clarity
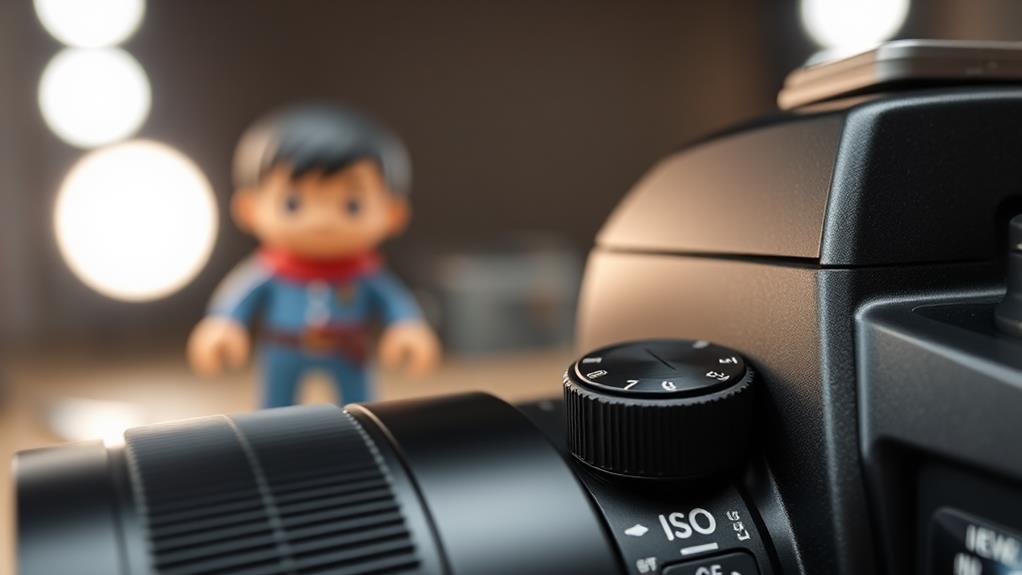
ISO sensitivity plays a crucial role in achieving clarity in your toy photography. It determines how sensitive your camera's sensor is to light. When shooting toy figurines, you want to capture every tiny detail clearly, and adjusting the ISO can help. If you're shooting in a well-lit environment, keep your ISO low, around 100 or 200. This minimizes the noise and graininess in your photos, ensuring that your figurines' features are sharp and vibrant.
However, if you're working in low light, you might need to increase the ISO to allow more light into the sensor. Be cautious, though—higher ISO settings can introduce noise. If you have to raise it, try not to exceed 800. Balancing ISO with your shutter speed and aperture is essential to get the right exposure without sacrificing image quality.
Experiment with different ISO settings to see how they impact your photos. Use your camera's display to review images and adjust accordingly. Remember, each scene and setup is unique. By mastering ISO adjustments, you'll enhance your toy photography, ensuring each figurine is captured with the utmost clarity and detail.
White Balance Adjustments
Achieving accurate color representation in toy photography hinges on proper white balance adjustments. When you're photographing toy figurines, their colors need to be true to life, capturing the vibrant hues and intricate details. White balance guarantees that the whites in your image appear white, not tinged with blue or yellow. Start by setting your camera's white balance according to the light source you're using. For instance, if you're shooting under daylight, choose the daylight setting. Indoors, you might opt for tungsten or fluorescent, depending on the lighting.
If your camera offers a custom white balance option, take advantage of it. Use a white or gray card to set a custom white balance, providing a neutral reference point for the camera. This guarantees consistent and accurate colors, especially when lighting conditions are tricky.
Don't forget to check your camera's live view or take a test shot to see how the colors appear. Adjust the white balance as needed until the colors look right. Post-processing software can also help refine white balance, but getting it right in-camera saves time. Mastering white balance adjustments will make your toy photography pop with true-to-life colors.
Focus Techniques

Capturing sharp and detailed images of toy figurines requires mastering focus techniques. Start by setting your camera to manual focus mode. This gives you full control, allowing precision in highlighting the figurine's intricate details. Auto-focus might miss those tiny features, so manual is your best bet. Next, use focus peaking if your camera offers it. This feature highlights in-focus areas, making it easier to see what's sharp.
Consider using a tripod to stabilize your camera, which helps in avoiding blurry images caused by hand movement. Also, try using a remote shutter release to minimize camera shake further.
A helpful tip is to focus on the figurine's eyes or the most detailed part of the toy. This draws viewers' attention immediately to the main subject, giving your photos a professional look.
Here's a simple table to guide your focus settings:
| Technique | Purpose | Benefit |
|---|---|---|
| Manual Focus | Precision control | Highlights intricate details |
| Focus Peaking | Visual confirmation | Guarantees sharpness |
| Tripod | Stability | Reduces camera shake |
| Remote Shutter | Minimize movement | Enhances image clarity |
Depth of Field Mastery
Why is depth of field so essential in toy photography? It's because it allows you to control which parts of the image are in sharp focus and which are artistically blurred, guiding the viewer's eye to the most important elements. With toy figurines, a shallow depth of field can create a sense of scale and drama, making the figurines appear as if they're part of a larger world.
To master depth of field, start by understanding aperture settings on your camera. A wider aperture (like f/2.8) creates a shallow depth of field, ideal for isolating your toy from the background. Conversely, a narrower aperture (like f/16) increases depth of field, keeping more of the scene in focus. Use these settings to experiment with different looks.
Positioning also affects depth of field. Move closer to your subject for a shallower depth of field, or step back to bring more into focus. Additionally, consider your lens choice; longer focal lengths naturally produce shallower depth of field.
Practice by adjusting these elements, and soon you'll be able to emphasize the charm and personality of your toy figurines, adding depth and interest to your photographs.
Effective Exposure Compensation
While mastering depth of field enhances your toy photography by focusing attention where you want it, understanding effective exposure compensation is equally important to achieve the perfect lighting balance. Exposure compensation allows you to adjust your camera's exposure settings to brighten or darken your image, which is essential when shooting toy figurines. Often, the camera's automatic settings might not capture the light as you envision, especially in scenes with high contrast or unique lighting.
To effectively use exposure compensation, consider these steps:
- Assess the Scene: Determine whether your scene is too bright or too dark. For instance, if you're photographing a light-colored figurine against a dark background, your camera might underexpose the subject.
- Adjust Incrementally: Use your camera's exposure compensation dial or setting to make small adjustments. Start with minor changes, like ±0.3 or ±0.7 stops, to see how they affect your image.
- Review and Refine: After taking a shot, review the image to see if the exposure meets your expectations. Don't hesitate to tweak the compensation further to perfect your shot.
Using Histogram for Accuracy
Understanding how to read a histogram is like having a roadmap for achieving ideal exposure in your toy photography. When you glance at that graph on your camera, it might look intimidating, but it's your best ally for ensuring your shots are neither too dark nor overly bright. The histogram fundamentally shows the distribution of tones in your image, with shadows on the left, midtones in the center, and highlights on the right.
To use it effectively, pay attention to the peaks and valleys. If you see the graph bunching up on the left, your image might be underexposed, losing essential details in the shadows. Conversely, a spike on the right side suggests overexposure, which can wash out the highlights. Balance is key.
Check the histogram after taking a shot. If it's skewed too far in one direction, adjust your camera settings. You can tweak ISO, aperture, or shutter speed to shift the tones into a more balanced range. Practice makes perfect, so experiment with different lighting conditions and see how your histogram reacts. This constant feedback loop will help you master exposure, ensuring your toy figurine photos are always accurate and vibrant.
Customizing Picture Styles
Customizing picture styles can dramatically transform your toy photography, offering a creative edge to your images. By adjusting picture styles, you can control how your camera interprets colors, contrast, and sharpness, tailoring each shot to your artistic vision. Start by exploring your camera's preset styles, but don't stop there. Immerse yourself in custom settings to truly make each figure pop.
Consider these steps when customizing your picture styles:
- Adjust Contrast and Saturation: Enhance mood and detail. For vibrant scenes, increase saturation. For a moodier effect, dial down the contrast, emphasizing shadows.
- Tweak Sharpness: Toy figurines often have intricate details. Increasing sharpness can highlight these features, but be cautious not to overdo it, which might introduce noise.
- Experiment with Color Tones: Depending on your theme, you might want warmer tones for a cozy feel or cooler hues for a futuristic look. Adjusting the color tone can shift the emotional impact of your photo.
Frequently Asked Questions
How Can I Create Realistic Backgrounds for Toy Figurine Photography?
Use printed backdrops or create dioramas to set realistic scenes. Adjust lighting to match the background's ambiance. Blur backgrounds slightly for depth. Experiment with angles, ensuring the background complements the figurine's scale and enhances the overall story.
What Lighting Setup Is Best for Shooting Toy Figurines?
Picture your figurines basking in the golden hour glow. Use soft diffused lighting to avoid harsh shadows. Position lights at 45-degree angles for depth. Experiment with LED panels or lightboxes for even, controlled illumination. Your creativity shines!
How Do I Prevent Reflections on Glossy Toy Figurines?
To prevent reflections on glossy figurines, adjust your light source angle and use a diffuser. Create a soft, even light by placing a white sheet or softbox between the light and figurine. Avoid direct light exposure.
What Are Some Tips for Posing Toy Figurines Creatively?
Try varying angles and use miniature props to create dynamic scenes. Experiment with lighting to highlight details, and use natural elements like leaves or sand for realism. Don't forget to play with perspectives to enhance your figurine's character.
How Can I Enhance Toy Figurine Photos During Post-Processing?
Use editing software to adjust lighting and contrast for depth. Apply sharpening to enhance details. Experiment with color correction for mood. Don't overdo filters; aim for realism. Add subtle vignettes to focus attention on the figurine.
At a Glance
You've traveled through the labyrinth of expert techniques, mastering everything from aperture settings to customizing picture styles. Remember, capturing toy figurines is like tuning a Walkman—every setting fine-tunes your visual symphony. By controlling shutter speed, ISO, and white balance, you create clarity and vibrancy. Focus and depth of field become your best friends, while exposure compensation and histograms guarantee precision. So, step behind the lens and let your creativity shine, immortalizing each tiny world with finesse.


