Creating DIY backdrops for toy figurine photography is a fun and easy process. Start by selecting materials that complement your toy’s theme, like felt for textures or colored paper for vibrant backgrounds. Use poster boards for easy size adjustments, ensuring flexibility in camera angles. Add natural elements, such as faux leaves or flowers, to bring a seasonal touch. Craft tiny props from clay for added detail, and play with lighting; matte papers and fairy lights can create intriguing effects. Tailor your backdrop to seasonal vibes with themed elements. There’s plenty more to explore on crafting these engaging settings. Additionally, consider incorporating textured fabrics like burlap or lace to enhance the visual appeal and depth of your scenes. Experiment with different heights and layers to create a dynamic backdrop that draws attention to your toy figurines. Ultimately, the key to crafting unique figurine photo backdrops lies in your creativity and willingness to try new ideas, allowing your photographs to shine with personality and charm.
Choosing the Right Materials
When you're setting up a DIY backdrop for toy photography, picking the right materials is essential to achieving the desired effect. Start by considering the texture and color that will best complement your toy. For instance, if you're photographing a sleek, futuristic robot, a smooth, metallic paper might enhance its features. On the other hand, a rustic, wooden texture could work beautifully for a toy cowboy.
Consider the size of your backdrop, too. You don't want it too small, which might limit your camera angles, or too large, which could become cumbersome to manage. A flexible option is using poster boards; they're easy to cut and adjust to your needs. Choose colors that either contrast or blend with your toy to make it pop or create harmony.
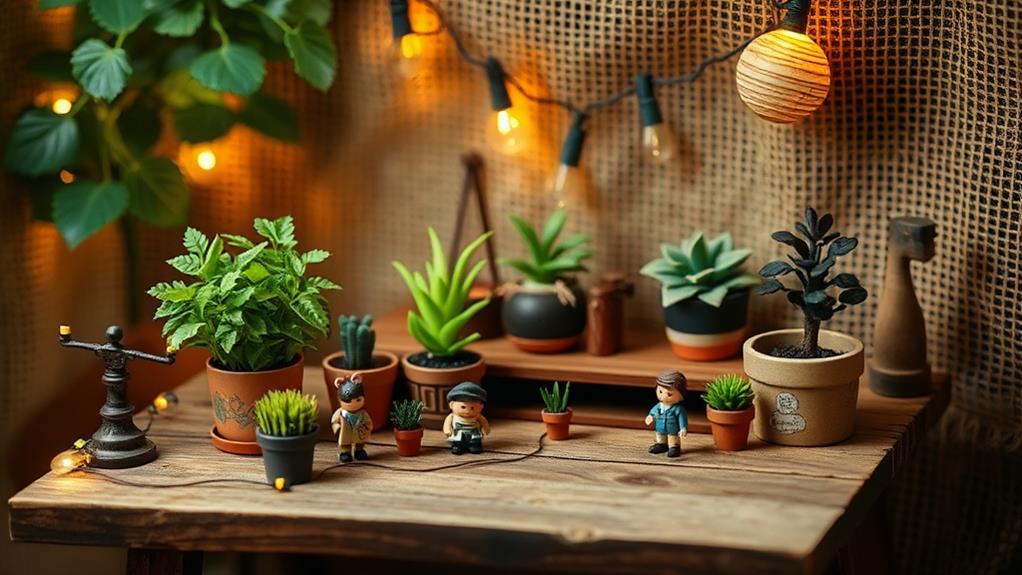
Lighting is vital, so materials that reflect or diffuse light can be beneficial. Matte papers reduce glare, while glossy surfaces can add interesting reflections. Fabric backdrops like felt or burlap provide texture and absorb light, preventing unwanted reflections. Finally, don't forget about portability. Lightweight materials allow you to experiment with different locations and setups easily. With these considerations in mind, you'll be well-equipped to create stunning toy photography.
Creating a Miniature Forest
To create a miniature forest for your toy photography, start by gathering materials that mimic natural elements. Look for small branches, twigs, and moss, which you can find in your backyard or a local park. These will form the base of your forest scene. If you want to add some color, small artificial plants or craft moss from a hobby store work well. For trees, use trimmed branches, ensuring they have interesting shapes and textures.
Next, arrange your materials on a flat surface that acts as your forest floor. A piece of green or brown felt can serve as the ground, providing a soft, earthy feel. Place the branches vertically, varying their height to create depth and dimension. Use modeling clay or a small amount of glue to secure them in place.
Incorporate elements like small pebbles or sand to mimic rocks and dirt paths. To enhance the scene, consider adding miniature animals or other accessories that complement your toy figurines. Experiment with lighting by using flashlights or desk lamps to cast shadows, giving your forest a realistic ambiance. With these steps, you'll have a enchanting miniature forest backdrop for your toy figurine photography.
Crafting Urban Landscapes

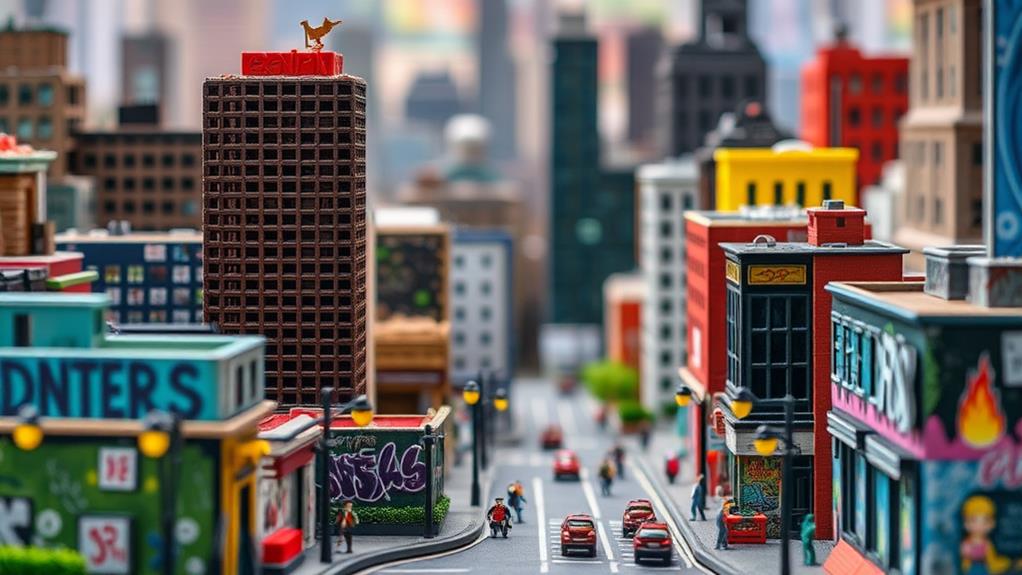
Capturing the essence of city life in your toy photography starts with crafting an urban landscape that feels authentic and intriguing. Begin by gathering materials like cardboard, foam board, and paint. These will serve as the base for your miniature skyscrapers and streets. Cut the cardboard into shapes representing buildings, using foam board for depth. Paint them with shades of gray, beige, or whatever color suits your cityscape.
Next, add details that bring the city to life. Use a fine-tipped brush to paint windows, doors, and graffiti, capturing the gritty charm of urban areas. For streets, cut thin strips of black foam board and add white or yellow lines with paint. Incorporate miniature streetlights, benches, and vehicles to enhance realism.
Consider the scale of your toys. Verify that buildings and street elements match their size to maintain a coherent look. Create variety by mixing building heights and styles. You might add a park or a construction site for interest. Arrange your elements thoughtfully, creating a narrative flow. Experiment with lighting to simulate different times of day. Whether it's dawn or dusk, lighting transforms your urban backdrop's mood.
Designing Underwater Scenes
Submerged beneath the waves, your toy photography can come alive with vibrant underwater scenes. Transforming your space into a watery wonderland is easier than you might think. Start by selecting a backdrop that mimics the ocean's hues. Use blues, greens, and purples to create depth and mystery. For a realistic touch, try layering translucent materials like cellophane or tulle, which can mimic the shimmering quality of water.
To add life to your scene, incorporate small details that depict an underwater world:
- Artificial Plants: Use aquarium plants or craft paper seaweed to simulate ocean flora.
- Bubbles: Create bubbles using clear beads or a bubble machine for a dynamic effect.
- Sand: Sprinkle some craft sand around your setup to mimic the ocean floor.
- Sea Creatures: Introduce small plastic sea creatures or shells to add interest and context.
- Lighting: Use blue-tinted LEDs or a projector to emulate the play of sunlight through water.
Position your toy figurines as if they're exploring the depths, and don't forget to play with angles and focus to capture the illusion of movement. With these elements, you'll create immersive underwater scenes that captivate the viewer's imagination. Immerse yourself and let your creativity flow!
Building Sci-Fi Settings

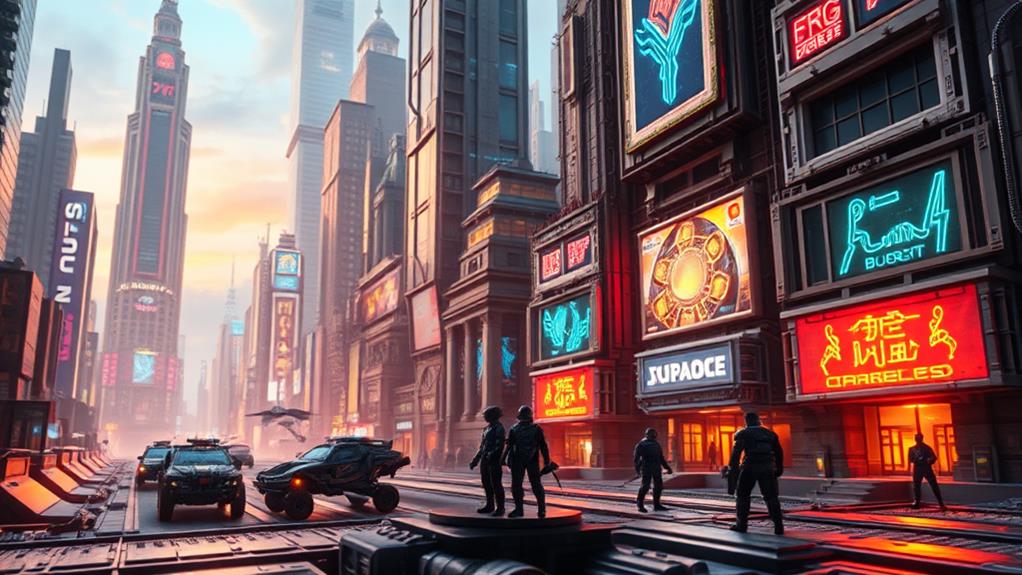
Step into the domain of futuristic wonder with sci-fi settings for your toy photography. Begin by envisioning a world of sleek spaceships, alien landscapes, and interstellar adventures. You don't need to spend a fortune; household items can transform into cosmic backdrops. Aluminum foil crumpled and smoothed out mimics metallic surfaces or starry skies. Use string lights to simulate distant galaxies, creating an ethereal glow.
Dive into crafting intricate settings with common materials. Cardboard can become the base for structures or spacecraft. Add texture using plastic containers or bubble wrap for a techy feel. Incorporate various elements to enhance your scenes:
| Material | Purpose | Example Use |
|---|---|---|
| Aluminum Foil | Reflective surfaces | Space station walls |
| String Lights | Ambient lighting | Stars or spaceship glow |
| Bubble Wrap | Extra texture | Alien planet surfaces |
| Plastic Tubes | Futuristic structures | Pipes and conduits |
Experiment with angles and lighting to bring your scene to life. Use colored gels over lights to cast hues of blue or red, amplifying the sci-fi ambiance. With creativity and resourcefulness, you'll craft enchanting otherworldly worlds for your toy figurines.
Painting Abstract Backgrounds
Creating abstract backgrounds for your toy photography can add a unique and artistic flair to your shots. To start, gather some supplies like canvas, acrylic paints, and a variety of brushes or sponges. These materials will help you experiment with colors and textures. Choose a color palette that complements your toy figurines without overpowering them. Abstract designs allow you to play with patterns and hues, making each backdrop one-of-a-kind.
Here's how you can create stunning abstract backgrounds:
- Experiment with Colors: Use contrasting colors to make your figurines pop, or blend similar shades for a more harmonious look.
- Play with Textures: Try different techniques like sponging, splattering, or using palette knives to create interesting textures.
- Layer it Up: Apply multiple layers of paint to add depth and complexity to your background.
- Embrace Imperfections: Abstract art thrives on spontaneity, so don't worry about making it perfect.
- Use Masking Tape: Create sharp lines or geometric patterns by masking areas before painting.
Once your background is ready, position your toy figurines in front of it. Let the abstract art enhance their character, creating an engaging and visually striking scene.
Constructing Seasonal Themes

When you're constructing seasonal themes for toy photography, remember that these backdrops can evoke the essence of a specific time of year and add an extra layer of storytelling to your images. Start by choosing a season you want to capture. For winter, you might use white felt for snow and tiny fairy lights for a cozy glow. Spring could involve pastel-colored papers and miniature flowers that you can make from tissue paper or clay.
Think about the colors and textures that represent each season. For autumn, consider using warm tones like oranges and browns. You can scatter faux leaves around the scene to mimic the real thing. Summer might involve bright blues and yellows, with props like tiny beach balls or parasols to create a sunny vibe.
Incorporate small details to make your backdrop more engaging. For example, a miniature pumpkin can make Halloween come alive, while tiny eggs or bunnies add an Easter touch. Always keep the scale of your toys in mind to guarantee the backdrop complements rather than overwhelms them. By paying attention to these elements, your seasonal themes will truly enhance your toy figurine photography.
Frequently Asked Questions
How Can I Effectively Light My DIY Backdrop for Toy Photography?
Make certain you've got diffuse lighting by using a softbox or white sheet over a lamp. Position lights at 45-degree angles to reduce shadows. You can experiment with colored lights for creative effects and enhance your scene.
What Camera Settings Work Best for Shooting Toy Figurines With DIY Backdrops?
Like an artist choosing their palette, you'll set your camera to a low ISO, use a small aperture for depth, and adjust the shutter speed to capture sharp images. Experiment, and soon you'll find what works best.
Are There Any Tips for Maintaining and Storing DIY Backdrops?
Keep your backdrops clean by wiping them gently, avoiding harsh chemicals. Roll them up for storage to prevent creases. Use a dust cover or plastic tube to protect them. Store them in a cool, dry place.
How Do I Create a Sense of Scale in Toy Photography?
Use perspective to your advantage. Position your camera lower and closer to the toy, capturing the scene from its level. Incorporate everyday objects as props to enhance depth and context, making the toys appear larger than life.
What Are Some Common Mistakes to Avoid in DIY Backdrop Photography?
Don't bite off more than you can chew by overcomplicating your design. Avoid cluttered backgrounds, inconsistent lighting, and unsteady setups. Keep it simple, guarantee lighting is even, and stabilize your backdrop for the best results.
At a Glance
You've now got the tools to create stunning backdrops for your toy figurine photography. Remember, "the devil is in the details," so pay attention to the little things that bring your scenes to life. Whether you're crafting a miniature forest or designing an underwater world, let your creativity flow. Don't be afraid to mix and match materials or themes. With your imagination as the guide, you'll transform simple setups into enchanting visual stories. Happy shooting!


