To excel in low-light toy photography, adjust your camera settings by increasing the ISO, using a wide aperture, and managing shutter speed. Utilize natural light sources like streetlamps or windows, and capture golden hour magic. Tripods are key for stability, eliminating motion blur during long exposures. Experiment with light diffusers and reflectors to soften shadows and illuminate your toys creatively. Craft DIY solutions with household items to control light effectively. Immerse yourself in post-processing tools to enhance your images further. If you follow these tips, your low-light toy photography will achieve stunning results and unfold endless creative possibilities.
Choosing the Right Camera Settings
When diving into the world of low-light toy photography, understanding your camera settings is essential. Start by adjusting your ISO setting, which determines your camera's sensitivity to light. In low-light situations, a higher ISO can help capture more detail, but be cautious—going too high might introduce unwanted noise. Aim for a balance, experimenting within the ISO range of 800 to 3200, depending on your camera's capabilities.
Next, focus on your aperture settings. A wide aperture (low f-stop number) allows more light to hit the sensor, helping you achieve that dreamy bokeh effect where the toy is crisp, and the background blurs artistically. However, a wide aperture also means a shallow depth of field, so verify your focus is spot on.
Your shutter speed is another critical factor. In low light, a slower shutter speed lets in more light but increases the risk of motion blur. Use a tripod to stabilize your camera, allowing you to take longer exposures without sacrificing sharpness. Experiment with shutter speeds around 1/60th of a second or slower, depending on your desired effect.
Utilizing Natural Light Sources
Although artificial lighting can be controlled, nothing beats the authenticity of natural light sources in low-light toy photography. You can harness the subtle glow of a streetlamp or the soft shimmer of moonlight to create evocative and atmospheric images. These natural lights add a unique character and mood to your shots that artificial lights might struggle to replicate.
Start by identifying potential natural light sources around you. Windows can offer a gentle, diffused light, perfect for highlighting details without harsh shadows. Position your toy near the window, and experiment with angles to find the best lighting effect. If you're shooting outside, consider the golden hours—just after sunrise or before sunset. The sun is low, casting a warm and flattering light that enhances textures and colors.
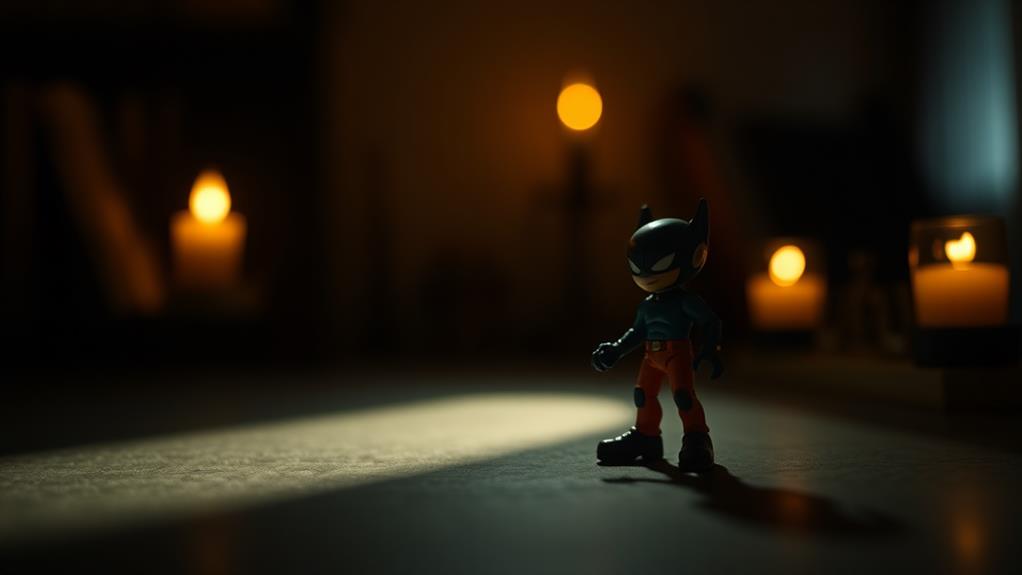
Nighttime photography offers its own set of opportunities. Streetlights and neon signs can create dramatic contrasts and vibrant reflections. Use these to your advantage by positioning your toys strategically to play with shadows and highlights. Remember, the key is to be observant and adaptive. Natural light is constantly changing, so stay alert and ready to capture those fleeting, perfect moments that make your toy photography stand out.
Mastering the Use of Tripods

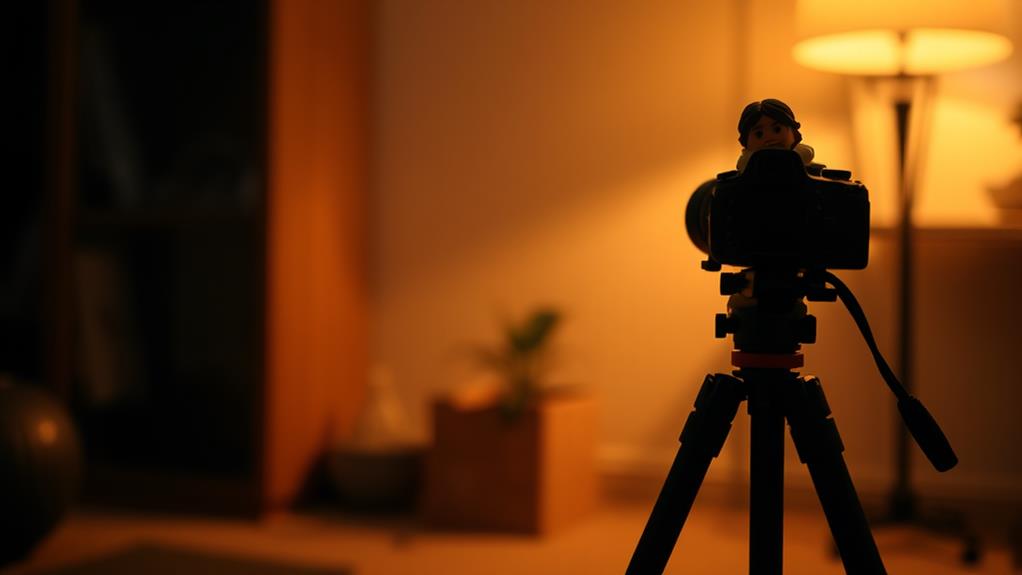
To achieve sharp and steady shots in low-light toy photography, a tripod is your best friend. When shooting in dim environments, a steady camera eliminates blur caused by shaky hands, allowing you to capture intricate details of your toys. A tripod stabilizes your camera, offering you the freedom to experiment with longer exposure times without compromising image quality. By using a tripod, you can also compose your shot more thoughtfully, guaranteeing every element is perfectly placed.
When selecting a tripod, consider the following:
- Portability: Choose a lightweight model, making it easy to carry around, especially if you're shooting in various locations.
- Adjustability: Look for a tripod with adjustable legs and a rotating head, allowing you to achieve different angles and perspectives.
- Sturdiness: Confirm it's stable enough to hold your camera without wobbling, especially if you're using heavier equipment.
- Ease of Use: Opt for models with quick-release plates and simple locking mechanisms, so you can set up swiftly and focus on your creativity.
Mastering the use of a tripod will elevate your toy photography game. You'll gain control over your shots, making low-light conditions less of a challenge and more of an opportunity for creativity.
Experimenting With Light Diffusers
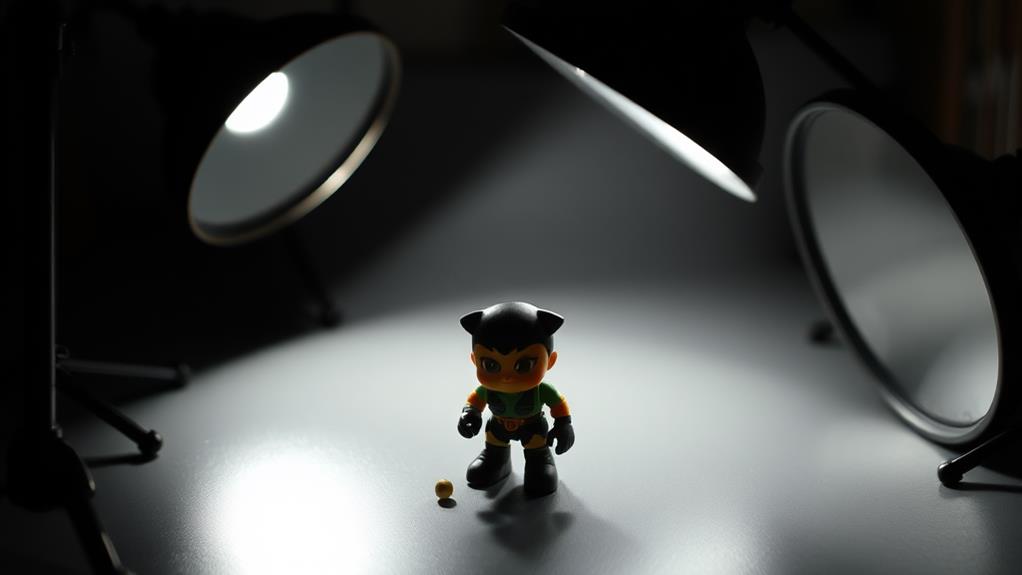
Even in low-light toy photography, light diffusers can transform your images by softening harsh shadows and reducing glare. You'll find that diffusers help create a more even light across your scene, making your toys look more realistic and detailed. Start by experimenting with different materials like white sheets, translucent plastic, or even tracing paper. Each material will give a unique effect, so don't hesitate to test them all and see what works best for your specific setup.
When you're setting up, position your light source behind the diffuser. This way, the light spreads out evenly and bathes your toys in a gentle glow. You can also play with the distance between the light source and the diffuser to adjust the intensity and softness of the light. Closer distances result in softer light, while moving the diffuser farther away creates more defined shadows.
Remember to pay attention to the size of your diffuser. Larger diffusers cover more area and provide softer illumination, which is great for capturing wide scenes. For smaller subjects, a compact diffuser can offer precise control. Keep experimenting with different setups, and soon you'll master the art of low-light toy photography using light diffusers.
Incorporating Reflectors for Depth

Adding reflectors to your low-light toy photography can greatly enhance the depth and dimension of your images. By bouncing light back onto your subjects, you'll create highlights and shadows that add a dynamic feel to your shots. When using reflectors, think about the angles and positions that work best for your specific scene. You don't need expensive equipment—a simple piece of white card, a small mirror, or even aluminum foil can work wonders.
Here are some tips to make the most out of reflectors:
- Positioning: Place the reflector opposite the main light source to bounce light onto the shadowed side of your toys, revealing details that might otherwise be lost.
- Distance: Adjust the distance between the reflector and your subject to control the intensity of the reflected light. Closer reflects more light, giving a stronger effect.
- Color Choices: Experiment with different colored reflectors to add warmth or coolness. Gold reflectors add warmth, while silver can intensify the light.
- Angles: Change the angle of the reflector to direct the light exactly where you want it, playing with how it interacts with your toys' surfaces.
Crafting DIY Lighting Solutions
Creativity takes center stage when crafting DIY lighting solutions for low-light toy photography. You don't need expensive equipment to achieve striking results; everyday household items can transform your setup. Start by using a simple flashlight or smartphone light as your main source. You can diffuse it with a piece of parchment paper or a thin white cloth to soften harsh shadows and create a more flattering glow on your subject.
Consider using a white sheet of paper or aluminum foil as a reflector to bounce light onto your toys, filling in shadows and adding depth. You can also experiment with colored cellophane or plastic wrappers over your light source to introduce different hues and moods.
For more controlled lighting, create a snoot by rolling a piece of black construction paper into a tube and placing it around your flashlight. This directs the light precisely where you want it, allowing you to highlight specific elements of your scene.
Lastly, don't forget about LED string lights. They're versatile and can wrap around or behind your subjects to create enchanting backdrops or simulate realistic lighting like streetlights or moonlight. Your creativity is your most powerful tool!
Exploring Long Exposure Techniques

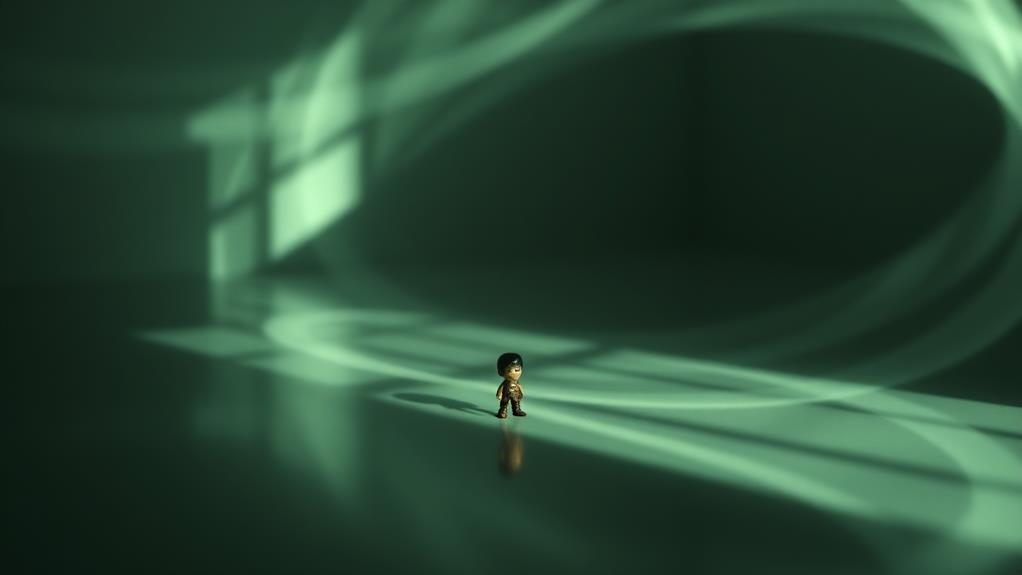
When it comes to capturing stunning low-light toy photography, mastering long exposure techniques can elevate your work to a new level. These techniques allow you to play with light and motion, creating enchanting images that bring toys to life in ways you never thought possible. By using a slow shutter speed, you can capture the subtle glow of ambient light or create dramatic effects with moving light sources. This approach not only enhances the mood but also offers endless creative possibilities.
To get started, consider the following:
- Tripod Necessity: A sturdy tripod is vital to keep your camera steady during long exposures, avoiding any unwanted blur.
- Shutter Speed Experimentation: Play with various shutter speeds to find the ideal setting that captures the desired motion or light trails.
- Remote Shutter Release: Use a remote shutter release to minimize camera shake and guarantee crisp, clear images.
- Light Painting Fun: Introduce a small flashlight or LED to "paint" light onto the toy, creating mesmerizing effects against a dark background.
With these techniques, you'll transform your toys into dynamic subjects. Remember, practice is key, so keep experimenting with different settings and light sources to discover what works best for your unique style.
Post-Processing for Low Light Magic
Enhancing your low-light toy photography doesn't end with the click of the shutter; post-processing is where the real magic begins. When you've captured your shot, the next step is to bring out the hidden details and vibrant colors through editing. Start by importing your images into a software like Adobe Lightroom or Photoshop. These tools offer advanced features to adjust exposure, contrast, and sharpness.
Begin with exposure adjustments. Low-light photos often need a boost to reveal details lost in shadows. Use the exposure and shadow sliders to balance the light. Be cautious not to overdo it; you want to maintain the mood.
Next, focus on color correction. Low light can cause color shifts, so adjust the white balance to restore natural tones. Play with vibrance and saturation to make colors pop without appearing artificial.
Frequently Asked Questions
How Do I Prevent Toy Reflections in Low-Light Photography?
To prevent toy reflections in low-light photography, position your light source at an angle. Use diffusers to soften shadows and minimize reflections. Matte backdrops help absorb light. Experiment with polarizing filters to control unwanted glare effectively.
What Are the Best Toys for Low-Light Photography?
You won't believe how well darker, textured toys absorb light, making them pop like stars in the night sky. Choose matte finishes and detailed figures to capture shadows and highlights, creating depth in your low-light photography.
How Can I Create a Dramatic Atmosphere in Low-Light Toy Photos?
Use shadows to your advantage by positioning a single light source creatively. Experiment with angles and backlighting. Adjust your camera settings for a darker exposure, and consider adding fog or colored gels for added drama.
What Props Enhance Low-Light Toy Photography Scenes?
You can enhance your low-light toy photography by using props like miniature lamps, colored gels, and reflective surfaces. Incorporate fog machines or LED strips to create depth and mood, transforming your scene into a fascinating visual story.
How Do I Minimize Noise in Low-Light Toy Photography Without Post-Processing?
Keep your ISO as low as possible to avoid noise. Open your aperture wide and use a slow shutter speed. A tripod will be your best friend for stability, ensuring clear shots without needing post-processing.
At a Glance
You've now got a treasure trove of techniques to elevate your toy photography in low-light settings. Remember, the devil's in the details, so fine-tune your camera settings and lean on natural light whenever possible. Don't be afraid to experiment with tripods, diffusers, and reflectors to add depth and drama. Craft your own lighting solutions and explore long exposure for unique effects. With some post-processing magic, you'll be capturing stunning images that truly shine in the dark.


