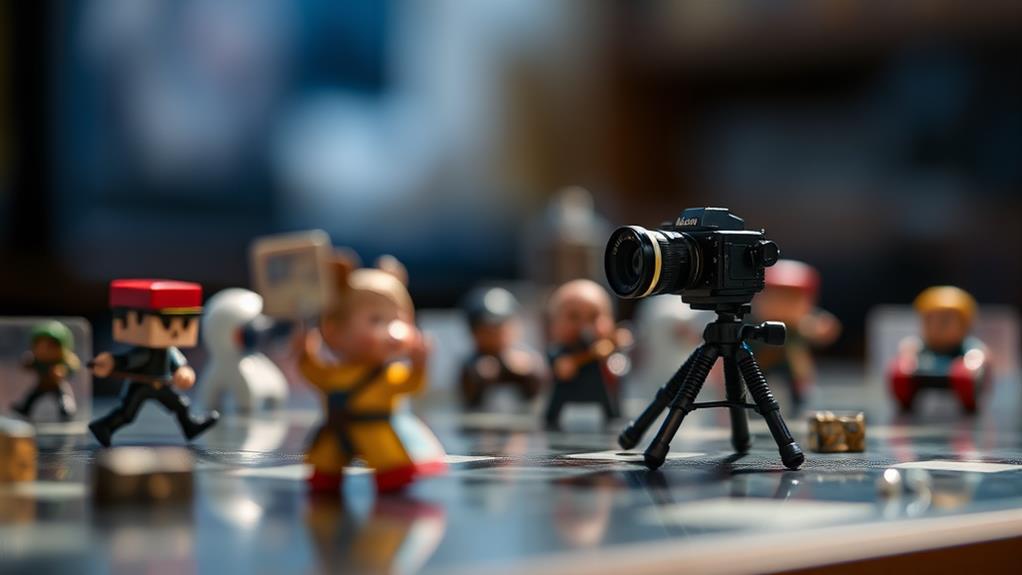
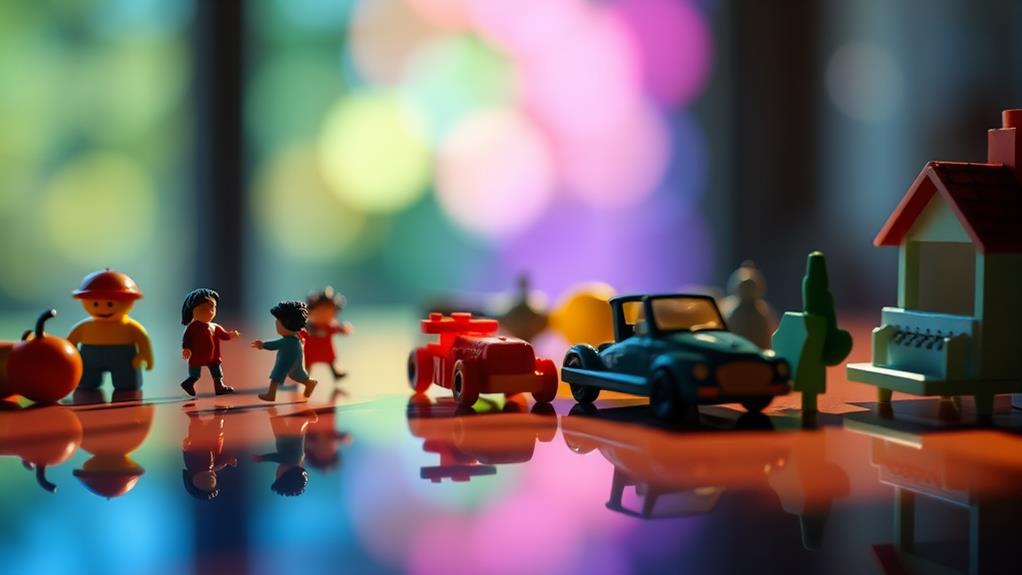
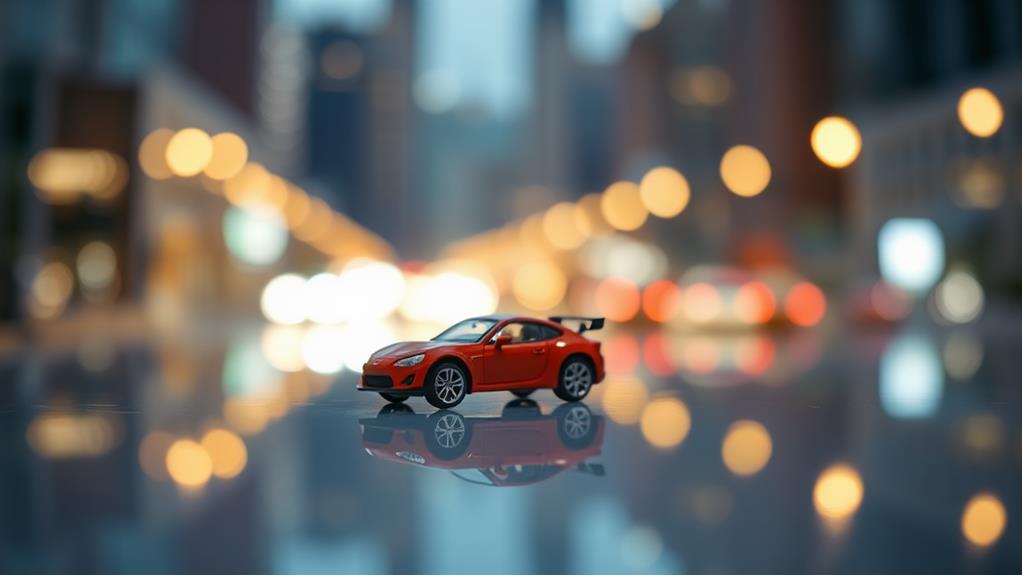
To capture enchanting reflections in toy photography, begin by choosing reflective surfaces like glass or water to add depth. Position your toys thoughtfully on these surfaces, keeping the scene's mood in mind. Experiment with different lighting conditions, using soft light to minimize harsh shadows and positioning at low angles for enhanced reflections. Play with camera angles, like low or overhead shots, to introduce grandeur or observational perspectives. During post-editing, use tools like color correction and sharpening to refine the reflections. For a more dynamic look, consider experimenting with water ripples or creative compositions. Let your imagination guide you further.
Understanding Reflective Surfaces
When it comes to toy photography, understanding how reflective surfaces work can dramatically improve your shots. You might not realize it, but reflections can add depth, intrigue, and a professional touch to your images. Start by identifying reflective surfaces around you, such as glass, water, or a shiny table. These surfaces can act like a natural mirror, capturing the toy's image while adding a unique dimension to your composition.
To effectively use reflections, position your toy and the reflective surface so they create a pleasing composition. Consider the angle of light, as it will affect how the reflection appears. Experiment with different lighting conditions, like natural sunlight or artificial sources, to see how they alter the reflections and shadows.
Keep in mind the background, as reflections can sometimes pick up unwanted elements that distract from your subject. Use a clean, simple backdrop to guarantee the toy stands out.
Choosing the Right Toys
Reflective surfaces can elevate your toy photography, but the toys themselves are the stars of the show. Choosing the right toys is essential to creating compelling images. Start by considering the story you want to tell. Are you aiming for an action-packed scene or a serene moment? Your choice of toys should reflect this narrative.
Think about the size and scale of the toys. Smaller toys can create an intimate feel, while larger ones might command the scene with their presence. Pay attention to detail; toys with intricate features can add depth and interest to your photos.
Color is another key factor. Brightly colored toys can pop against reflective surfaces, while muted tones might create a more sophisticated look. Consider how the colors will interact with your chosen reflective surface and the overall composition.
Lastly, consider the material of the toys. Glossy toys might reflect light differently than matte ones, affecting how they appear in the image. Experiment with different materials to see what works best for your vision.
Ultimately, the toys you choose should inspire you and align with the story you wish to convey through your photography.
Setting Up Your Scene

Before diving into your setup, consider the mood and story you want to craft through the scene. Ask yourself: Is it an action-packed battle or a serene afternoon with a tea party? Your toys are characters in the story, and the scene is their world. Choose a location that complements your narrative. A simple tabletop, a patch of grass, or a handmade diorama can offer the perfect backdrop.
Now, focus on the elements that will make your scene come alive. Arrange props, accessories, and lighting to enhance the atmosphere. Want a dramatic effect? Try using shadows or reflections. Remember, each element should contribute to the story.
Here's a quick guide to help you think about the elements of your scene:
| Element | Purpose | Tips |
|---|---|---|
| Background | Sets the scene | Keep it simple or thematic |
| Props | Adds detail and context | Use everyday items creatively |
| Lighting | Enhances mood | Experiment with angles and colors |
| Toy Position | Expresses action/emotion | Pose naturally |
| Composition | Guides the viewer's eye | Follow the rule of thirds |
Mastering Camera Angles
Capturing compelling toy photographs hinges on mastering camera angles that breathe life into your scene. You want to immerse your audience, making them feel like they’ve stumbled upon a miniature world. Begin by experimenting with low angles. This perspective can make your toy figures appear larger than life, adding drama and a sense of grandeur to your shots. Conversely, try shooting from above for a more observational viewpoint, letting viewers take in the entire scene. Incorporating varied depth of field is another essential aspect of toy photography beginner techniques. By blurring the background while keeping your subject in sharp focus, you can draw attention to the intricate details of your toys, creating a captivating image. Additionally, consider the use of props and natural light to enhance your composition, allowing for a richer storytelling experience that invites viewers deeper into your miniature world.
Don't be afraid to get creative with your camera positioning. Tilting the camera slightly can introduce dynamic tension, bringing energy to otherwise static setups. Use varying angles to convey different emotions or narratives. A close-up angle focuses on the details, capturing expressions or textures that might be lost in a wider shot. Meanwhile, a wide-angle lens can help you incorporate more of the scene, providing context and setting.
Always move around your subject. Explore the possibilities by shooting from different heights and sides. This practice helps you discover the most engaging compositions. Remember, the right angle can transform an ordinary shot into something extraordinary, inviting viewers into the playful universe you've crafted.
Lighting Techniques for Reflections

When you're aiming to capture stunning reflections in toy photography, understanding lighting techniques is essential. The right lighting can transform an ordinary shot into something extraordinary. Start by using soft, diffused light to minimize harsh shadows and glare. Natural light from a window works wonders, but if you're indoors, consider using a lightbox or softbox. Position your light source at a low angle to enhance the reflection effect.
Experimenting with different light positions can drastically change the outcome. Here's a quick guide:
| Lighting Position | Effect on Reflection |
|---|---|
| Front | Even lighting, reduced shadows |
| Side | Dramatic shadows, enhanced texture |
| Back | Silhouette effect, subtle outline |
| Top | Brightens subject, flattens depth |
Use reflectors to bounce light back onto the subject, enhancing the reflection without adding harshness. Remember, the angle of incidence equals the angle of reflection, so adjust your camera and light accordingly. Play with color gels over your lights to add mood and vibrancy to the scene.
Experimenting With Water Reflections
Building on your understanding of lighting techniques, let's explore the enchanting world of water reflections in toy photography. Water adds a magical element, transforming simple setups into fascinating scenes. Start by selecting a shallow container, like a baking tray or a glass dish, to create a reflective surface. Fill it with a thin layer of water, just enough to cover the bottom. This guarantees stability for your toys and enhances the clarity of reflections.
Position your toy carefully. The angle is vital; adjust it until you achieve the desired reflection. Experiment with different positions and see how light affects the water's surface. Natural light works wonders, especially during golden hours when the sun casts a warm, soft glow. If you prefer artificial lighting, use a diffused light source to avoid harsh glares.
Gently disturb the water with a slight ripple to introduce dynamic effects. Use a straw or your fingertip to create subtle waves, adding movement and life to your composition. Remember, patience is key. The perfect reflection might take a few tries, but the results can be stunning. Keep experimenting until you capture that perfect, mesmerizing reflection.
Editing Tips for Enhanced Reflections

Elevate your toy photography by mastering the art of editing to enhance reflections. Start by using photo editing software like Adobe Photoshop or Lightroom, where you can fine-tune your images. Begin with adjusting the brightness and contrast. This will help bring out the details in both the toy and its reflection. Pay attention to the reflection's sharpness. Use the sharpening tool to guarantee it mirrors the toy precisely, creating a more realistic effect.
Next, focus on color correction. Reflections can sometimes pick up unwanted hues from surrounding objects or lighting. Use the color balance tool to adjust and match the reflection's colors to the original toy. This creates a harmonious look, making the scene more believable.
Don't forget about the clone stamp or healing brush tools. These can help you remove any distracting elements or blemishes in the reflection that might detract from your composition. Finally, play with the saturation and vibrance. Boosting these can make your reflections pop, adding depth and interest to your photo.
Creative Composition Ideas
After mastering the art of editing reflections, it's time to explore creative composition ideas to bring your toy photography to life. Start by thinking about scale and perspective—these can transform a simple setup into a dynamic scene. Use low angles to make toys appear larger than life, or play with depth by placing objects at varying distances from the lens. Remember, your goal is to tell a story, and composition is a powerful tool to achieve that.
Consider the rule of thirds to guide your framing. This technique helps you balance your image and draw the viewer's attention to key elements. Experiment with negative space to highlight your subject and evoke emotion. Props and backgrounds can add depth and context, enhancing the narrative.
Here's a quick guide on composition elements:
| Technique | Purpose | Effect |
|---|---|---|
| Rule of Thirds | Balance and focus | Engages viewer's eye |
| Low Angles | Emphasize scale | Creates drama and impact |
| Negative Space | Highlight subject | Evokes emotion and simplicity |
Incorporate these ideas into your toy photography, and watch your images transform from simple snapshots to compelling stories. Happy shooting!
Frequently Asked Questions
How Do I Ensure My Toys Remain Stable During a Photoshoot With Reflective Surfaces?
To keep your toys stable during a photoshoot with reflective surfaces, use sticky tack or double-sided tape. Position the toys carefully and adjust lighting to reduce movement. Consider using a tripod to guarantee a steady camera.
What Are Some Budget-Friendly Alternatives to Expensive Reflective Props in Toy Photography?
Did you know 60% of stunning toy photos use household items? Try aluminum foil or a mirror for reflections. You'll create enthralling shots with what you already have, saving money and adding creativity to your setup.
How Can I Transport Reflective Surfaces Safely to Different Shoot Locations?
You can transport reflective surfaces safely by wrapping them in bubble wrap or soft cloth, then placing them in a sturdy box or padded bag. Guarantee they're secured tightly to prevent movement during transit, avoiding any damage.
What Are the Best Practices for Cleaning Reflective Surfaces Before a Shoot?
When it comes to cleaning reflective surfaces, nip it in the bud by using a microfiber cloth and gentle cleaner. Avoid harsh chemicals. Dry them thoroughly to prevent streaks. Always double-check under good lighting before starting your shoot.
How Can I Prevent Visible Fingerprints on Reflective Surfaces During Handling?
To prevent fingerprints, wear cotton gloves when handling reflective surfaces. Use a microfiber cloth to wipe away any smudges. Avoid touching surfaces directly and handle objects from the edges or using tools like tweezers.
At a Glance
You've now journeyed through the looking glass of toy photography, equipped with skills to capture magical reflections. Like Alice discovering Wonderland, let curiosity guide you as you select toys and angles. Embrace the art of lighting and the dance of water reflections to create enchanting scenes. In post-editing, polish your wonderland with precision. Remember, every shot is a new adventure—so keep exploring, experimenting, and, like a true artist, let your imagination shine.


