To boost your toy photos with natural sunlight, aim to shoot during golden hours—shortly after sunrise or before sunset—when the soft light adds magic to the scene. Avoid midday to prevent harsh shadows. Choose locations that enhance storytelling, like natural settings or urban environments for texture and depth. Experiment with angles and positions to create dynamic shots. Use simple reflectors like white cardboard to soften shadows and let colors pop. Overcast days are your friend for even lighting and bold colors. There's so much more you can explore to elevate your toy photography using these natural light techniques.
Choosing the Right Time
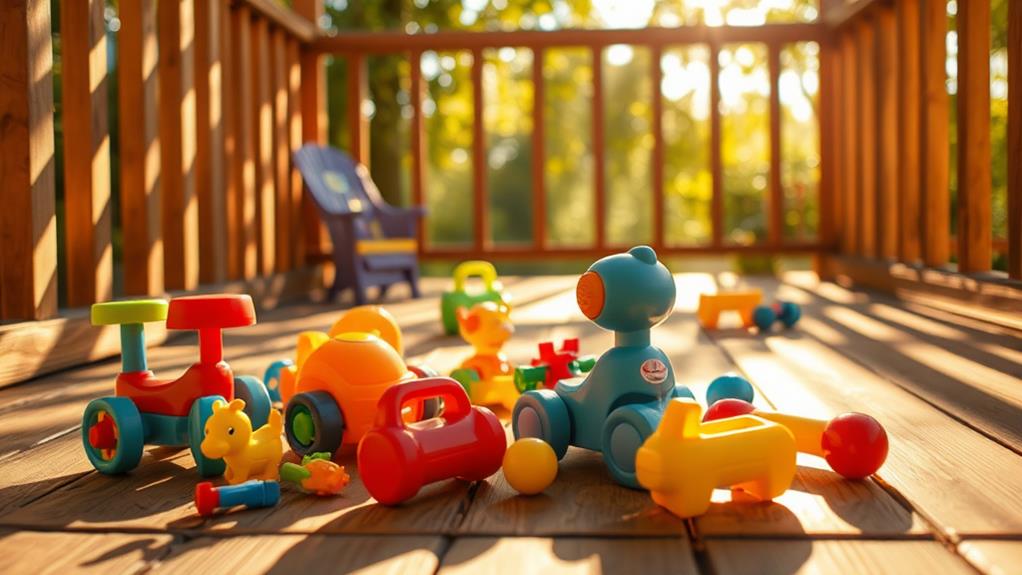
Capturing toy photos in natural sunlight can make a world of difference, and picking the right time is essential. You'll want to aim for the golden hours, which occur shortly after sunrise and just before sunset. During these times, the sunlight is softer and warmer, casting gentle shadows that add depth and character to your shots. Avoid shooting in the harsh midday sun, as it can create unflattering, stark shadows and blow out details, making your toys look washed out.
Pay attention to the weather forecast too. Overcast days can be surprisingly beneficial for your toy photography. The clouds act as a natural diffuser, providing even lighting without harsh shadows, which can be perfect for capturing intricate details on your toys. If you're aiming for a specific mood, such as a dramatic or mystical scene, a partly cloudy day can offer dynamic lighting conditions that change as the clouds move.
Finding the Perfect Location
When you're seeking the perfect location for your toy photos, consider how the background complements your subject. Look for environments that enhance the story you want to convey. Natural settings like parks or gardens can add depth and texture, while urban landscapes might offer a modern, edgy vibe. It's vital to guarantee the background isn't too busy, which could distract from the toy itself.
Here's a quick guide to help you choose:
| Location Type | Pros | Cons |
|---|---|---|
| Natural Settings | Adds organic textures | Weather-dependent |
| Urban Environments | Offers dynamic backgrounds | Can be crowded or distracting |
| Indoor Spots | Controlled lighting | Limited natural light |
| Open Fields | Expansive feel | Less detailed backgrounds |
| Beach Areas | Bright, vibrant scenes | Sand and wind challenges |
Positioning Your Toy Figurines

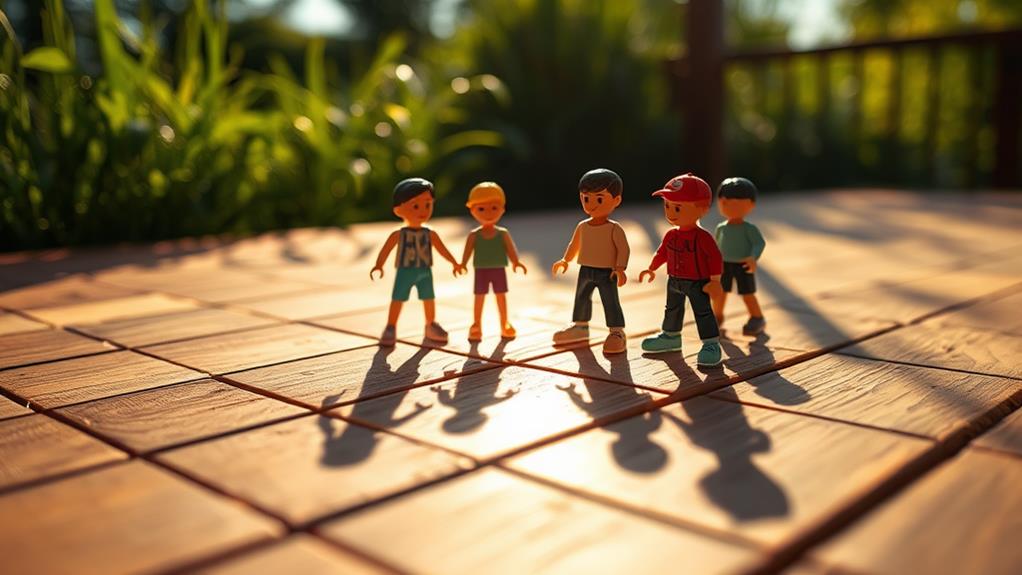
Positioning your toy figurines is an art that can bring your photos to life. It's all about creating a scene that tells a story. Start by considering the angle from which you're shooting. Eye-level shots can create a sense of engagement, while looking from above or below can add drama and emphasis. Try to position your figurines in a way that highlights their features and expressions.
Think about the interaction between the figurines. Are they facing each other, suggesting a conversation or conflict? Or are they aligned in a way that implies action or movement? You can tilt heads, raise arms, or adjust legs to give them a dynamic pose. Don't hesitate to experiment with different positions until you find the one that best captures the essence of your desired scene.
Also, consider the background and foreground elements. Use other toys or props to add depth and context to your photo. You can place smaller objects closer to the camera to create a sense of scale and perspective. Create layers within your photo by staggering your figurines and props, which can add a sense of realism and depth to your composition.
Controlling Shadows Effectively
Once you've positioned your toy figurines perfectly, it's time to think about how shadows can enhance your photos. Shadows add depth and intrigue, so it's essential to control them effectively. First, consider the time of day you're shooting. Early morning or late afternoon light casts longer shadows, which can create dramatic effects. Midday sun, on the other hand, creates shorter, harsher shadows that might overpower your scene.
To soften shadows, try using a reflector. You can easily make one by covering a piece of cardboard with aluminum foil. Position it opposite the light source to bounce light back onto the toys, reducing harsh shadows. Alternatively, a white sheet or poster board can act as a diffuser to scatter light more evenly.
Another technique is to change the angle of your light source. If you're outside, move around your subject to see how the shadows shift. Indoors, you can use a lamp to direct light from different angles until you achieve the desired shadow effect.
Experimenting with shadows can transform a basic photo into a fascinating scene. So, don't shy away from shadows—embrace them as a powerful tool in your photography arsenal.
Enhancing Colors With Light

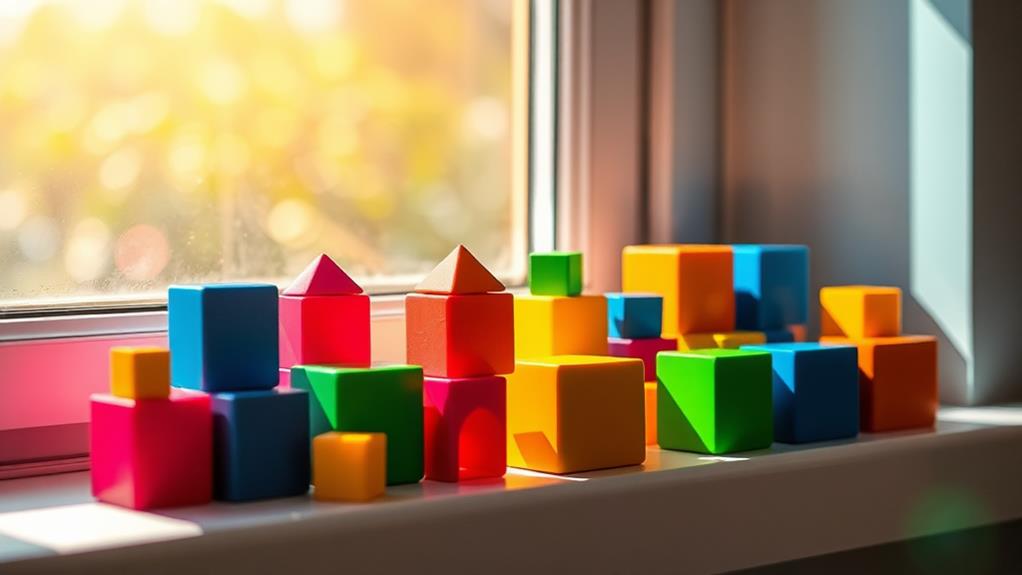
Embracing natural light can greatly enhance the colors in your toy photos, making them more vibrant and enchanting. Sunlight has a unique ability to bring out the rich hues and intricate details in your toys, creating images that truly pop. To make the most of natural light, try shooting during the golden hours—shortly after sunrise or just before sunset. During these times, the sunlight is softer and warmer, which can add a magical glow to your photos.
Positioning is key. Place your toys so the light hits them at an angle rather than directly from the front. This technique helps highlight textures and enhances the depth of colors, giving your photos a more dynamic look. Watch the weather, too. Overcast days can provide diffused light, which softens shadows and enhances color saturation without harsh contrasts.
Experiment with different backgrounds to see how they affect the colors. A neutral background can make bright colors stand out, while a colorful setting might complement or even compete with your toys. By paying attention to these details, you'll find that natural light can transform ordinary toy photos into extraordinary pieces of art.
Using Reflectors and Diffusers
Incorporating tools like reflectors and diffusers can greatly elevate the quality of your toy photos. Reflectors help redirect sunlight onto your subject, minimizing harsh shadows and adding a pleasing glow. You don’t need expensive gear; even a piece of white cardboard or a car sunshade can work wonders. Position the reflector opposite the light source, adjusting its angle until you see the desired illumination on the toy. This simple trick can bring out details and add depth. Additionally, diffusers soften the light hitting your toy, which not only reduces glare but also creates a more even illumination. By using materials like sheer white fabric or a dedicated diffuser, you can master lighting techniques for toys, enhancing the overall aesthetic of your images. Experimenting with different setups and angles will allow you to discover the best approach for showcasing your toys in the best light possible.
Diffusers, on the other hand, soften the light, creating an even distribution that's perfect for avoiding stark contrasts. A sheer white curtain or a translucent shower curtain can act as an effective diffuser. Hold or hang it between the sun and your toy to soften harsh midday sunlight. This setup is ideal for capturing toys with glossy finishes, reducing glare and making colors pop.
Experiment with different angles and distances for both reflectors and diffusers to see what works best for your toys. Practice makes perfect, so don't hesitate to try new setups. With these tools, you'll discover endless possibilities to craft stunning, professional-looking toy photos.
Frequently Asked Questions
How Can I Protect My Toys From Weather Damage During Outdoor Shoots?
When shooting outdoors, make certain your toys are safe by using protective coverings or placing them under a shaded area. Consider using a waterproof bag for unexpected rain. Always check the weather forecast before heading out.
What Camera Settings Are Best for Capturing Toy Details in Sunlight?
You'd think capturing toy details in sunlight is easy. Use a low ISO to minimize noise, a small aperture for depth, and adjust shutter speed. Ironically, natural light's unpredictability keeps you on your toes, doesn't it?
How Do I Prevent Lens Flare When Shooting in Direct Sunlight?
To prevent lens flare in direct sunlight, use a lens hood to block stray light. Position yourself so the sun is at an angle, or use your hand to shade the lens. Adjust your angle if needed.
What Post-Processing Techniques Enhance Natural Sunlight in Photos?
You'll want to adjust exposure and contrast to highlight natural sunlight. Use selective editing to enhance warm tones. Add a subtle vignette to draw focus. Don't forget to sharpen details for a crisp, vibrant finish.
How Can I Incorporate Sunlight Reflections Creatively in Toy Photography?
Position reflective surfaces like mirrors or foil near your scene to bounce sunlight onto toys, creating dynamic light patterns. Experiment with angles and intensity to highlight details and add mood, making your photos engaging and imaginative.
At a Glance
Capturing toy photos with natural sunlight can transform ordinary scenes into vibrant stories. Imagine the difference between a dull, shadowy setup and one where sunlight dances across your toys, highlighting every detail. By choosing the right time and location, positioning your figurines thoughtfully, and controlling shadows, you'll bring your toys to life. Use reflectors and diffusers to soften or intensify light, enhancing colors dramatically. Master these techniques, and watch your toy photography leap from mundane to magical.


