Enhance your toy photography by mastering seven transformative color techniques. Tap into color psychology to manipulate mood and perception in your shots. Use warm tones like reds and oranges for excitement, while cool shades such as blues and greens add calmness or mystery. Don't forget to experiment with monochromatic schemes and the dynamic energy of complementary colors. Soft pastels evoke whimsy and nostalgia, while dramatic lighting can deepen your visual storytelling. Consider using colored light sources or layering with gels for intriguing effects. These methods will elevate your images, turning ordinary shots into enchanting visual stories waiting to unfold.
Understanding Color Psychology
Color psychology plays an essential role in toy photography, as it can greatly influence the mood and perception of your images. When you understand how different colors evoke emotions, you can create more compelling and engaging photographs. For instance, blue often conveys calmness and tranquility, making it an excellent choice for scenes that aim to soothe or relax the viewer. Green, on the other hand, suggests growth and harmony, perfect for capturing the essence of nature or serenity in your toy compositions.
By employing color psychology, you can guide the viewer's emotional response and highlight particular features of your subject. Imagine using red to create a sense of urgency or excitement—a simple yet powerful way to draw attention to the focal point of your photograph. Alternatively, incorporating purples can lend an air of mystery or creativity, adding depth to your scene.
To maximize the impact of color in your toy photography, pay close attention to the color wheel and complementary colors. This knowledge helps you create visually appealing contrasts that make your images more dynamic. Remember, the right color choice can transform an ordinary toy photo into an extraordinary storytelling piece.
Utilizing Warm Color Tones
Often in toy photography, utilizing warm color tones can dramatically enhance the vibrancy and emotional impact of your images. Warm colors like red, orange, and yellow evoke feelings of warmth, energy, and excitement. They can make your toy scenes feel more inviting and lively. When you use these colors, you're drawing the viewer's eye and creating an emotional response that connects them more deeply with your work.
Incorporate warm tones by adjusting your lighting or using colored gels. Natural sunlight, especially during golden hour, is perfect for achieving these hues. Aim to highlight specific areas or characters, emphasizing their importance or creating a sense of movement. You can also use props or backgrounds in complementary warm shades to enhance the overall composition.
Remember not to overdo it; balance is key. Too much warmth might overwhelm your image, so consider contrasting it with neutral or cooler tones to maintain harmony. Playing with saturation levels can also help you find the right intensity. By thoughtfully applying warm colors, you'll infuse your toy photography with energy and emotion, making your scenes more enchanting and memorable for your audience.
Exploring Cool Color Palettes

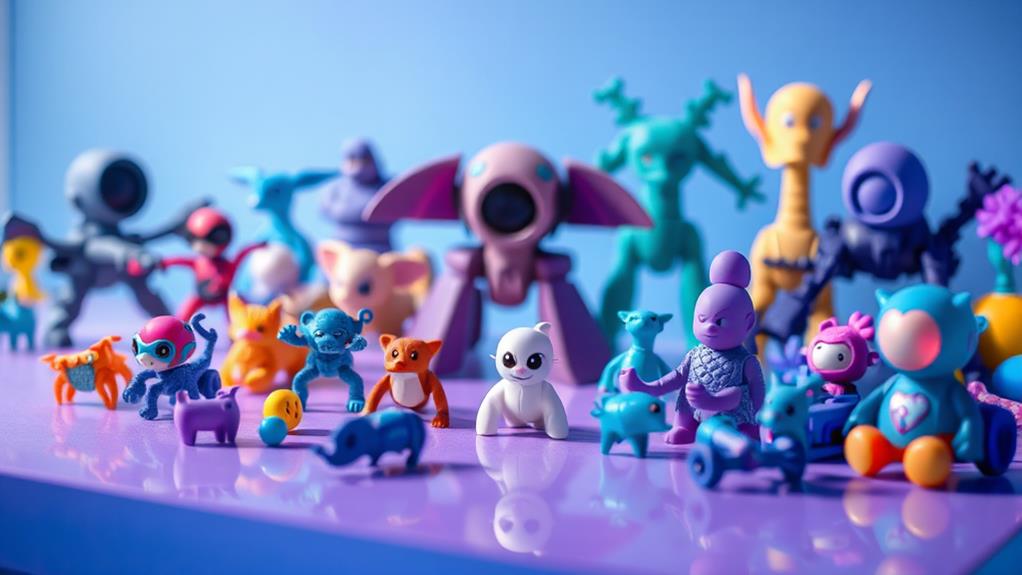
When it comes to toy photography, exploring cool color palettes can transform the mood and depth of your images. Cool colors like blues, greens, and purples can evoke a sense of calm, mystery, or even melancholy. By experimenting with these hues, you can create a unique atmosphere that draws viewers into your miniature world.
To effectively use cool colors in your toy photography, consider these key points:
- Backgrounds and Settings: Select backgrounds that complement your toys. A deep blue sky or a verdant green forest can enhance the overall mood without overshadowing your subject. Think about how these colors interact with the toys you're photographing.
- Lighting: Use lighting to highlight cool tones. Natural light during early morning or late afternoon can cast a softer, cooler glow. If you're shooting indoors, adjust your light sources to mimic these effects, enhancing the cool palette's impact.
- Balance and Contrast: While cool tones dominate, don't forget about balance. A hint of warm color, like a small burst of red or orange, can add contrast and draw attention to the focal point of your composition without breaking the serene mood.
Implementing Monochromatic Schemes
Monochromatic schemes in toy photography offer a striking way to captivate your audience by focusing on a single hue. This approach simplifies your composition while intensifying the mood and emotion conveyed. By selecting one color and using its varying shades, tints, and tones, you create a seamless, harmonious scene that can evoke strong feelings. Whether you're aiming for a calm, serene atmosphere with blues or a passionate, energetic vibe with reds, sticking to a monochrome palette helps you maintain focus and clarity.
To implement a monochromatic scheme effectively, first choose a color that aligns with the message or mood you want to express. Gather toys and background elements that match your chosen hue. Lighting plays an essential role here, so adjust it to highlight the different shades within the same color family. Use post-processing techniques to enhance and unify your image, ensuring that the monochrome effect is consistent throughout.
Contrasting Complementary Colors

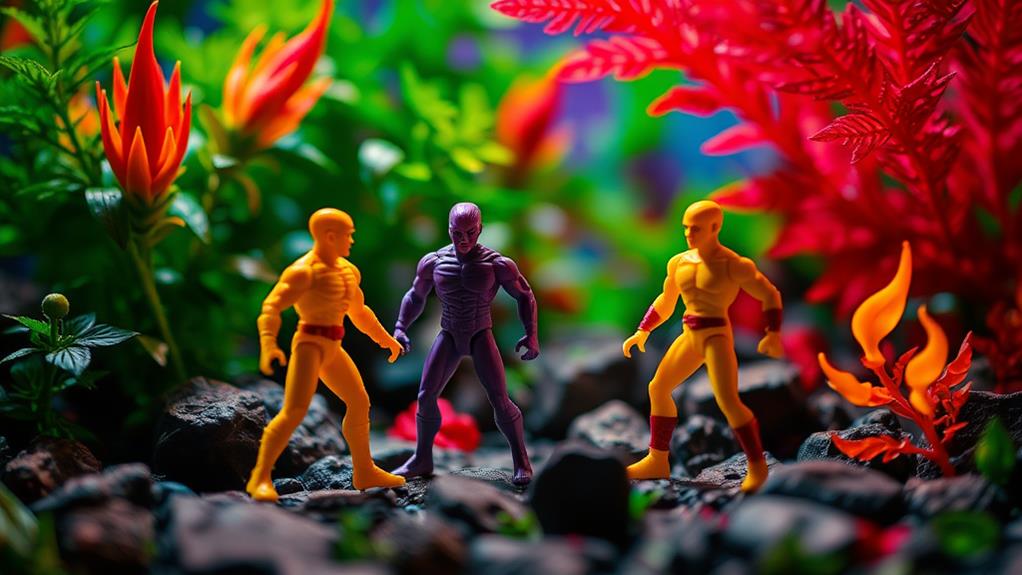
In the domain of toy photography, embracing contrasting complementary colors can infuse your images with dynamic energy and visual intrigue. When you place colors opposite each other on the color wheel, like blue and orange, or red and green, you create a striking visual impact. These pairings can make your toys pop against their backgrounds, drawing the viewer's eye directly to your subject. The contrast not only highlights the toy but also enhances the mood, adding an element of drama or tension to your scene.
To wield this technique effectively, consider these strategies:
- Focus on Balance: Balance is key when using contrasting colors. Overusing one color can overwhelm the composition. Aim to highlight your toy with the complementary color while maintaining harmony in the background.
- Use Lighting: Lighting can dramatically affect how complementary colors interact. Adjust the light to emphasize contrasts without washing out your colors. Shadows and highlights can enhance the vividness of your chosen palette.
- Experiment with Angles: Different angles can change how colors interact. Try various perspectives to see which combination of angles and colors best captures the mood you want to convey.
Creating Soft Pastel Effects
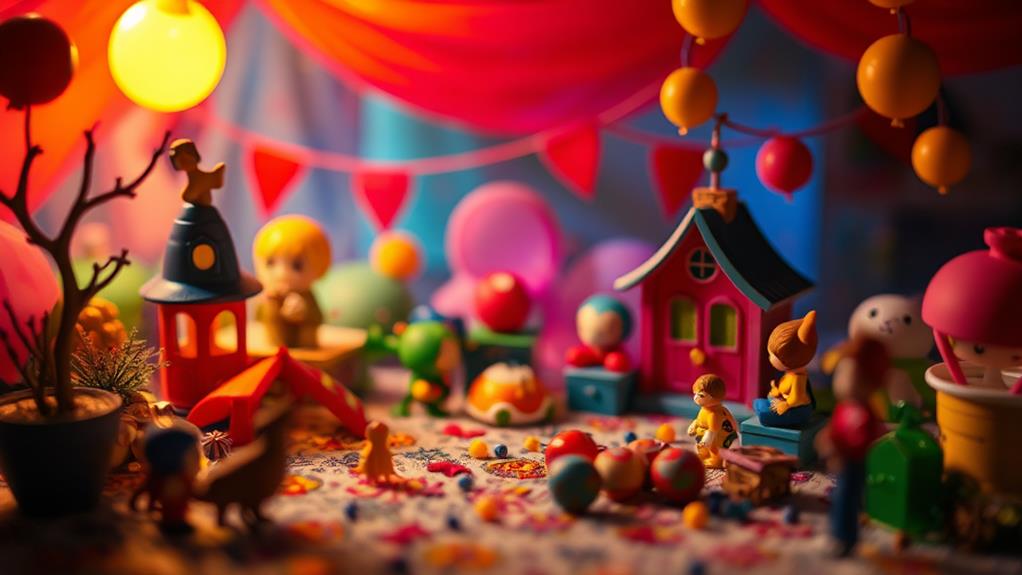
Toy photography often benefits from the delicate touch of soft pastel effects, which can introduce a dreamy and whimsical atmosphere to your images. By incorporating these gentle hues, you create a sense of nostalgia and fantasy, making your toy subjects appear more endearing and magical. To achieve this effect, start by selecting a color palette with pastel shades like soft pinks, light blues, and gentle yellows. These colors evoke calmness and can transform an ordinary scene into something enchanting.
When setting up your shot, consider using natural light. Soft, diffused lighting enhances pastel tones and prevents harsh shadows, maintaining the serene vibe you're aiming for. You might also use sheer fabric or translucent paper to filter the light, creating a softer ambiance. In post-processing, adjust the saturation and brightness gently to maintain the pastels' subtlety.
Additionally, choose backgrounds and props that complement your pastel theme. Soft, neutral backdrops work well, allowing the toys to stand out without overpowering the scene. Pay attention to the composition, ensuring that elements are balanced and harmonious. By focusing on these details, you'll craft images that captivate viewers with their soft, pastel charm.
Achieving Dramatic Lighting With Colors

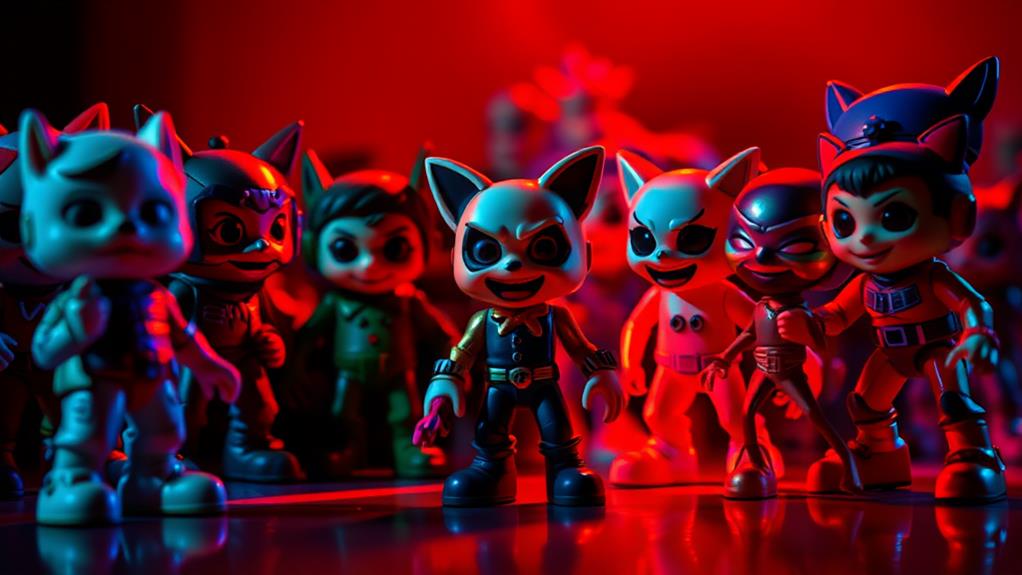
Dramatic lighting can elevate toy photography by adding depth and intensity to your images. When you harness the power of colors, you can create striking effects that draw the viewer in. Start by using contrasting colors. Pairing warm and cool tones can highlight your subject and create a sense of drama. Think of a bright red light against a deep blue background, making the toy pop with energy and emotion.
To achieve this dramatic effect, consider these steps:
- Experiment with Backlighting: Position a colored light source behind your toy to create silhouettes or halos. This can add mystery and intrigue to your scene.
- Utilize Hard Shadows: Harsh lighting from a single colored source, like a strong yellow or orange, can cast defined shadows, adding to the drama. Adjust the intensity and angle to control the mood.
- Layer Colors with Gels: Use colored gels over your light sources. By layering different colored lights, you can create complex and dynamic scenes. For example, combining purple and green gels can give an ethereal and otherworldly effect.
Frequently Asked Questions
What Equipment Is Essential for Capturing Vibrant Toy Photography Colors?
You'll need a good camera and lens, proper lighting, and a color-correct monitor. A tripod can help with stability. Don't forget memory cards and editing software to enhance colors. Experiment to find what works best for you!
How Can Natural Lighting Affect Toy Photography Color Outcomes?
Brilliant beams of sunlight can create enchanting colors in your toy photography. You'll notice how natural lighting enhances hues and highlights details. Experiment with different times of day to discover delightful differences in how colors come alive.
What Are the Best Editing Tools for Enhancing Toy Colors Post-Shoot?
You should try Adobe Lightroom and Photoshop for enhancing toy colors post-shoot. They offer powerful tools for adjusting hues, saturation, and contrast. Snapseed and VSCO are also great mobile options for quick, effective edits.
How Do Different Materials of Toys Impact Color Photography?
You're considering how toy materials affect color photography. Reflective surfaces can cause glare, altering colors, while matte finishes absorb light, maintaining true hues. Experiment with lighting angles to manage reflections and enhance the vibrancy of your shots.
Can Color Filters Be Used Effectively in Toy Photography?
Over 70% of photographers report that color filters enhance toy photography's vibrancy. You can use them to create dynamic scenes, emphasize specific moods, and make your toys pop, transforming ordinary shots into enchanting visual stories.
At a Glance
You've now got the tools to elevate your toy photography through the power of color. Remember, color psychology isn't just theory—90% of snap judgments about products can be based on color alone. So, play with warm tones for nostalgia, cool palettes for calm, and complementary contrasts for drama. Don't shy away from monochromatic schemes or soft pastels to evoke emotions. With these techniques, each photo tells its own vibrant story, and you're the storyteller.


