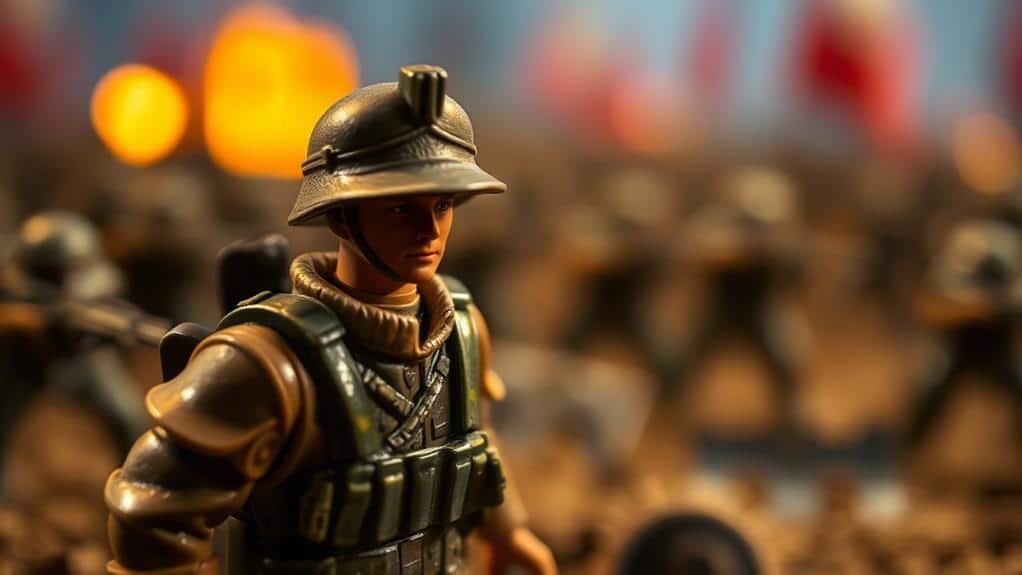
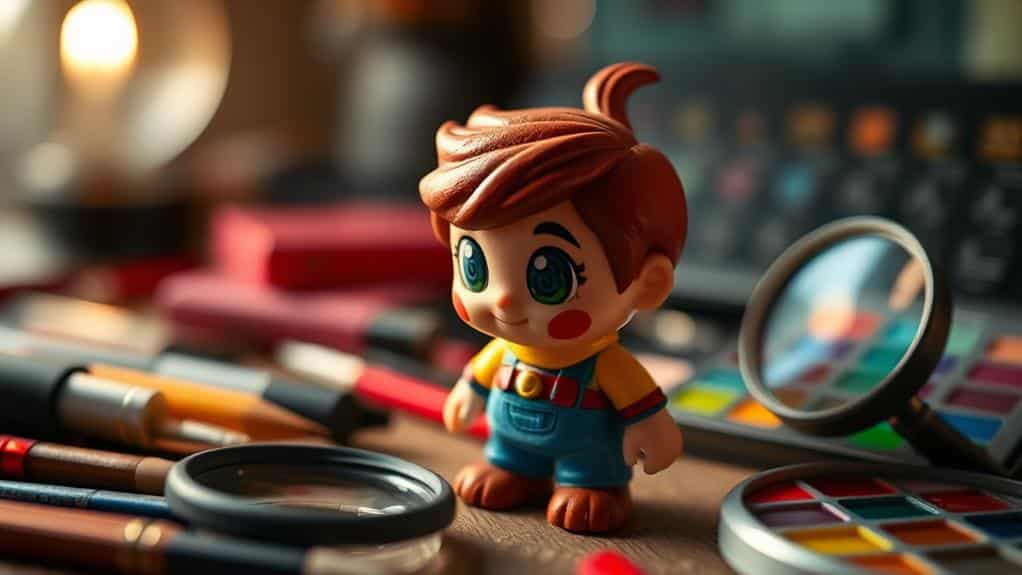
Refine your toy photos with these expert editing tips: Master perspective shifts by trying different angles, like low-angle shots, to make toys appear larger-than-life. Enhance depth with shadows by adjusting natural light and using dodging and burning techniques for more realism. Utilize focus to create drama and mood—sharp focus on main subjects for connection, or a shallow depth of field to blur backgrounds and increase storytelling potential. Experiment with shifting focus between toys to add layers of engagement. These strategies will turn ordinary pictures into dynamic compositions, inviting you to explore other elements of toy photography. Don’t forget to pay attention to compositions that play with proportions, as clever framing can evoke a sense of grandeur or whimsy. Incorporate props or backdrops that complement your toys’ environment, helping to tell a richer story while maintaining scale consistency. By integrating these toy scale photography tips, you’ll elevate your images to new levels, capturing extraordinary scenes that draw viewers into your miniature worlds.
Mastering Perspective Shifts
When mastering perspective shifts in toy photography, begin by experimenting with different angles to capture your subject in the most dynamic way. Crouch down to eye level with the toy, or even lower, to create an engaging perspective that draws viewers into the scene. This low-angle shot can make the toy appear larger-than-life, providing a sense of grandeur. Alternatively, shooting from above can offer a unique bird's-eye view, showcasing the toy in its entirety and adding a whimsical touch.
Move around your subject to find the best angles, and don't hesitate to try unconventional positions. Tilt your camera slightly or shoot through objects like foliage or transparent materials for added intrigue. Using leading lines can guide the viewer's eye towards the focal point of the toy, enhancing the overall composition.
Enhancing Depth With Shadows
Shadows can greatly enhance the depth and realism in your toy photographs, transforming a flat image into a more lifelike scene. By playing with shadows, you can create an illusion of depth, making your toys appear more three-dimensional and engaging. Start by examining where the natural light falls in your image. Use tools like Photoshop or Lightroom to adjust the shadows, adding subtle gradients or enhancing existing ones.
Consider these techniques:
| Technique | Description |
|---|---|
| Dodging and Burning | Lighten or darken specific areas to control shadow intensity. |
| Gradient Masks | Apply gentle gradients to create smooth shadow shifts. |
| Shadow Cloning | Duplicate shadows for uniformity across multiple objects. |
| Global Shadow Adjustments | Adjust overall shadow settings to balance the entire image. |
Dodging and burning let you selectively lighten or darken areas, giving you control over shadow intensity. Gradient masks help you apply smooth shifts, essential for natural-looking shadows. Shadow cloning guarantees consistency when you're dealing with multiple objects in your frame.
Utilizing Focus for Drama

Focus is a powerful tool in toy photography that can dramatically alter the mood and narrative of your images. By manipulating focus, you can draw attention to specific elements, creating a sense of drama and intrigue. Start by deciding the main subject of your photo. A sharp focus on a character's face or an essential detail can create an emotional connection with the viewer, making the toy appear lifelike and significant.
Utilize a shallow depth of field to blur the background and isolate your subject. This technique helps in emphasizing the toy while reducing distractions, creating a more immersive and impactful scene. Experiment with different focal points; for instance, a blurred foreground can add mystery or suggest movement, enhancing the storytelling aspect of your image.
Don't be afraid to play with focus creatively. Try shifting the focus between multiple toys in a scene to guide the viewer's eye through the narrative you've crafted. This can introduce layers of drama, making your photos more dynamic and engaging. Remember, focus isn't just about clarity; it's about directing attention and crafting a compelling visual story.
Frequently Asked Questions
What Software Tools Are Recommended for Toy Photo Editing?
You're wondering about the best software for toy photo editing. Try using Adobe Photoshop for its extensive features. Lightroom's great for adjustments, while Snapseed offers mobile convenience. Explore these tools to enhance your toy photography skills.
How Can I Improve Color Accuracy in My Toy Photos?
To improve color accuracy in your toy photos, adjust the white balance using your editing software. Calibrate your monitor for consistent results. Use a gray card during shooting for reference, ensuring colors remain true to life.
What Are Some Tips for Achieving Realistic Textures in Toy Photography?
To capture realistic textures, juxtapose soft lighting with harsh shadows. Use macro lenses to bring out details that pop. Play with angles to highlight material differences. Don't forget post-editing to enhance contrast without overdoing it.
How Can I Prevent Reflections When Photographing Glossy Toy Surfaces?
To prevent reflections on glossy toy surfaces, position your light source at an angle and use a polarizing filter. You can also diffuse the light with softboxes or umbrellas to minimize harsh reflections and achieve better results.
What Techniques Can Enhance the Vibrancy of Toy Colors in Photos?
You can enhance toy colors by adjusting the saturation and contrast in your editing software. Use a polarizing filter to reduce glare and enhance colors naturally. Experiment with different lighting setups to find what makes the colors pop.
At a Glance
You've learned to master perspective shifts, giving your toy photos a dynamic edge. You've discovered how to enhance depth with shadows, adding a layer of intrigue and realism. You've embraced the power of focus, creating drama that fascinates the viewer. With these expert editing tips, you transform simple snapshots into compelling stories. Keep practicing, keep experimenting, and keep pushing the boundaries of your creativity. Your toy photography will not just improve—it will truly shine.


