To elevate your toy photography, mastering shadows is key. Use natural light during golden hours for soft, appealing shadows. Embrace backlighting to create striking silhouettes and manipulate shadows creatively. Reflectors are fantastic for bouncing light and softening harsh edges. Experiment with angles and lenses to enhance shadow drama and play with layering depths for added realism. Diffuse harsh lighting with simple materials like bedsheets to maintain soft shadows. Finally, align your shadows with the rule of thirds to guide viewers through your composition. There's much more to explore when it comes to creating enchanting scenes with shadows in your shots.
Natural Light Manipulation
Harnessing natural light in toy photography can greatly enhance the mood and realism of your shots. When you use natural light, you're tapping into a resource that's both versatile and free, allowing you to experiment with different times of day and weather conditions to achieve varied effects. Morning and late afternoon light, often referred to as the "golden hour," offers a soft, warm glow that can add depth and emotion to your photographs. Meanwhile, midday sun, though harsher, can create striking contrasts and dramatic shadows.
Position your toys strategically to maximize the natural light. Direct sunlight can highlight details and textures, making your subjects pop. However, be mindful of overexposure—slightly adjust the angle to prevent harsh highlights. Diffused light, such as that on an overcast day, provides a gentler touch, casting even illumination across your scene.
Consider the direction of the light. Side lighting can add depth and dimension, while backlighting, where the light source is behind the subject, can create silhouettes and interesting outlines. By understanding and manipulating natural light, you can elevate your toy photography to new levels of artistry and realism.
Using Reflectors Effectively
While natural light provides a stunning base for toy photography, using reflectors can further enhance and control the lighting in your shots. They allow you to manipulate shadows and highlights, adding depth and interest to your images. Reflectors come in various sizes and colors—silver, gold, white, and even black—each offering different effects. Silver reflectors add brightness and contrast, perfect for creating sharp, vivid shadows. Gold reflectors give a warm tone, ideal for enhancing the mood of a scene. White reflectors provide soft, neutral light, great for filling in shadows without altering colors.
Positioning your reflector properly is key to achieving the desired effect. Start by holding it at different angles to see how the light bounces onto your subject. An overhead position can help reduce harsh shadows, while placing it at an angle can create more dramatic lighting. Don't hesitate to experiment with reflector distance and tilt to fine-tune the light's intensity.
Using a reflector doesn't have to be complicated or expensive. You can even make DIY reflectors with simple materials like aluminum foil or white cardboard. With a bit of practice, you'll master using reflectors to create enchanting toy photography.
Creative Angles for Shadows

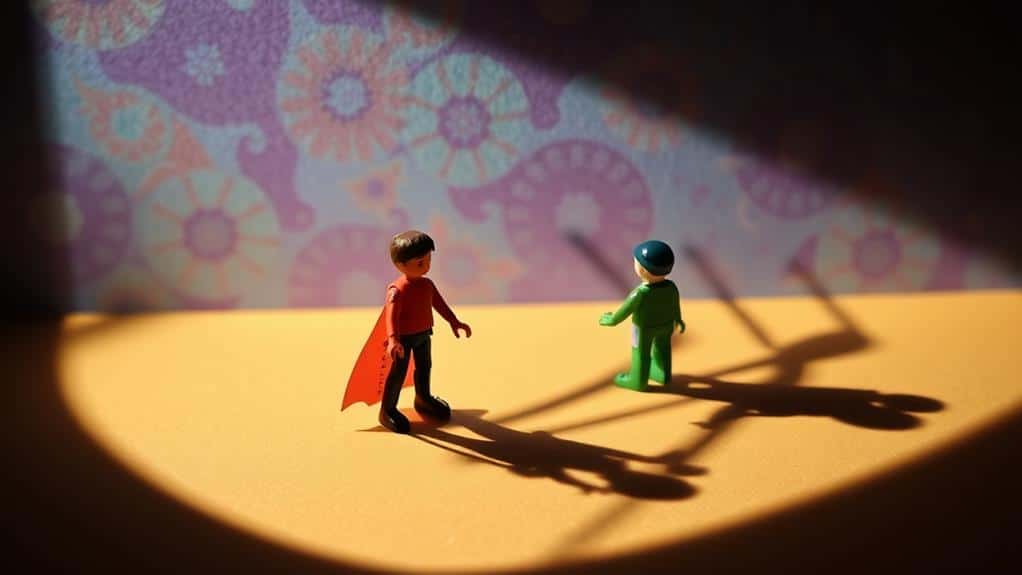
Exploring creative angles in toy photography can transform mundane scenes into enthralling visual stories. By experimenting with different perspectives, you open up a world of possibilities for dynamic shadow play. Start by positioning your toys at unusual angles, like tilting them or shooting from ground level. This can create elongated, dramatic shadows that add depth and intrigue to your images.
Don't hesitate to move around your subjects. Capture them from above, below, or even sideways. Changing your viewpoint alters how light interacts with the toys, casting shadows that can emphasize textures and shapes you might not notice otherwise. Consider using a wide-angle lens to exaggerate these effects further.
Play with the distance between your light source and the toys. By adjusting this, you can manipulate shadow size and intensity. Experiment with creating silhouettes by having the light source directly behind your subject, casting long shadows toward the camera.
Mastering Backlighting
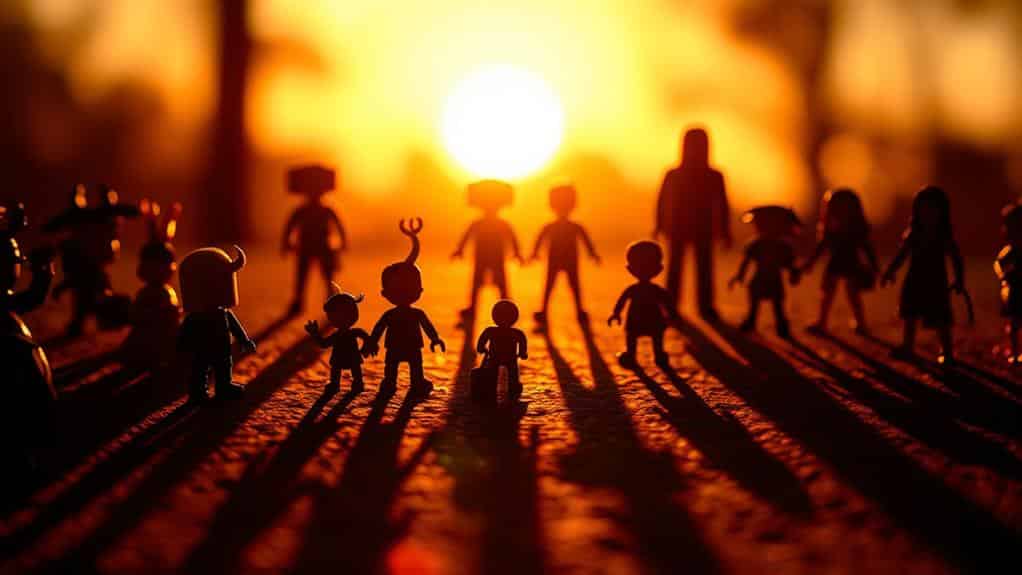
Mastering backlighting in toy photography can bring your images to life with a magical glow. By placing a light source behind your subject, you create a striking silhouette that adds depth and drama. To harness this technique effectively, consider the following tips.
- Experiment with angles: Move your light source around to see how different positions change the shadows and highlights on your toy. A slight shift can dramatically alter the mood of your photo.
- Use natural light: The sun's position during sunrise or sunset offers a soft, warm glow that enhances the backlighting effect. Be patient and time your shoots to capture this fleeting beauty.
- Control your exposure: Backlighting can trick your camera's metering system. Manually adjust your camera settings to prevent the subject from becoming a dark silhouette or the background from blowing out.
Backlighting isn't just about placing a light behind your subject. It's about balancing all elements to guarantee the toy remains the focal point. Practicing with different toys and backgrounds will help you refine this technique. Remember, every shot provides a learning opportunity, so keep experimenting until you achieve that perfect blend of light and shadow.
Diffusing Harsh Light

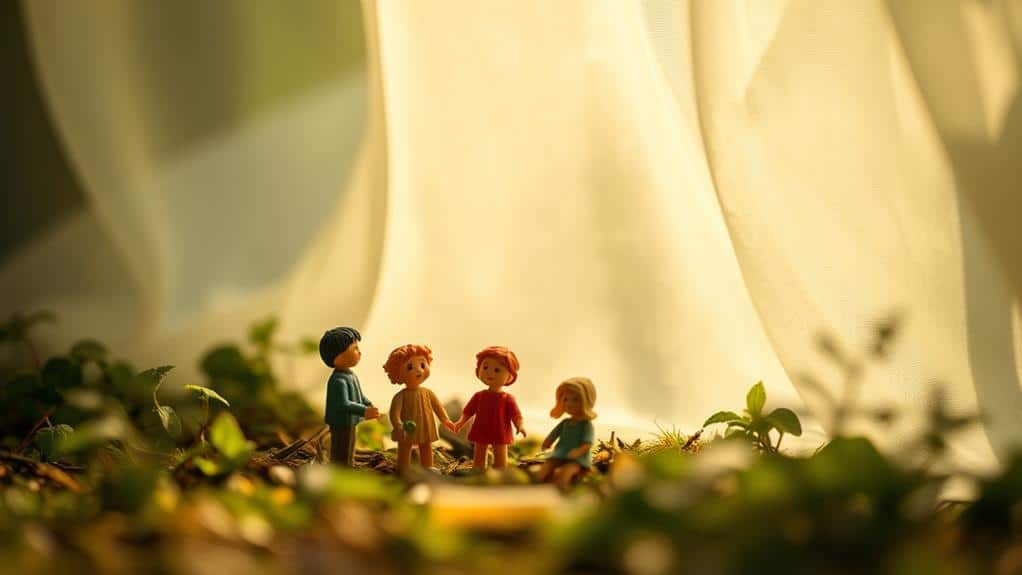
Harsh light can be a toy photographer's worst enemy, casting unwanted shadows and creating overly bright spots that distract from your subject. To control this, you need to diffuse that light effectively. Start by using a simple tool like a white bedsheet or a translucent shower curtain. These materials soften the light, reducing harshness and distributing it more evenly across your scene.
If you're shooting outdoors, consider the time of day. Midday sun is intense, so opt for early morning or late afternoon when the light is naturally softer. If you must shoot under harsh sunlight, position your toys in the shade or create your own using a large piece of cardboard or a portable reflector.
Another handy trick is using a DIY diffuser. Grab a white umbrella or even a thin piece of white paper, and place it between your light source and the subject. This method works wonders in taming harsh artificial lights indoors.
Investing in a professional light diffuser is also a great idea if you frequently face harsh lighting conditions. It provides consistent results, making your toy photography more polished and professional-looking.
Playing With Silhouettes
Silhouettes in toy photography can add a dramatic and artistic flair to your images, transforming simple scenes into enchanting stories. By using silhouettes, you highlight the toy's shape, creating a sense of mystery and intrigue. To enhance your silhouette photography, consider the backdrop and lighting. Position your light source behind the toy, guaranteeing it remains hidden from the camera's view. This creates a strong contrast between the toy and the background.
Here are some tips to help you master toy silhouettes:
- Use Natural Light: Capture silhouettes during sunrise or sunset when the light is soft and warm. This helps in achieving a beautiful, glowing background without harsh shadows.
- Choose Simple Backgrounds: A plain or softly textured backdrop guarantees the toy's outline stands out clearly, making the silhouette more defined and impactful.
- Experiment with Angles: Try different angles and positions for your camera and light source. A lower angle can exaggerate the toy's features, adding interest and character to the silhouette.
Layering Shadow Depths

In toy photography, layering shadow depths can introduce a new dimension of complexity and realism to your images. By varying the intensity and positioning of shadows, you create scenes that feel dynamic and immersive. Start by identifying your main light source. Consider how natural or artificial light interacts with your toys. Adjust the angle to cast shadows that vary in depth and darkness.
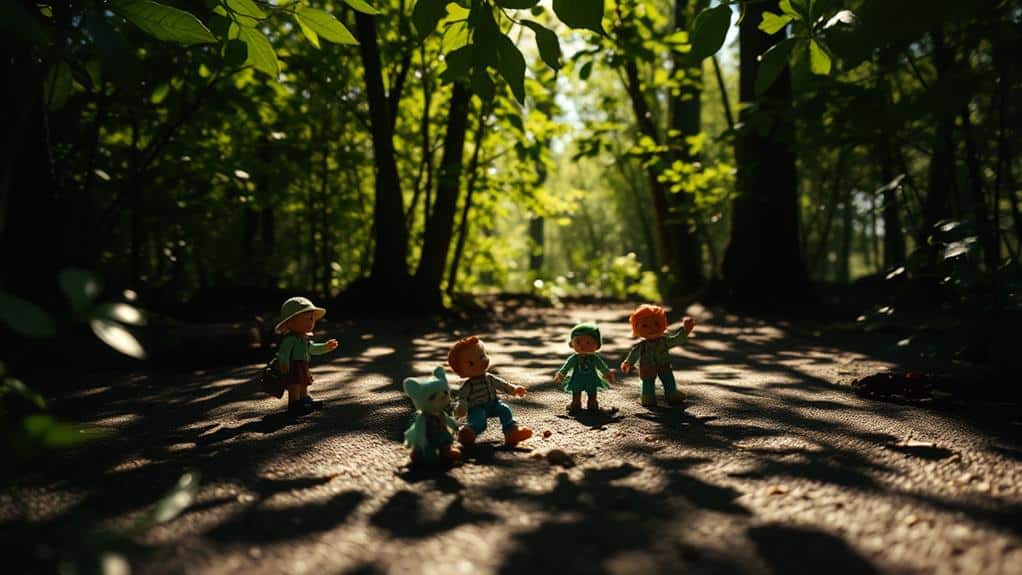
Experiment with different objects to block or diffuse light, like sheets of paper or translucent fabrics. These can help create soft, layered shadows, adding depth to your composition. Use multiple light sources to introduce secondary shadows. This technique can simulate natural light scenarios, like sunlight filtering through tree branches.
You should also play with the distance between your toys and the background. A closer distance will result in sharper, more defined shadows, while a greater distance softens them. Consider using reflectors to bounce light back onto your subject, reducing harshness and adding subtlety to shadow layers. By mastering these techniques, you'll give your toy photographs a sense of scale and life, making them more engaging and true to the scenes you're trying to recreate. Experimenting with different angles of light can also dramatically change the mood of your shots, so don’t hesitate to get creative with your setups. Incorporating natural light tips for toy photos, such as shooting during golden hour or diffusing sunlight with sheer curtains, can bring a warm, realistic glow to your images. With patience and attention to detail, these small adjustments can transform your toy photography into captivating art pieces that tell a story.
Frequently Asked Questions
How Can I Create Dynamic Shadows Using Artificial Light Sources?
To create dynamic shadows with artificial light, position your light source at varying angles. Experiment with distance and intensity to achieve depth. Use diffusers to soften edges. Don't forget to adjust your camera's settings for the best results.
What Camera Settings Are Ideal for Capturing Detailed Shadows in Toy Photography?
Imagine capturing shadows so vivid they tell a story. You'll want a low ISO to reduce noise, a small aperture for depth, and a fast shutter speed. Experiment with these settings to unleash your toy photography's potential.
How Do Weather Conditions Affect Shadow Quality in Outdoor Toy Photography?
Weather conditions greatly affect shadow quality. On sunny days, you'll get sharp, defined shadows, while overcast skies create softer, diffused ones. Use these variations to your advantage, adjusting your composition based on the natural light available.
What Post-Processing Techniques Enhance Shadows Without Losing Detail?
You can enhance shadows by using the dodge and burn tools in editing software. Adjust contrast carefully and use layers to maintain detail. Don't overdo it; subtle adjustments can make shadows pop without losing their natural look.
How Can Props Be Used to Alter or Enhance Shadow Patterns in Toy Photography?
You can strategically place props to manipulate shadow patterns in your toy photography. Use objects like leaves or mesh to create intricate designs. Experiment with light angles and prop positions to achieve enchanting and dynamic shadow effects.
At a Glance
In the art of toy photography, shadows aren't mere absence of light; they're the unseen characters of your story. By mastering these techniques, you wield the power to breathe life into inanimate objects, creating a dance between light and shadow. Each shadow becomes a footprint, tracing your creative journey. Embrace these tools, and let your imagination cast its own shadows, painting narratives that linger long after the light fades. Your lens is the brush; shadows, your ink.


