
If you're looking to elevate your doll photography, exploring different studio setups can make all the difference. By harnessing the power of natural light, you can create enchanting scenes that bring your dolls to life. Adding miniature props introduces a layer of whimsy and depth, while DIY backdrops can transform any space into a mesmerizing set. Experimenting with various lighting techniques will enhance the visual impact of your shots, and don't underestimate the charm of outdoor scenes. Ready to uncover these inspiring ideas and transform your doll photography? Let's explore how you can achieve these setups effortlessly.
Key Takeaways
- Utilize soft, diffused natural light from a north-facing window to highlight true colors and details.
- Incorporate miniature props like tiny furniture or food to add depth and narrative to your shots.
- Create DIY backdrops using patterned fabric, textured cardboard, or printed photos for added visual interest.
- Experiment with creative lighting techniques such as backlighting and colored gels to enhance mood and drama.
- Arrange outdoor shoots during golden hours and use portable LED panels to complement natural light for stunning results.
Natural Light Magic
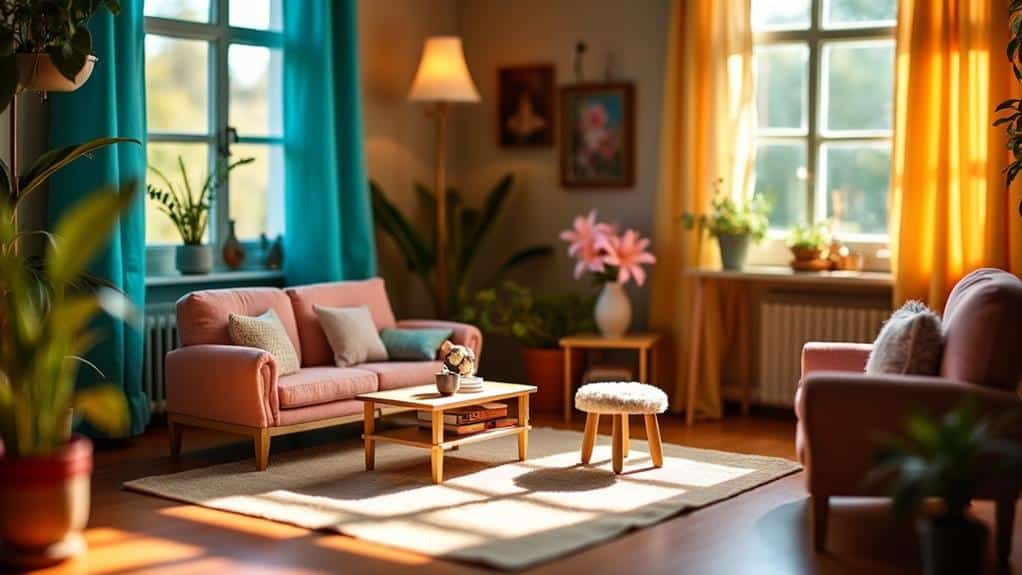
Natural light can be your best friend when photographing dolls. It brings out the true colors and details, making your dolls look more lifelike and enchanting. Start by finding a spot in your home that receives consistent, soft light. A north-facing window usually does the trick, as it offers gentle, diffused light that eliminates harsh shadows.
Position your doll near the window, but don't place it in direct sunlight. Direct light can create unwanted glare and overly bright spots on your doll's face or clothing. Use sheer curtains to diffuse the light if it's too intense. This helps maintain a balanced exposure and keeps the details sharp. You might also consider integrating softbox lights for an even softer illumination that complements natural light.
Experiment with different times of the day. Morning and late afternoon light produces a warm, inviting glow, perfect for cozy, intimate shots. Midday light can be harsh but can work with the right adjustments. Always observe how the light interacts with your doll, and adjust its position accordingly.
Don't forget to use a reflector. A simple piece of white cardboard can bounce light back onto your doll, reducing shadows and adding a professional touch to your photos. Embrace natural light, and your doll photography will shine
Miniature Props Galore
Miniature props can transform your doll photography from simple portraits to enchanting stories. Imagine your dolls sipping tea from tiny porcelain cups or lounging on a miniature chaise. These props add depth, context, and a touch of whimsy to your photos.
Start by collecting small everyday items. Think tiny books, miniature furniture, or even doll-sized food. Craft stores and online marketplaces are treasure troves for these props. You can also repurpose household items; a thimble can become a small pot, or a scrap of fabric can turn into a cozy blanket. For advanced photographers, using a macro lens can capture intricate details, making the miniature props appear life-sized and even more realistic.
When arranging your scene, think about the story you want to tell. Is your doll hosting a garden party or setting out on an adventure? Arrange the props to enhance the narrative. Lighting plays a vital role here, so position your props to catch the light naturally, adding realism and charm.
Don't forget to keep a balance. Too many props can overcrowd your scene, while too few might leave it looking sparse. Experiment with different arrangements until you find the perfect setup. With the right miniature props, you'll elevate your doll photography to a whole new level of creativity and storytelling.
DIY Backdrop Wonders
With your miniature props setting the stage, let's turn our focus to creating stunning backdrops that complement your scenes. A DIY backdrop can elevate your doll photography by adding depth and context. Start by selecting materials like patterned fabric, scrapbook paper, or even textured cardboard. These are affordable and versatile options that can be easily swapped out depending on your theme. Experimenting with different textures and colors helps find the perfect background to make your photos stand out.
Consider painting your own backgrounds. Use acrylic paints to create skies, landscapes, or abstract designs. Don't worry if you're not a professional artist; even simple gradients can add a lot of visual interest. Another fun idea is to use printed photos. You can print high-resolution images of anything from cityscapes to forests and mount them on sturdy boards.
Don't forget the power of everyday objects. Old newspapers, pages from vintage books, or wallpaper samples can make unique and interesting backdrops. Also, think about incorporating miniature furniture or plants to add layers and make the scene more immersive.
Lastly, make sure your backdrops are portable. Attach them to foam boards or lightweight frames, so you can easily switch between scenes and store them without hassle
Creative Lighting Techniques
Lighting can make or break your doll photography, so it's vitally important to get creative with it. Great lighting can transform an ordinary photo into a stunning masterpiece. Proper use of lighting techniques can also enhance the visual impact and storytelling potential of your shots.
- Backlighting: Place a light source behind your doll to create a glowing halo effect. This adds depth and drama to your photos, especially when combined with a darker background.
- Side Lighting: Position your light to the side of your doll to emphasize textures and details. This method is excellent for highlighting intricate costumes and facial features, giving your photos a dynamic look.
- Colored Gels: Use colored gels over your lights to add mood and atmosphere. Experiment with different colors to see how they change the vibe of your scene. For example, blue can create a cool, serene effect, while red can add warmth and intensity.
- Reflectors: Use reflectors to bounce light onto your doll, filling in shadows and adding softness. You can use professional reflectors or DIY versions made from white cardboard or aluminum foil.
Outdoor Adventure Scenes
Imagine your dolls setting out on an epic journey through lush forests or rugged mountains. Capturing these outdoor adventure scenes can bring a whole new level of excitement and realism to your doll photography. Start by scouting natural locations that provide a variety of textures and backgrounds, like dense woods, rocky outcrops, or serene lakesides. Natural light will be your best friend here, so plan your shoots during the golden hours of early morning or late afternoon. Consider bringing a portable LED light panel to supplement the natural light and guarantee you capture the perfect shot.
To add depth to your scenes, use props like miniature camping gear, tiny backpacks, or even small animals to create a sense of scale and narrative. Position your dolls in dynamic poses that suggest movement—climbing rocks, crossing streams, or gazing at distant horizons. Don't be afraid to get low to the ground for those dramatic angles that make your dolls look like they're truly part of the landscape
At a Glance
With these five studio setup ideas, you'll transform your doll photography into a creative masterpiece. Embrace the beauty of natural light, plunge into the charm of miniature props, get crafty with DIY backdrops, experiment with innovative lighting techniques, and venture into outdoor adventures. Each setup offers a unique way to bring your dolls to life, making your photos truly mesmerizing. So grab your camera, release your imagination, and start shooting stunning doll photography today! Once you have captured your doll photography, enhance the final touches using the top editing software. With the right editing tools, you can refine the colors, sharpen the details, and add artistic effects to your images. Utilize these software programs to take your doll photography to the next level and create captivating visuals that will leave a lasting impression on your audience.


