
Creating magical Toy Story scenes in just five steps is simpler than you might think. You start by selecting toy characters with distinct personalities, ensuring they're the driving force behind your story. Next, choose an imaginative setting that perfectly complements their size, like Andy's room or an adventurous beach theme. Mastering the lighting is vital, as it adds depth and mood; use golden hour or additional light sources effectively. Position your toys to convey dynamic emotions and actions. Finally, capturing that perfect shot involves natural light and strategic angles. Curious about perfecting each step? Let's break it down further. If you’re interested in honing your toy photography skills, consider exploring top Japanese anime shopping sites for inspiration and unique toy characters. These sites offer a wide range of collectible toys and accessories that can add depth and excitement to your Toy Story scenes. Additionally, you can find a community of toy photography enthusiasts who can offer helpful tips and feedback as you perfect each step.
Key Takeaways
- Choose iconic locations from Toy Story, like Andy's room, and use matching props for authenticity.
- Use dynamic poses for toys to reflect emotions and actions, ensuring stability.
- Capture photos during golden hour for a soft, warm glow and enhanced mood.
- Utilize wide aperture settings to achieve a blurred background, focusing on the toys.
- Position your camera at the toy's eye level for immersive and engaging shots.
Select Your Toy Characters
When selecting your toy characters for a Toy Story scene, it's essential to ponder their unique personalities and traits that contribute to the storyline. Think about how Woody's leadership and loyalty can drive the plot or how Buzz Lightyear's bravery and sense of adventure can add excitement. Each toy has its distinct characteristics, and understanding these will help you create a more engaging scene. Consider using a wide aperture setting to achieve a blurred background effect, which can enhance the focus on your characters. Also, explore the various types of lighting equipment that can add drama and mood to your scene.
Consider the dynamics between characters. For instance, Woody and Buzz often have contrasting viewpoints, which can lead to compelling interactions. Maybe Rex's timid nature brings humor, or Jessie's spirited attitude injects energy into the narrative. Don't forget minor characters; they can add depth and unexpected twists. Slinky Dog's flexibility or Hamm's sarcasm might be just what you need to add a unique touch.
Also, think about how these toys interact with the environment and each other. Are they forming alliances or facing conflicts? The way they band together or come into disagreements can shape the arc of your scene. By carefully selecting and combining these characters, you'll set the stage for a Toy Story scene that's rich in personality and storytelling potential.
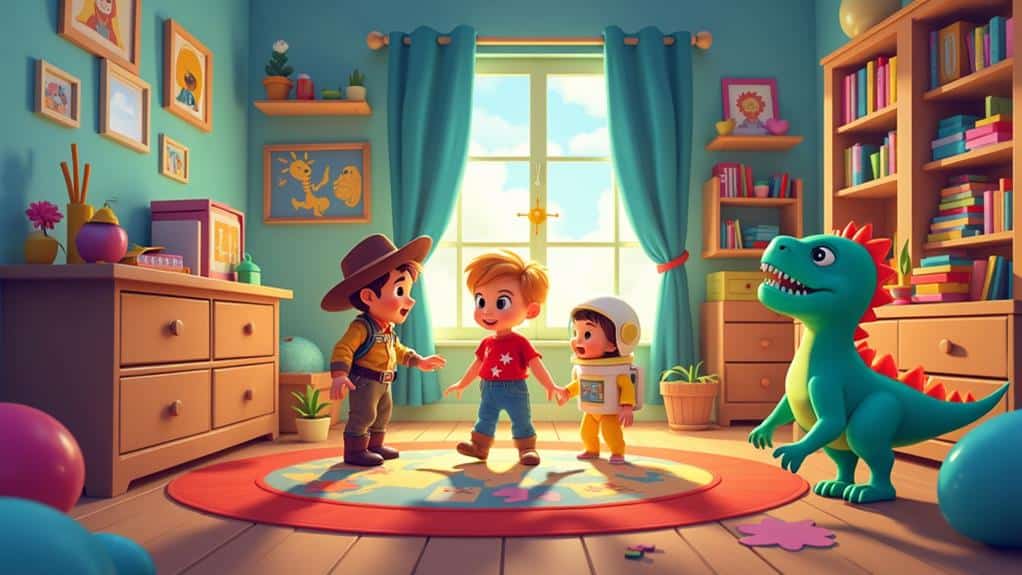
Choose a Creative Setting
Choosing a creative setting can elevate your Toy Story scene from simple to spectacular. Start by thinking about the movie's iconic locations. Maybe you want to recreate Andy's room, complete with a bed, desk, and scattered toys. If you're feeling adventurous, consider a setting like Pizza Planet or Al's Toy Barn. Your scene will benefit from details that reflect the environment, so gather props and backdrops that match your chosen location.
Don't limit yourself to just recreating movie scenes. Use your imagination to place the characters in unique settings. How about a beach scene with Woody and Buzz building sandcastles? Or maybe a space-themed background where Buzz can truly feel at home? Adding specific colors and patterns to a background can make a photo stand out and tell a story. The more creative you get, the more engaging your photos will be.
Pay attention to scale. Guarantee the setting complements the size of your toys. Small details like miniature furniture, plants, and even tiny food items can add realism. Take advantage of everyday household items to create these elements. A dollhouse can serve as a perfect backdrop, providing various rooms and props. Remember, a well-chosen setting not only enhances your scene but also tells a more compelling story.
Master the Lighting
Mastering the lighting in your Toy Story scenes is crucial for bringing your characters to life. Good lighting can create mood, highlight textures, and make your toys look more dynamic. Start by choosing the right time of day to shoot. Natural light during the golden hour—just after sunrise or before sunset—provides a soft, warm glow that can make your scenes feel magical. Make sure to ponder the color temperature of your light sources as it impacts the overall mood and aesthetic of your photographs.
Next, ponder using additional light sources to create depth and dimension. Desk lamps, flashlights, or even the flashlight on your phone can help. Position these lights at different angles to eliminate harsh shadows and add highlights where needed. Don't be afraid to experiment with different light intensities and colors.
Reflectors can be extremely useful in bouncing light onto your toys. A simple piece of white paper or a small mirror can serve this purpose well. By redirecting light, you can brighten up shadowy areas and make your scene more balanced.
Pose Your Toys
Posing your toys is an essential step to make your Toy Story scenes come alive. Start by thinking about the story you want to tell. Are Woody and Buzz Lightyear in the middle of an adventure, or are they sharing a quiet moment? Once you've got a scene in mind, place your main characters in a dynamic pose that reflects their emotions and actions. Bend their arms, tilt their heads, and adjust their legs to convey movement and personality. Consider the setting and backdrop for the toy to enhance the story further.
Next, consider the interaction between characters. If Buzz is comforting Woody, have him gently place a hand on Woody's shoulder. If they're in action mode, make sure their body language reflects urgency and excitement. Don't forget to use props or set pieces to enhance the scene. A tiny box can become a treasure chest, or a piece of cloth can act as a makeshift tent.
Remember to check the stability of your posed toys. You don't want them toppling over midway through your setup. Use sticky tack or small stands if needed to keep them in place. By carefully posing your toys, you'll set the stage for a truly magical Toy Story scene
Capture the Perfect Shot
Now that your toys are perfectly posed, let's focus on capturing that perfect shot. First, consider your lighting. Natural light works wonders, so try to shoot near a window during the day. Avoid harsh direct sunlight as it can create unwanted shadows. If natural light isn't available, use a softbox or a ring light to evenly illuminate your scene. Remember, the strategic placement of your light source can evoke specific emotions and enhance the atmosphere.
Next, think about your camera angle. Get down to the toy's eye level to make the scene more immersive. Experiment with different perspectives—tilting your camera slightly can add a dynamic feel.
Don't forget about your background. A clutter-free background guarantees your toys are the stars of the show. Use a solid-colored backdrop or create a simple, relevant setting.
Now, focus on your camera's settings. For sharp, clear images, use a low ISO (100-200) and a small aperture (f/8-f/16). If you're using a smartphone, tap to focus on your main subject and adjust the exposure if needed.
At a Glance
By thoughtfully selecting your toy characters, choosing a creative setting, mastering the lighting, posing your toys dynamically, and capturing the perfect shot, you'll bring the magic of Toy Story to life. Remember, it's all about the details and how you use them to tell an engrossing story. So, grab your camera, let your imagination run wild, and start creating enchanting scenes that'll make everyone believe toys truly come alive. Happy snapping!


